Easy Acrylic Pour Painting on a Dollar Tree Pizza Pan: Step by Step Tutorial
Who knew that you could turn a Dollar Tree pizza pan into a beautiful work of art? With this simple tutorial, you'll be able to create your own beautiful acrylic pour painting using a pizza pan from Dollar Tree. All you need is acrylic paint, a pouring medium, and a little bit of creativity!
This blog post contains affiliate links. The opinions are wholly my own from my own experience. I may earn a small commission from clicks through to the websites that end in a purchase.
Acrylic pour painting is a unique and easy way to create beautiful works of art. By pouring paint onto a surface and tilting it around, you can create swirls, cells, and other interesting designs. Plus, it's a great way to use up leftover paint that you might have lying around.
In this easy step-by-step tutorial, you will learn how to create a beautiful tray using acrylic pour painting. This project is perfect for beginners, and you will end up with a stunning tray that doubles as a piece of abstract art that you can display in your home or office.
Watch this Acrylic Pour Painting Video Tutorial
If you prefer to watch a video tutorial on this easy step-by-step process, see my YouTube channel below. Be sure to subscribe after watching for future inspiration!
If you're looking for a fun and easy craft project, you can't go wrong with an acrylic pour painting on a dollar store pizza pan tray! This project is great for crafters of all skill levels, and the only materials you'll need are a few bottles of acrylic paint, a dollar store pizza pan tray, and some disposable cups or bowls for mixing your paint.
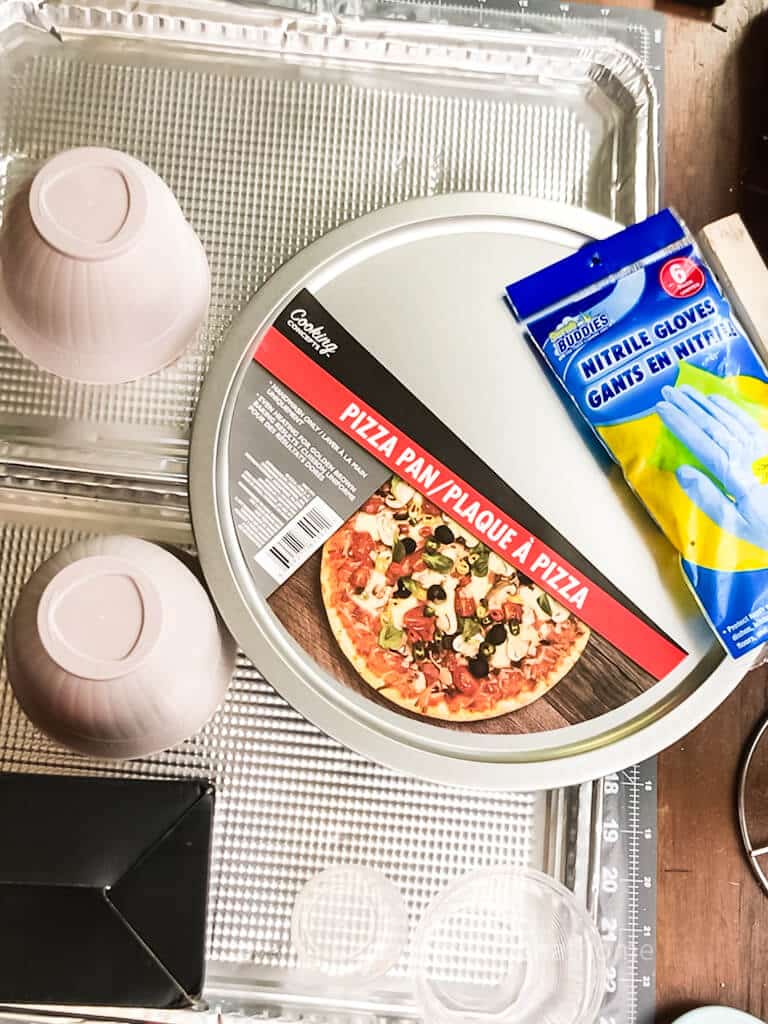
What You'll Need for Pour Painting
- dollar store pizza pan
- acrylic paint in various colors or these paints ready for pouring
- pouring medium (only if you're not using ready-to-pour paints)
- plastic cup
- gloves
- foil cookie sheets, newspaper, cardboard, or drop cloth
- 2 plastic flower pots from the dollar store
- heat gun or blow dryer
- resin (optional for top coat sealer)
- 4 wooden half balls for feet (optional)
- decorative handles (optional)
How to Do Acrylic Pour Painting (Dirty Pour)
If you're looking for a fun and easy crafting project, look no further than this acrylic pour painting on a Dollar Tree pizza pan tray!
This project is perfect for crafters of all skill levels, and you can customize the colors and design to suit your taste. For this tutorial, I'm sharing how to do what's called the “dirty pour” method. All of the acrylic paints are combined into one cup for pouring as opposed to each in their own cup.
So gather up your supplies and let's get started!
Step One
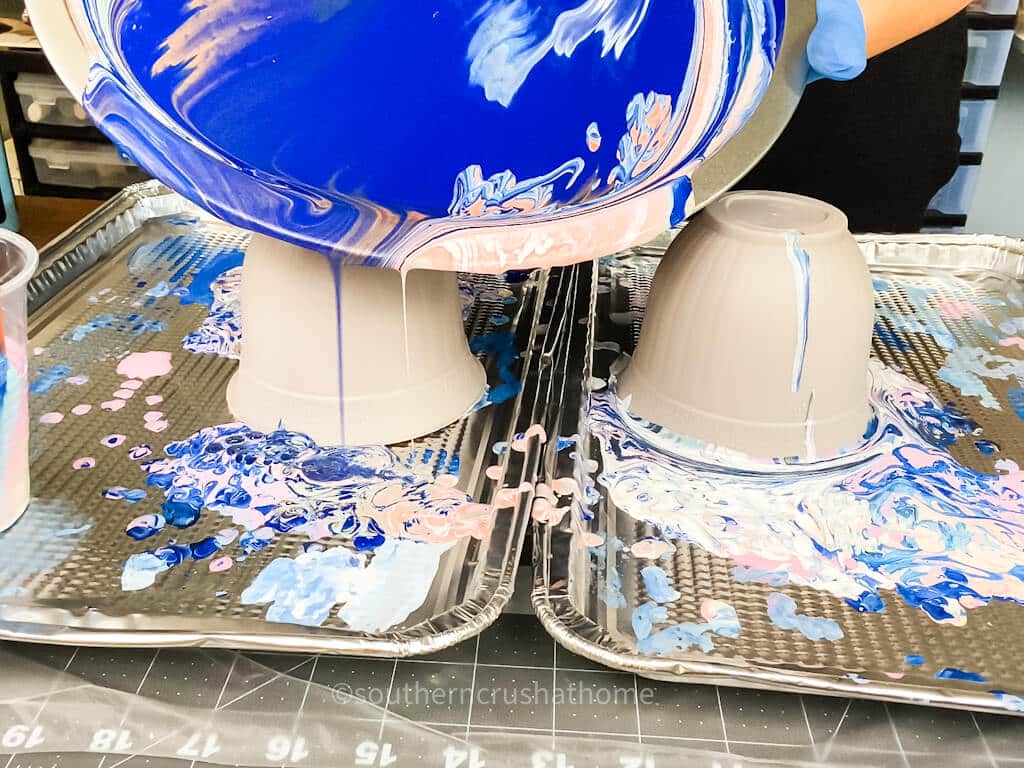
Before you begin, you'll need to prep your workspace. Place two plastic flower pots to act as risers on top of two foil cookie sheets from the Dollar Tree. If you cannot locate these, simply spread out some newspaper or a drop cloth to protect your surface, and make sure you have all of your supplies within easy reach.
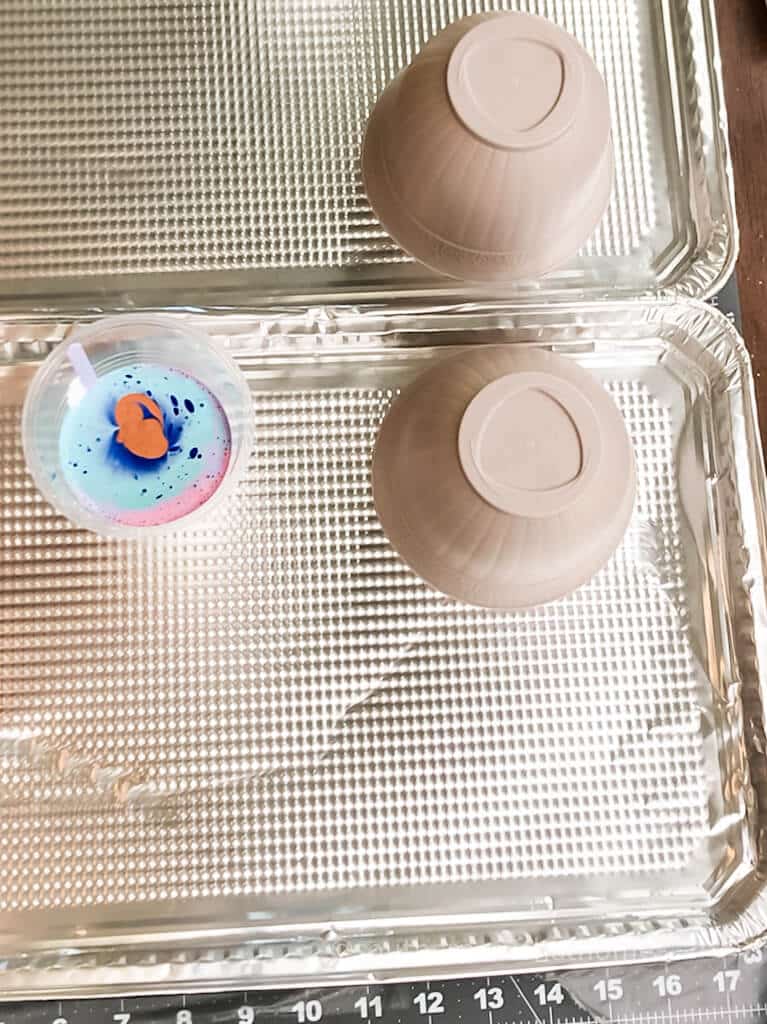
Step Two
Once your workspace is ready, it's time to prep the paint. If you are using regular acrylic paint, you will need to add a pouring medium per the instructions on the bottle. If you are using these super convenient “ready to pour” acrylic pouring paints simply begin adding them to your plastic cup one at a time. I like using a clear plastic cup to see the paint colors as they are added to the cup; however, this is totally optional.
Quick Tip: The first color added is the last color out, so be intentional here. If you want your design to be darker in the end, then add the darker colors first and more of them.
Step Three
Consider adding your paints to the cup in different ways to add interest to the final design. For example, add some paint close to the sides of the cup, add other paints directly into the center, and yet others in a swirly motion.
If you're using painters or masking tape, now is the time to tape off any areas that you don't want to be painted. Once the tray is prepped, it's time to start pouring!
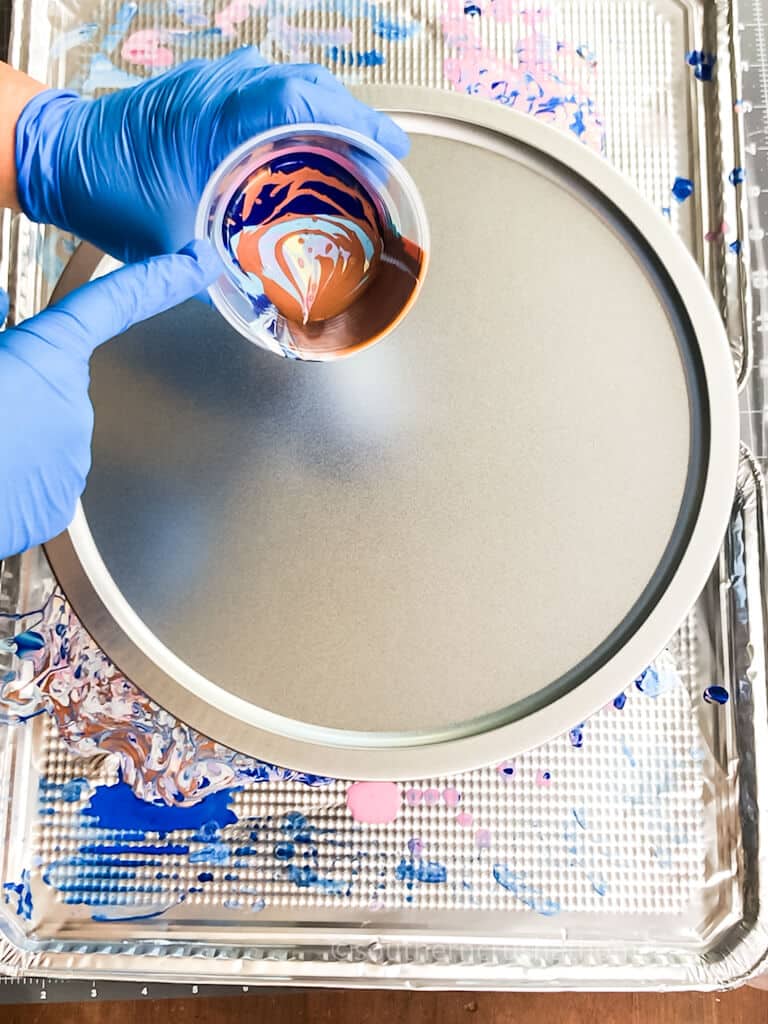
Step Four
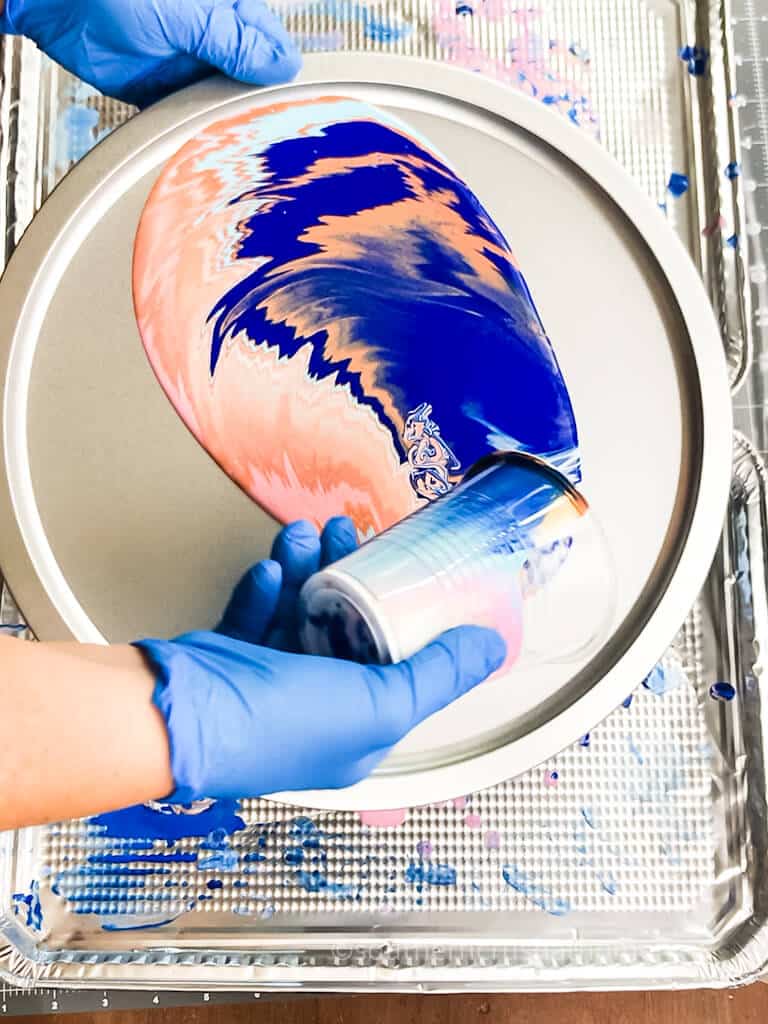
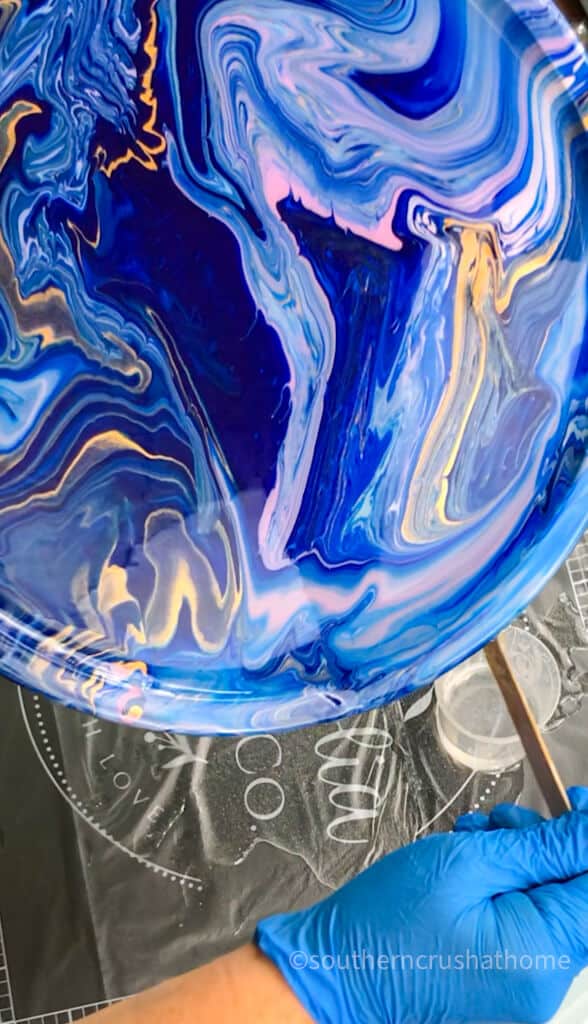
Now comes the fun part! Slowly pour out the cup of paint onto the pizza pan surface beginning in one area.
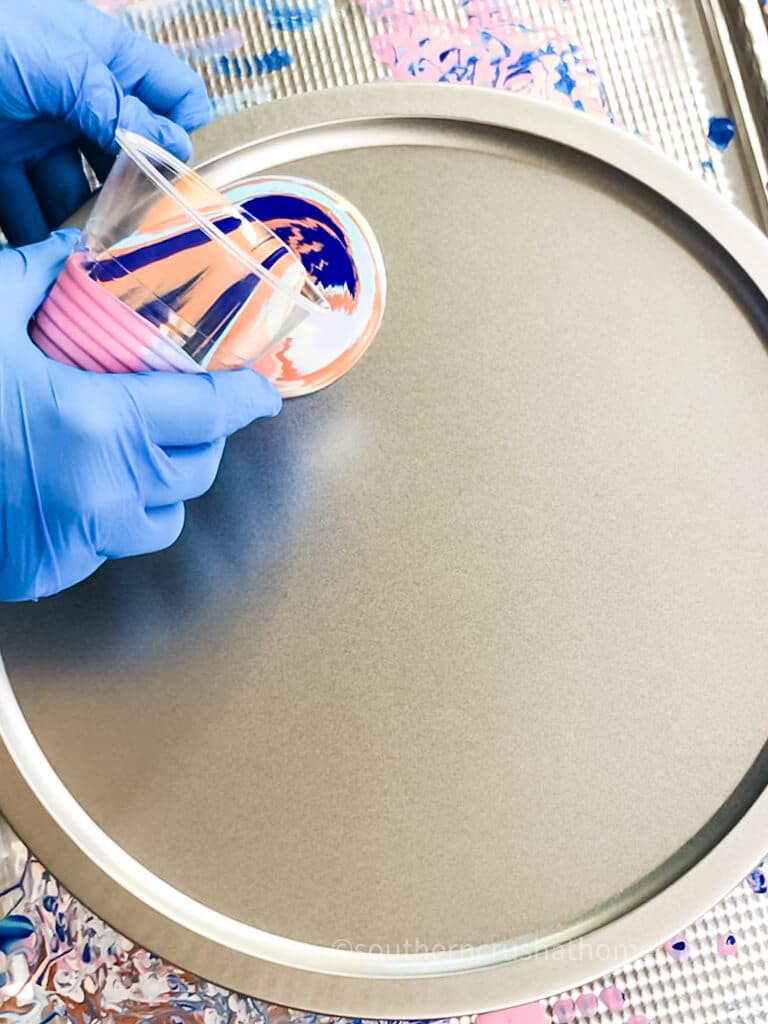
About halfway through your paint pouring, drag the paint across the pizza pan to spread out the rest of the pouring paint.
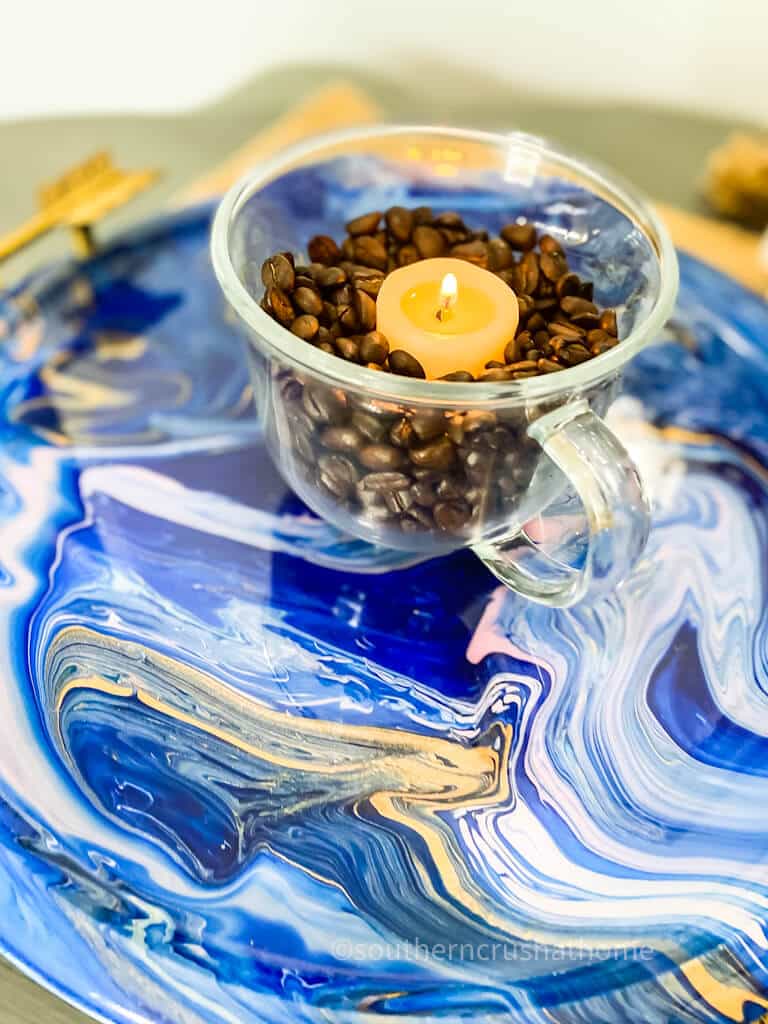
Have fun tilting the pizza pan in all directions and watching the acrylic paints dance around making a beautiful design.
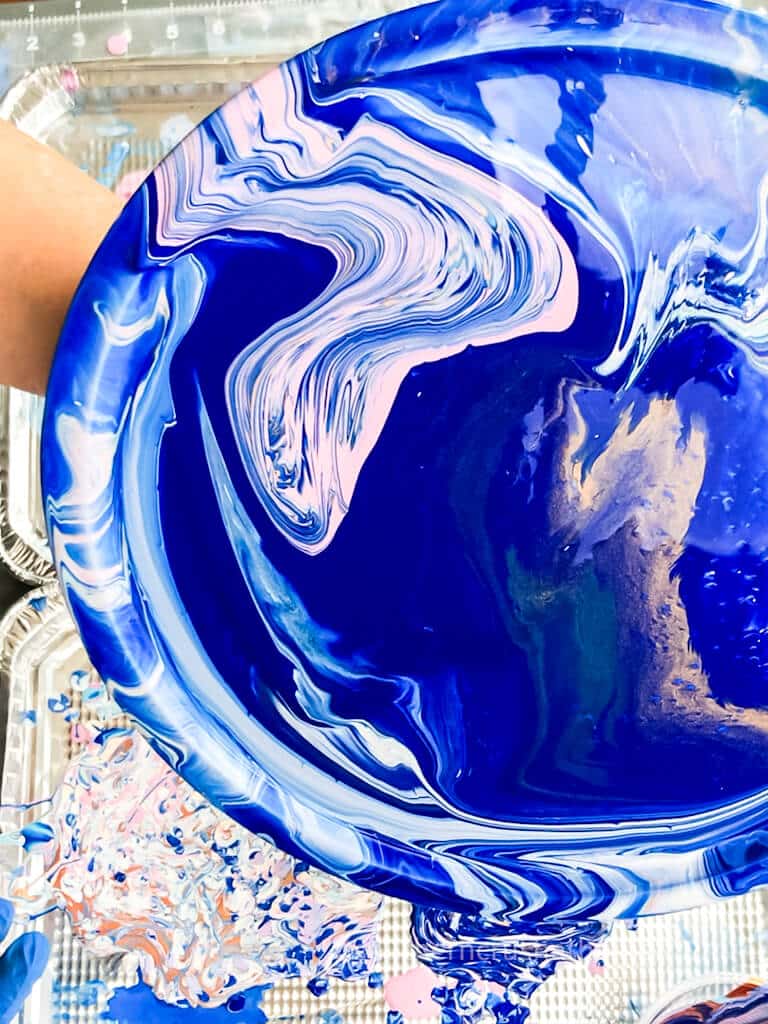
Make sure to pour over the edges if you want a full-coverage look to your new tray.
Step Five
Once you're happy with the design, hit it with the heat gun for a few minutes and then set the tray back onto your risers to dry overnight.
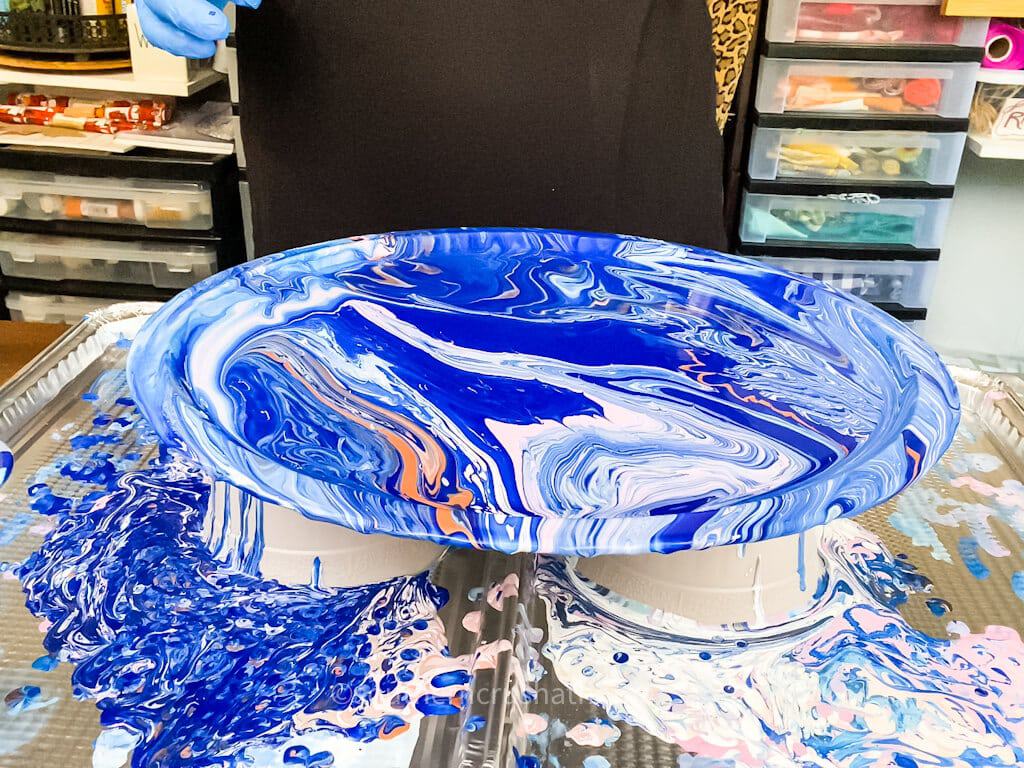
Step Six
If you want your design to have a gorgeous shiny finish consider adding a resin topcoat. It's easy and I highly recommend it!
Using a two-part resin like this one, mix the resin and pour it out onto the dried acrylic paint surface.
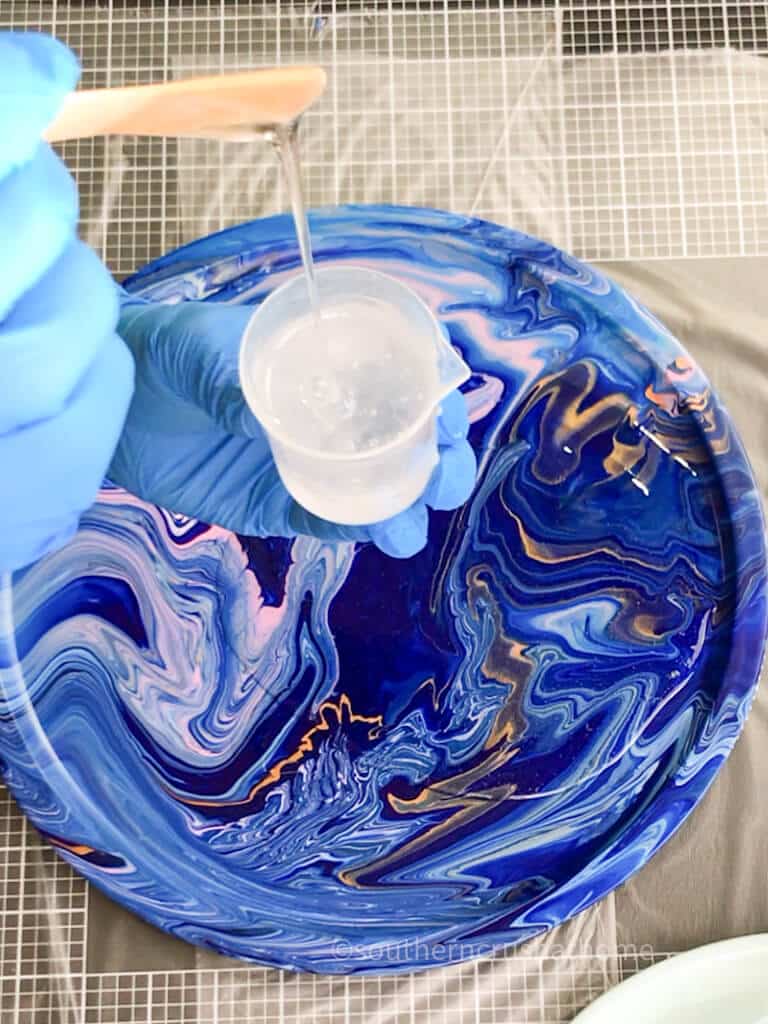
Use a craft stick to spread the resin out over the edges of the pizza pan and wipe away any drips.
Step Seven
A heat gun is the perfect finishing touch to pop any pesky bubbles that pop up on the top of your resin.
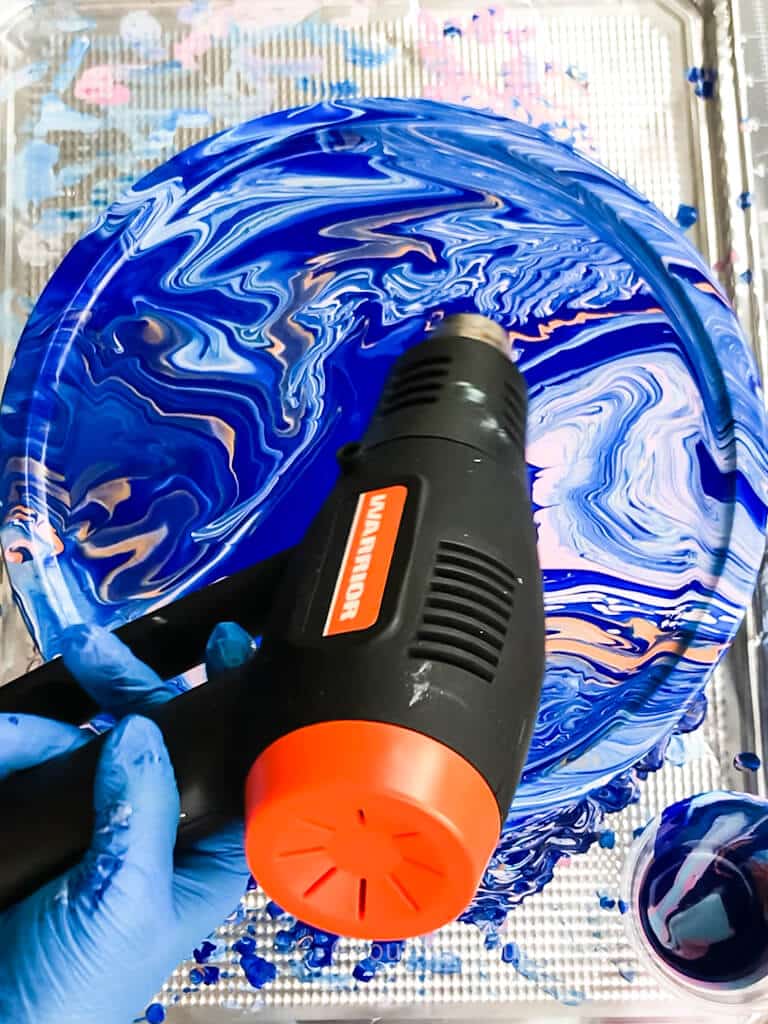
Once it is bubble free, set it aside to dry for another 24 hours.
Step Eight
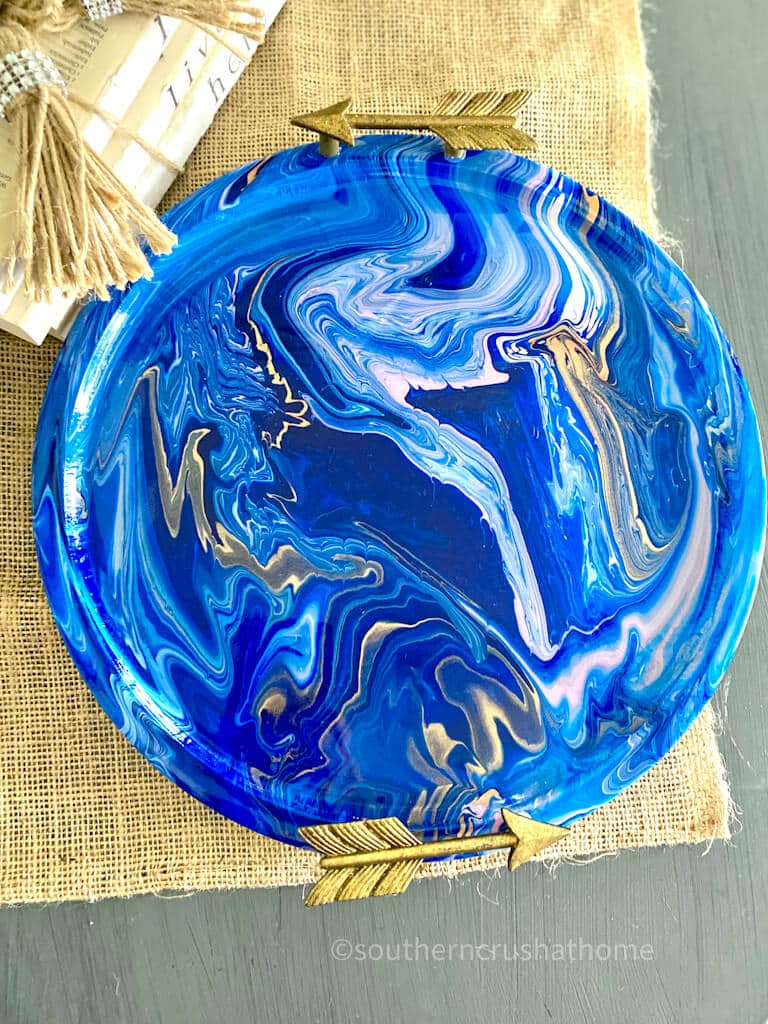
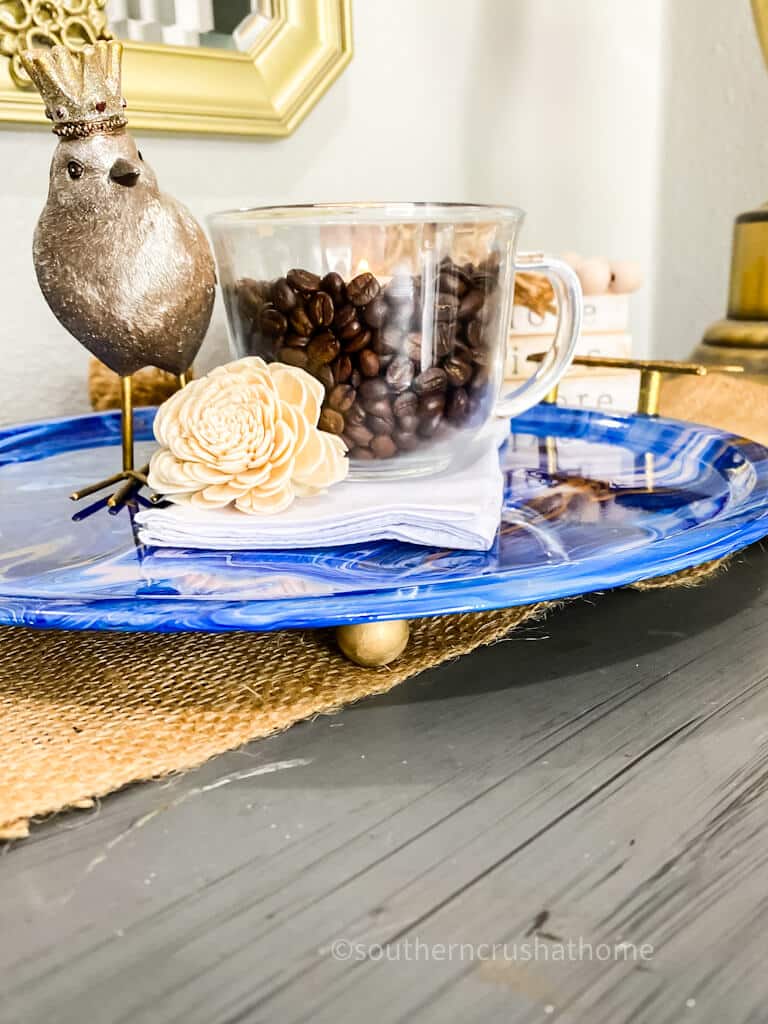
Optionally, you can add embellishments to your Dollar Tree pizza pan work of art like fun handles and/or little wood feet like the ones I added.
Knobs and Handles Shopping Video Tour
Watch the entire tour of my favorite Hobby Lobby knobs and handles for crafting below!
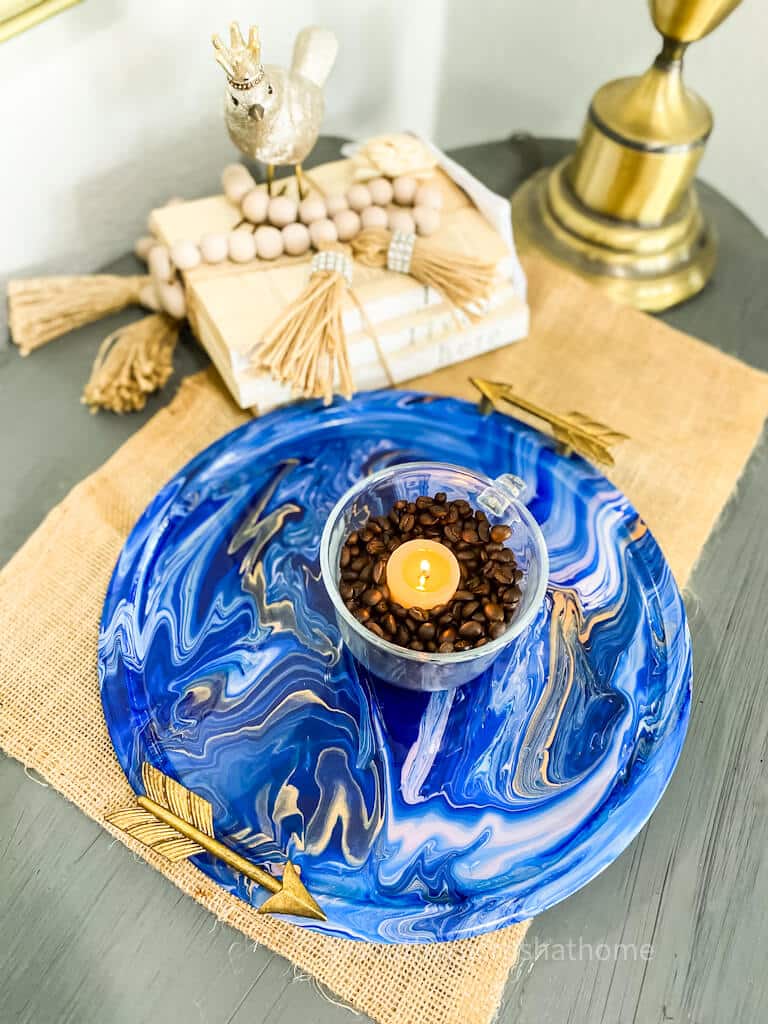
That's it! Enjoy your one-of-a-kind piece of art!
Traditional Paint Pouring Option:
To start, pour each color of paint into its own cup. Add an equal amount of pour medium to each cup and stir until well combined. Once all of the paint is mixed, it's time to start pouring! Begin by pouring small amounts of each color onto different sections of the tray. As you pour, tilt the tray back and forth so that the paint runs together. Continue until all of the paint is used up. You can also add in additional colors as desired.
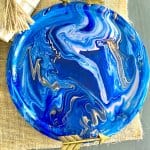
Once dry, your beautiful acrylic pour painting is complete!
Be sure to display your new work of art proudly for all to see.
I hope you have as much fun making this project as I did! If you're looking for more craft ideas, be sure to check out the rest of my blog for more inspiration.
Easy Acrylic Pour Painting on a Dollar Tree Pizza Pan: Step by Step Tutorial
Equipment
- heat gun
Materials
- dollar store pizza pan
- Ready to Pour Acrylic Paints
- acrylic paint in various colors
- pouring medium only if you're not using ready to pour paints
- plastic cup
- gloves
- 2 foil cookie sheets
- 2 plastic flower pots
- Resin Top Coat
Instructions
- Before you begin, you'll need to prep your workspace. Place two plastic flower pots to act as risers on top of two foil cookie sheets from the Dollar Tree. If you cannot locate these, simply spread out some newspaper or a drop cloth to protect your surface, and make sure you have all of your supplies within easy reach.
- Once your workspace is ready, it's time to prep the paint. If you are using regular acrylic paint, you will need to add a pouring medium per the instructions on the bottle. If you are using these super convenient “ready to pour” acrylic pouring paints simply begin adding them to your plastic cup one at a time. I like using a clear plastic cup to see the paint colors as they are added to the cup; however, this is totally optional.
- Now comes the fun part! Slowly pour out the cup of paint onto the pizza pan surface beginning in one area.
- About halfway through your paint pouring, drag the paint across the pizza pan to spread out the rest of the pouring paint.
- Once you're happy with the design, hit it with the heat gun for a few minutes and then set the tray back onto your risers to dry overnight.
- Using a two-part resin like this one, mix the resin and pour it out onto the dried acrylic paint surface.
- Use a craft stick to spread the resin out over the edges of the pizza pan and wipe away any drips.
- A heat gun is the perfect finishing touch to pop any pesky bubbles that pop up on the top of your resin.
- Once it is bubble free, set it aside to dry for another 24 hours.
This is amazingly beautiful!
Awe thank you so very much! I appreciate you!
Hi! How did you attach the handles?
with E6000 and hot glue as it’s not being used by the handles, but more “for looks”