Make A DIY Necktie Wreath From Thrift Store Finds (for Father’s Day)
Learn how to make this fun and unique upcycled DIY Necktie Wreath that's perfect for Father's Day. Look for neckties at thrift stores, antique markets or yard sales.

Be sure to PIN this for later!
Be Sure to PIN this for Later!
One of the things that makes crafting so fun is you can create things for each holiday or season without spending a lot of money. Did you see the neckties I found on my recent trip to the Salvation Army in Mansfield, TX! Look at all these lovelies:
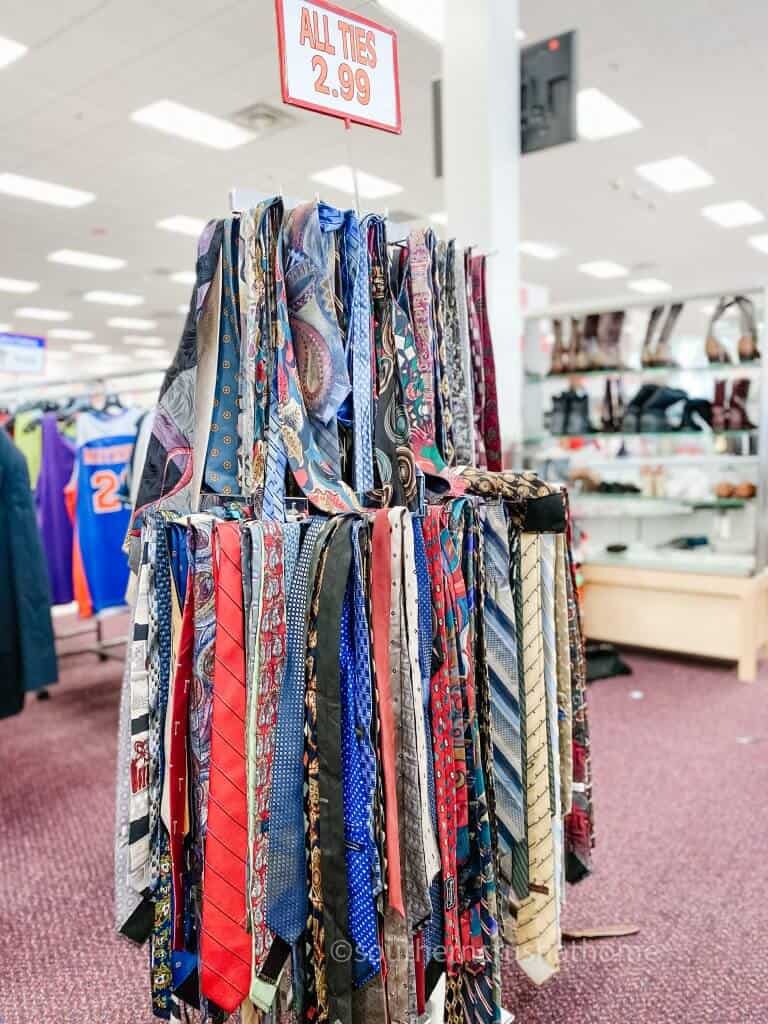
I knew they could be turned into something fun. You never know when inspiration will strike. With Father's Day just around the corner, I thought it would be super cute to use the ties to make a wreath for our front door. Let me show you what you need to make your own upcycled DIY necktie wreath.
WHAT YOU’LL NEED TO MAKE a DIY Necktie Wreath
- Assorted Neckties – choose different designs, but the same color family
- Grapevine Wreath
- Cricut Design Space – for free svg Cricut cut file
- Craft Paint – mine is from the Dollar Tree
- Wood Block – Dollar Tree

HOW TO MAKE A DIY Necktie Wreath
You can use a natural grapevine wreath, or paint it white. The white shows up a little better on the door. It's totally up to you.

Start by wrapping the tie around the wreath and securing it with a simple slip knot. This allows the neckties to hang nicely.

Repeat this process until all the neckties are tied to the wreath. I ended up using 6 neckties. I didn't want to cover the entire wreath, but liked how the ties looked hanging on the bottom of the wreath.

DIY Necktie Wreath
I wanted to make sure the tie's didn't slip off, especially if we get a storm, so I ended up adding a zip tie to each necktie.

Use wire cutters to snip off the excess zip tie.

NEXT…
Now that the neckties are secure, it's time to paint the wood sign for Father's Day. You can use craft paint and the SVG is free on Cricut Design Space.

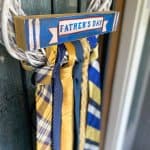
Use your hot glue gun to attach the sign to the wreath. This really makes this festive Father's Day wreath! Look how adorable it looks hanging on my front door!

And, I have a feeling I may be the only one in the neighborhood with a thrift store necktie wreath!

This is definitely a conversation piece and is something you can use year after year.

that's it!
Not only was this a super quick craft project, but it was also really inexpensive. It was under $20 for everything. You can't beat that!

What do you think? Is this something you could see yourself making? What about using neckties from a grandfather or father as a super sentimental wreath idea? This would be so fun for a special birthday celebration for a guy too. Just change out the sentiment for birthday instead of Father's Day.

Upcycled DIY Necktie Wreath
Equipment
- Wire cutters
Materials
- Assorted Neckties
- Grapevine Wreath
- Cricut Design Space
- Dollar Tree Wood Block
Instructions
- Wrap the tie around the wreath and secure it with a simple slip knot.
- Repeat this process until all the neckties are tied to the wreath.
- Add a zip tie to each necktie.
- Use wire cutters to snip off the excess zip tie.
- Paint the wood sign with craft paint.
- Hot glue the sign to the wreath
I always have the hardest time figuring out crafts for Father’s Day so thanks for a cute idea!
You’re so welcome!