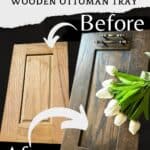
Easy Stained Wooden Ottoman Tray (with Watco Butcher Block Oil & Stain)
Adding a gorgeous wooden ottoman tray to your living space is a great way to sprinkle in some flair without breaking the bank. After a quick trip to the thrift store, you can turn an old, plain wooden cabinet door into a stylish and functional centerpiece for your ottoman. With Watco Butcher Block Oil & Stain, you'll have a foolproof way to achieve that classic timeless look! In this tutorial, I'm going to walk you through each step of creating this simple project using easy-to-follow instructions. So let's get started!

This blog post contains affiliate links. The opinions are wholly my own from my own experience. I may earn a small commission from clicks through to the websites that end in a purchase.
This post may contain affiliate links at no extra cost to you. *This post is sponsored by Rust-Oleum. Please see my full disclosure here.
This was such a fun DIY project that started with a quick visit to my local ReStore thrift store! I was on the hunt for the perfect wooden piece to use for an ottoman tray.

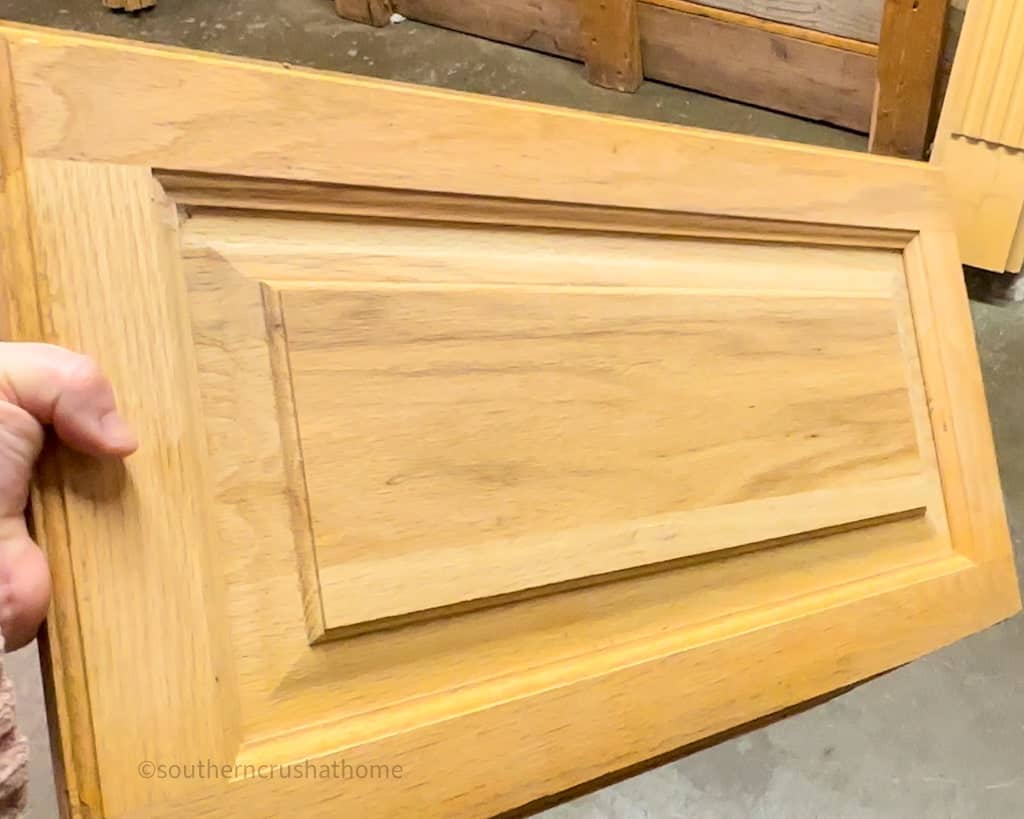
You can imagine my thrill when I saw that all cabinet doors were only $2.00 each!

All that was left to do was to pick out the perfect one! (Or should I say not so perfect one because all of them were old and well loved with lots of stains)
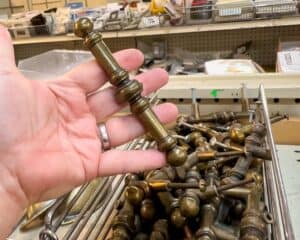
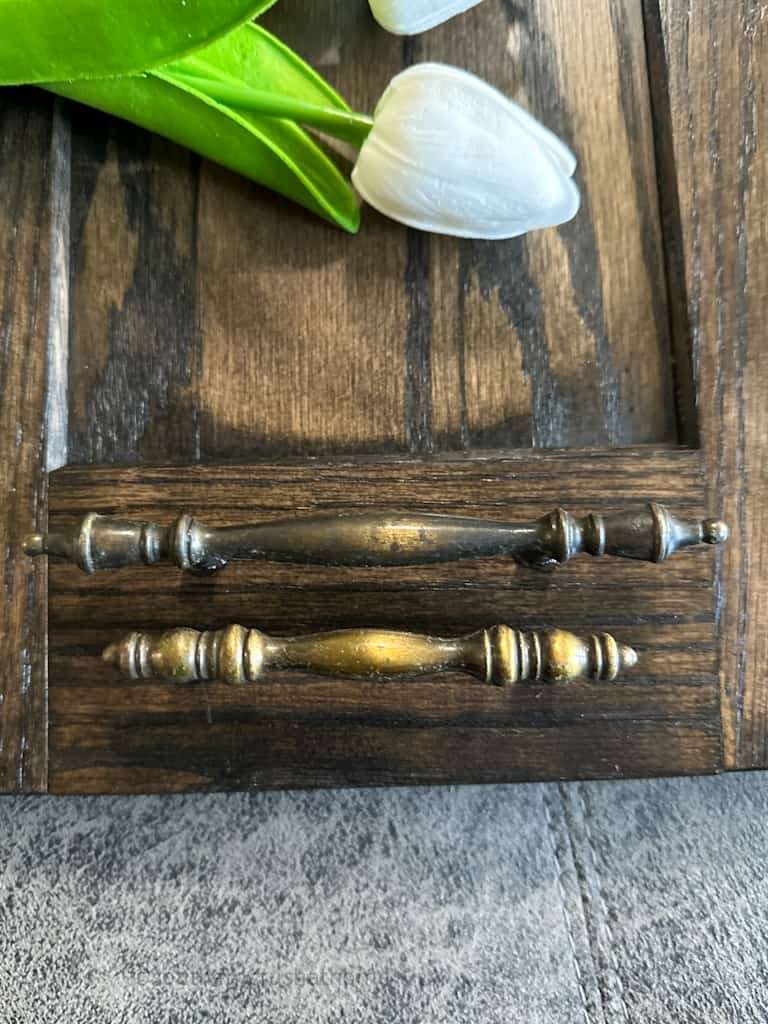
While I was there I stumbled across some amazing bins of random hardware for only .50 cents! They were full of all kinds of vintage poles and knobs and handles from times past. It was so much fun to dig through the bins but choosing just one matching pair was difficult and so what's a girl to do but buy two pairs of course!


Now let me share with you how I put these $4.00 worth of supplies together to make an amazing lady gorgeous ottoman tray and you can too!
Supplies Needed for This Simple DIY Project
- One medium-large wooden board (approximately 24″ x 16″ x 1″) or reclaimed wood like this cabinet door I grabbed at my local ReStore thrift store
- Watco Butcher Block Oil & Stain (choose your desired color between hazelnut or ebony)
- Fine-grit sandpaper 150 to 220 and 400
- Orbital sander (optional)
- Clean, lint-free rags or cotton pads (I use these)
- Two or Four drawer handles or cabinet pulls (optional)
- Screws and Drill
- Painter's tape (optional)
- Protective gloves
- Drop cloth or newspapers
Where can you find Watco Butcher Block Oil & Stain?
Watco Butcher Block Oil & Stain can be purchased at the following retailers:
Step by Step Tutorial for DIY Wooden Ottoman Tray
I'm going to show you how to create a stylish and functional stained wooden ottoman tray using Watco Butcher Block Oil & Stain. This is a super simple project and you will be amazed how easily it comes together. Let's dive in and get started!
YouTube Video Tutorial
I've also included this video tutorial if you would like to see further details and instructions.
Step 1: Prepare Your Work Space
Find a well-ventilated space to work in. I just went outside because it was a gorgeous sunny spring afternoon here in North Texas! Cover the surface with a drop cloth or newspapers to protect it from any spills or drips – and there will be spills and drips. Make sure you have all your materials and tools on hand before you begin because once you get started it's a pain to remove your gloves and run around crazy looking for what you need trying not to get stain on anything. (ask me how I know)
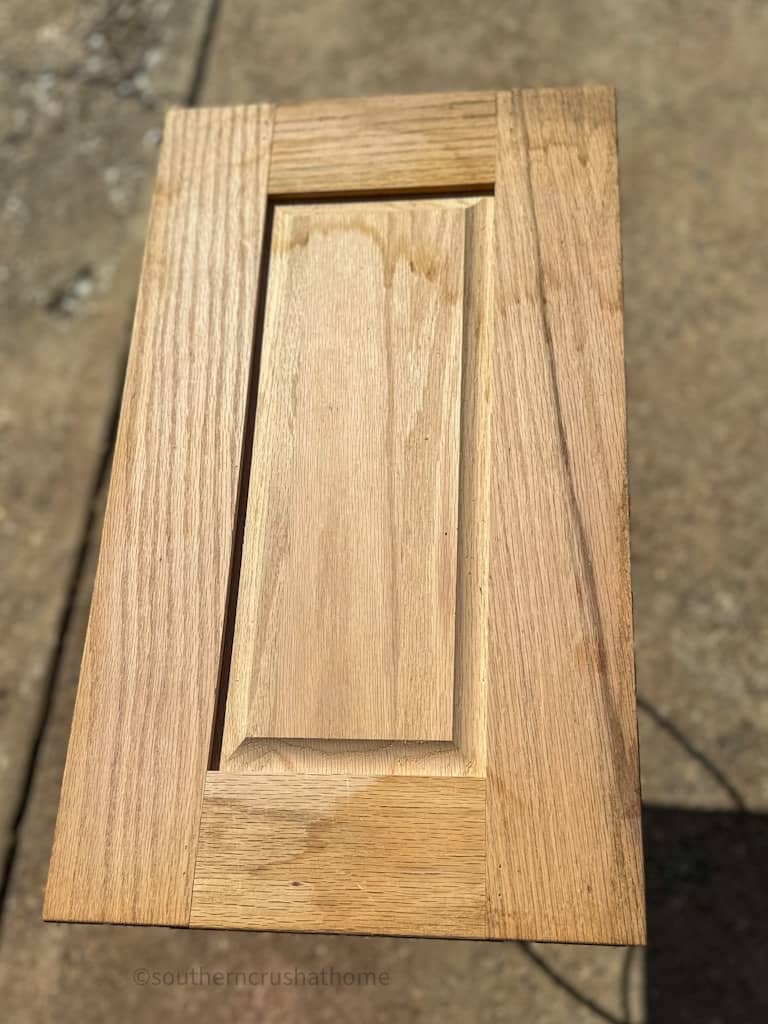
Step 2: Sand and Clean the Wooden Board
Using the 150 to 220-grit sandpaper, lightly sand the wooden cabinet door to remove any rough spots, splinters, or imperfections. Mine had what looked to be water stains on it, but they were super easy to remove by sanding.
I used my orbital sander to make this part of the process a snap! You will need to hand sand any nooks and crannies that the orbital sander cannot reach.
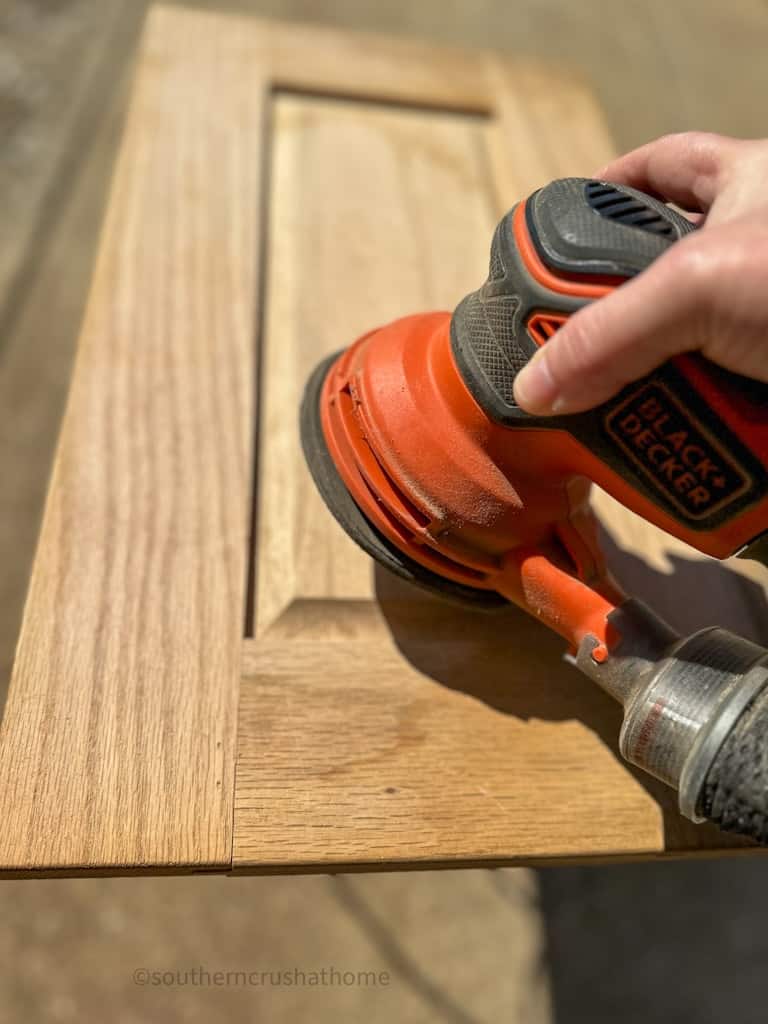
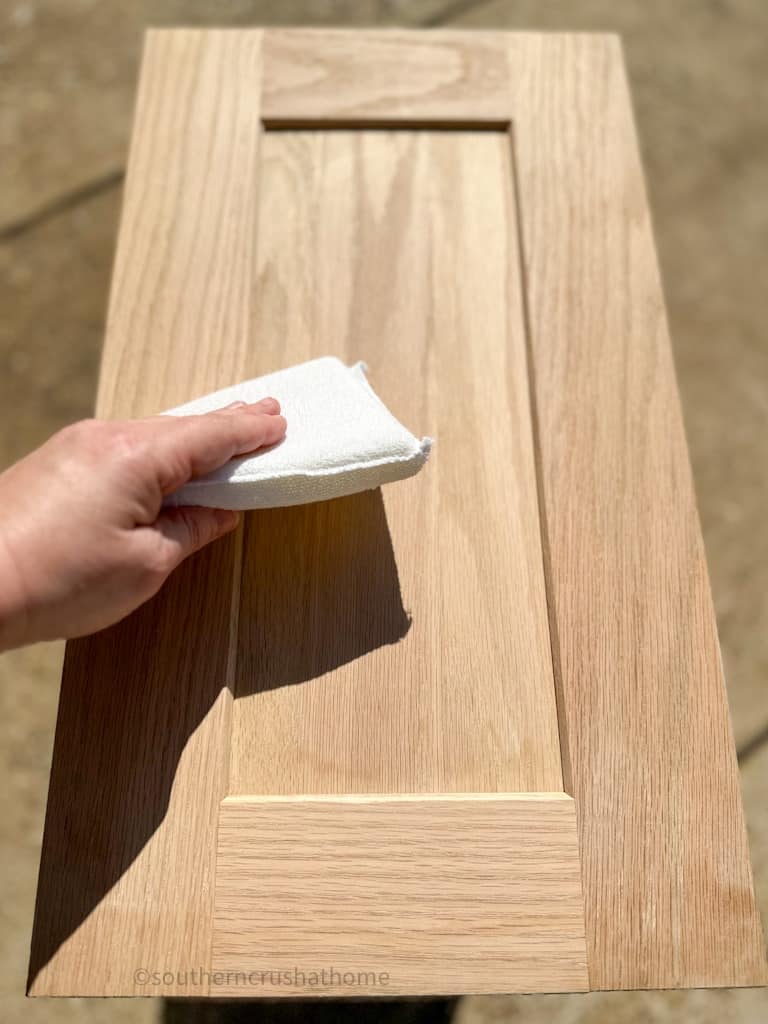
Be sure to sand the edges and corners as well and then wipe the board clean with a lint-free pad to remove any remaining dust. This part is a bit messy and I'm glad I was outside for it!
Step 3: Apply the Watco Butcher Block Oil & Stain
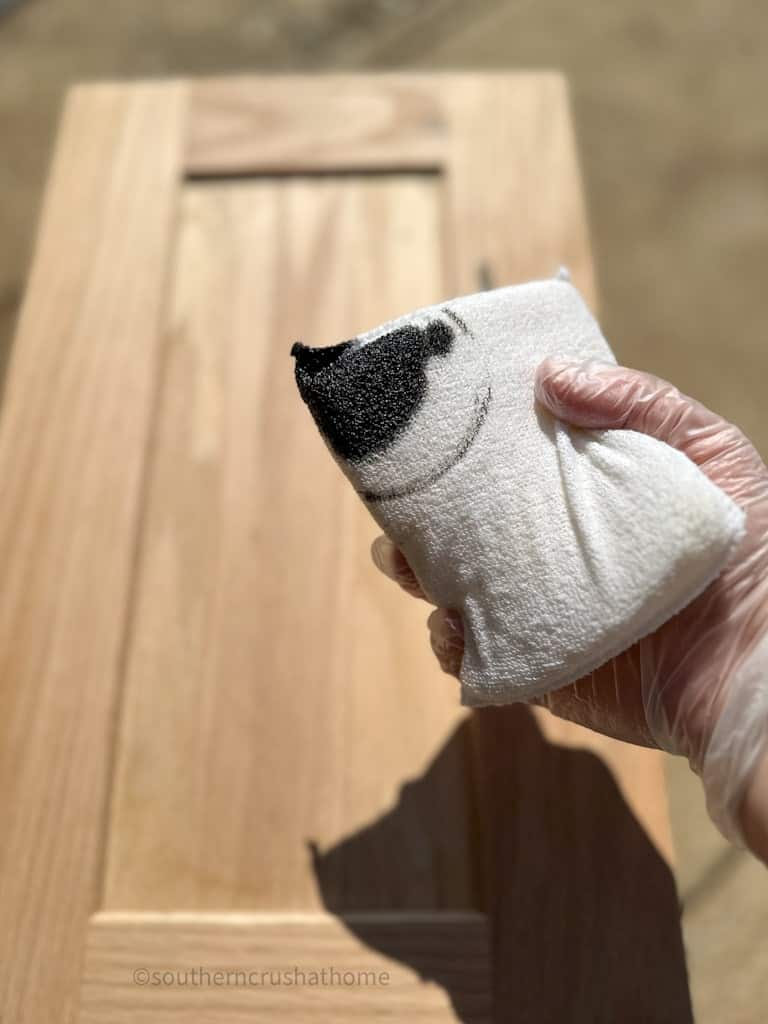
Put on your protective gloves. Shake and stir the Watco Butcher Block Oil & Stain well. Using a clean, lint-free rag, pad, or a paintbrush, dip a small amount to get started.
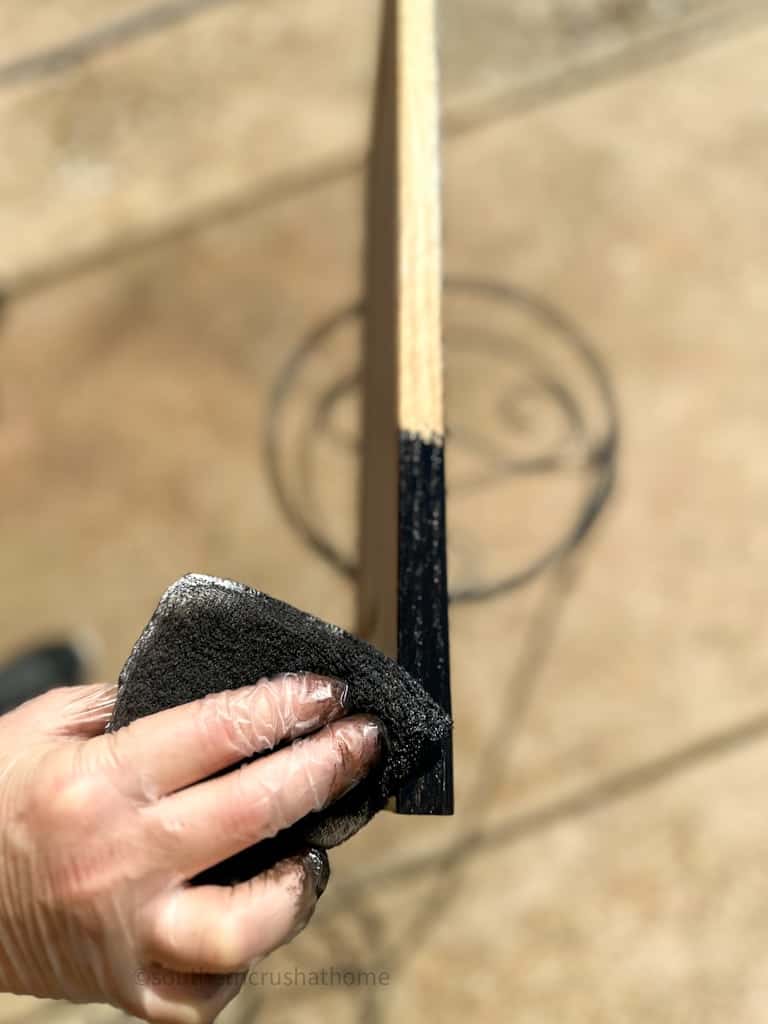
Next apply the stain evenly to a small section of the wooden cabinet door at a time. Gently wipe back any excess stain as you go.
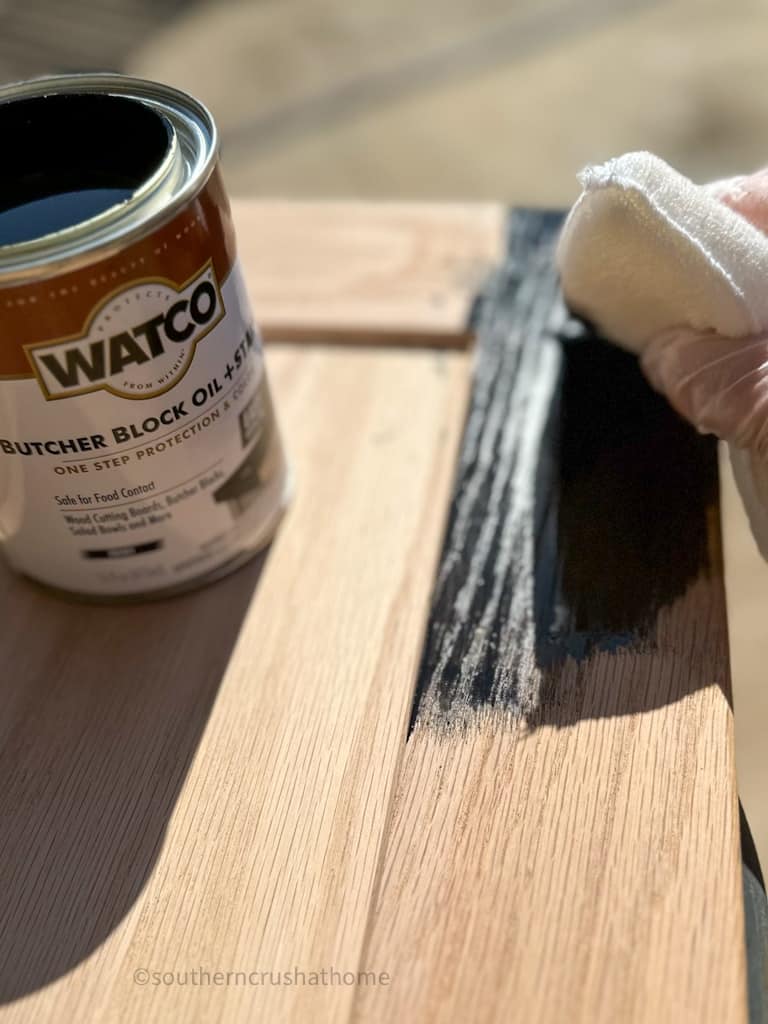
Continue over the entire piece and let dry for 6 hours.
Quick Tip: Be sure to follow the grain of the wood to ensure the best outcome and overall look of the stain on your piece.
Step 4: Sand and Stain for a Second Time
Once dry, lightly “scuff” sand using the 400 grit sandpaper then wipe clean again. Add the additional coat of the Watco Butcher Block Oil & Stain. This will make for a deeper, richer color, following the same procedure as above.
Step 5: Let the Stain Dry
Allow the stained wooden board to dry for at least 72 hours before using the newly stained wooden ottoman tray.
Step 6: Attach the Handles (Optional)
If you've chosen to add handles or cabinet pulls to your ottoman tray (which of course you have, because they certainly take it up a notch or two), measure and mark the desired positions on the board.
Quick Tip: Using painter's tape the length of your handle mark with a Sharpie permanent marker two dot indicating where your screws need to be.
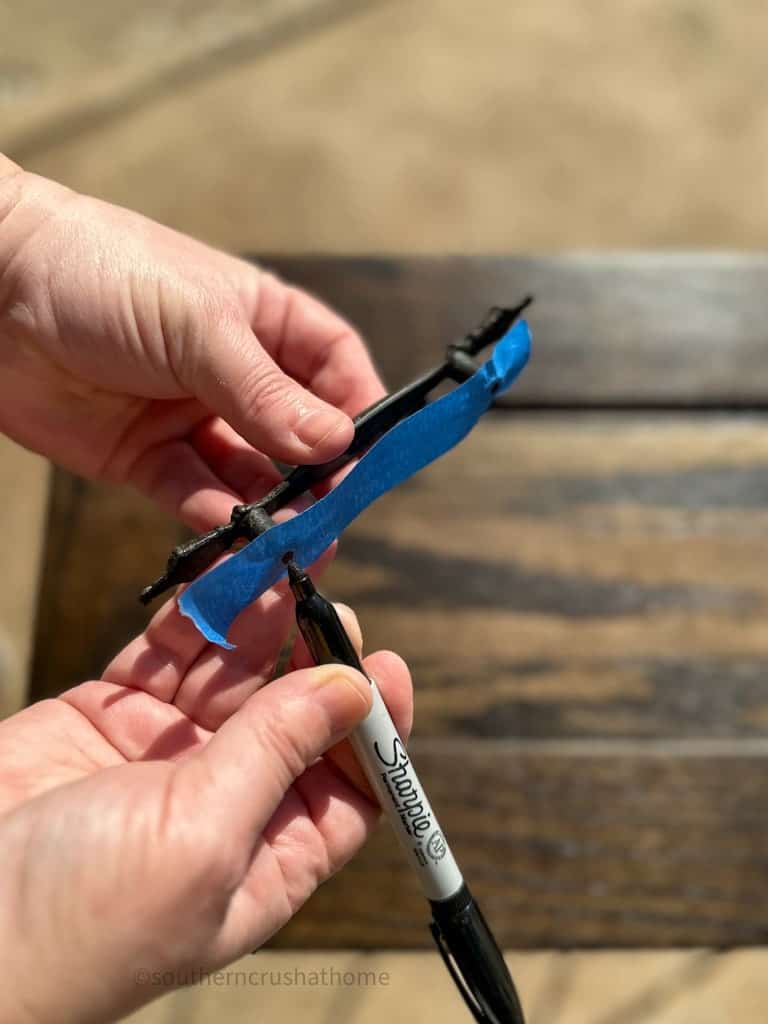
Then simply place the painter's tape on the cabinet door where you want the handles to live. Now you're ready for drilling your holes in just the right spot!
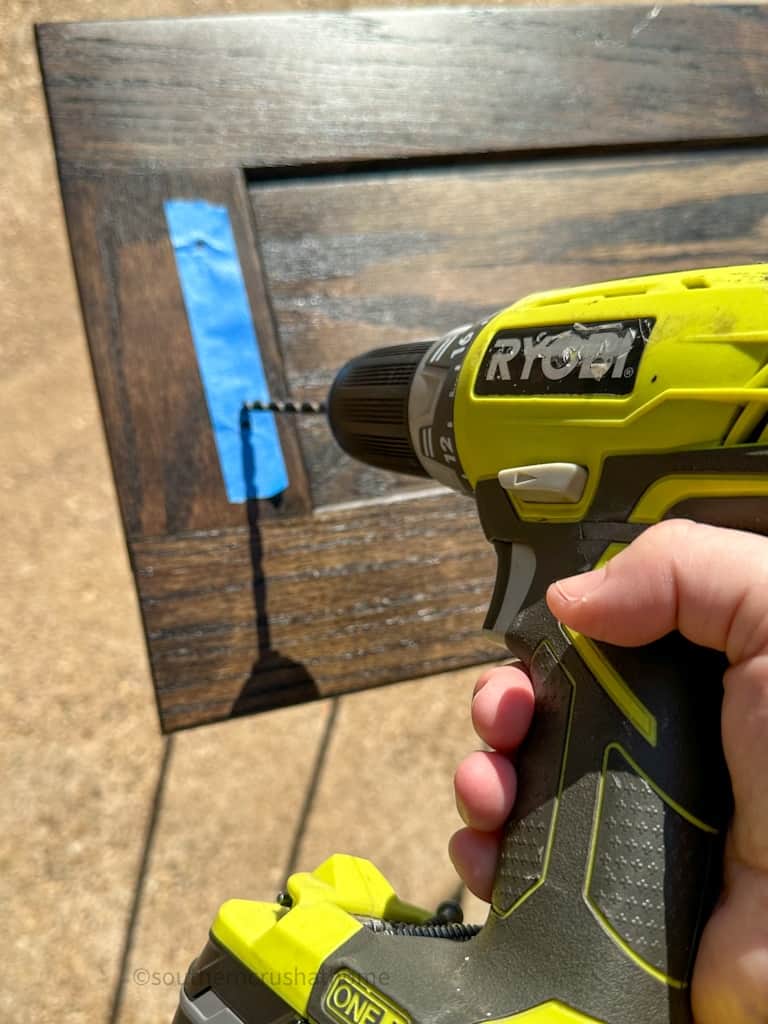
Use a drill, make holes to attach the handles with screws, ensuring they are secure and level.
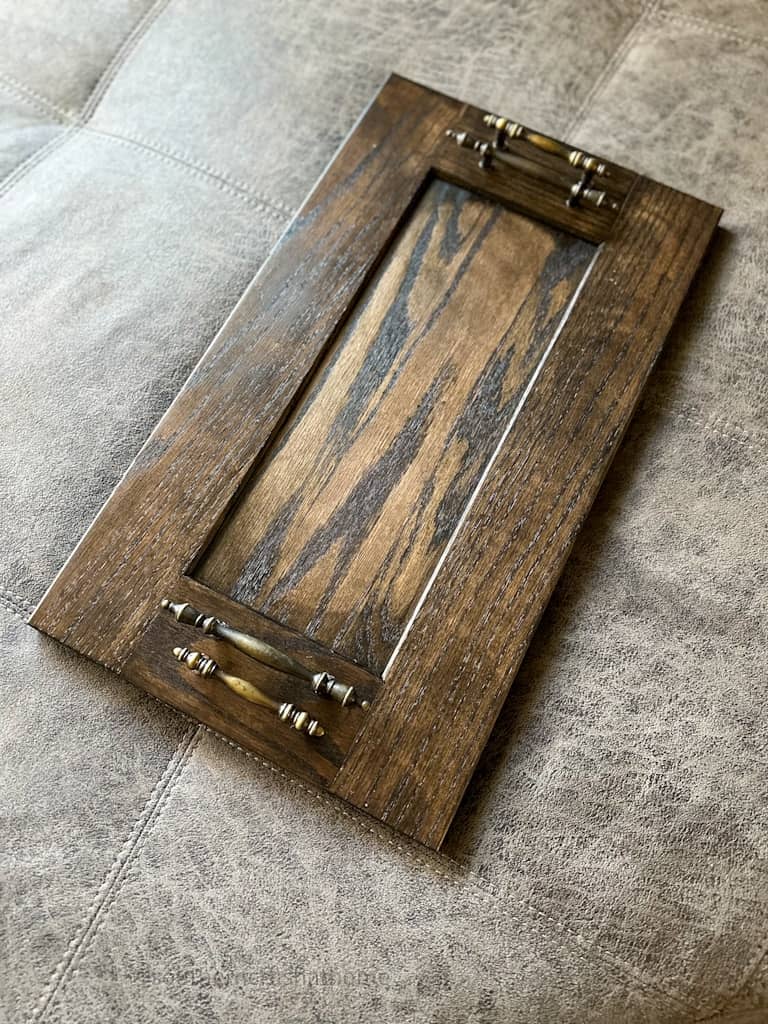
I found these vintage handles while at the same thrift store shopping for the cabinet door and I couldn't decided on which ones I liked better so I went with a funky, modern look using not one, but two handles on each end of the ottoman tray. What do you think?
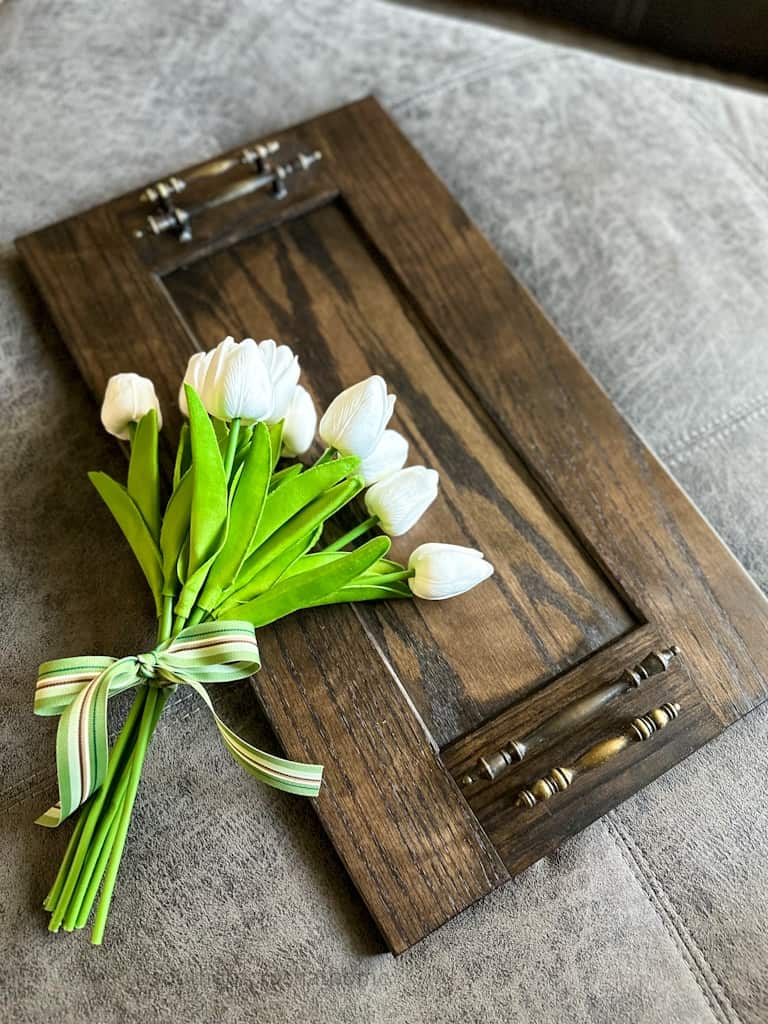
Step 7: Style Your Stained Wooden Ottoman Tray
Once your stain is dry and handles are attached, your stunningly gorgeous stained wooden ottoman tray is ready to use! Look at that rich wood grain shining through the ebony stain…ahhh!

Place it proudly on your ottoman and enjoy the beauty and style it brings to your living space.
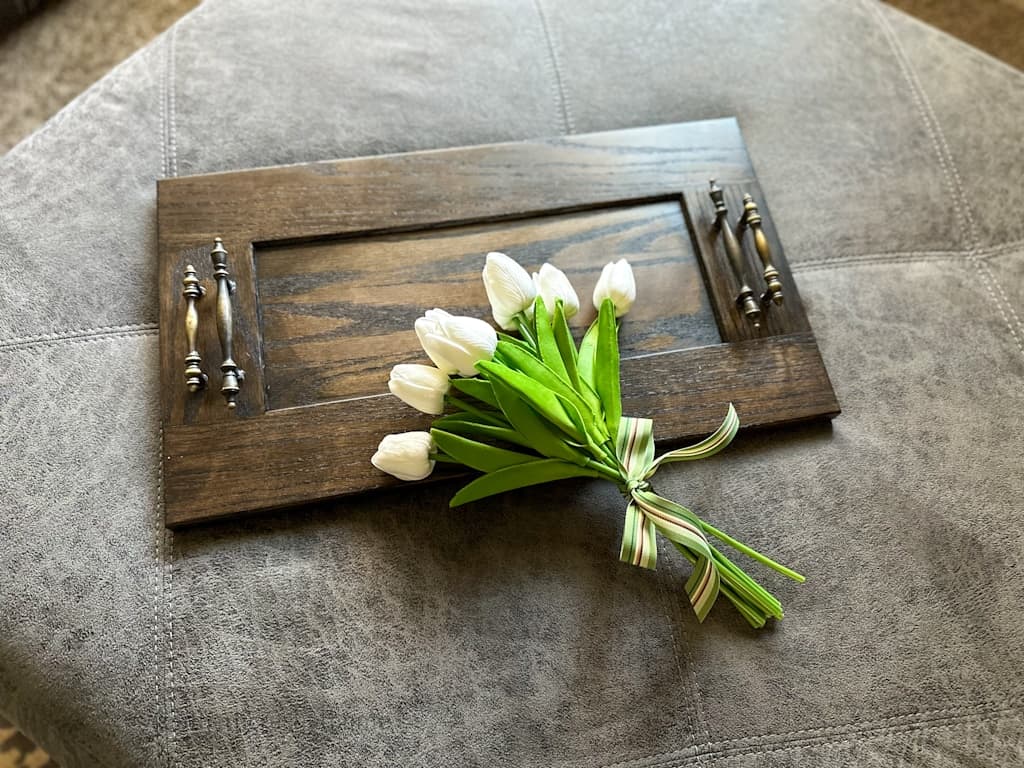
It's perfect for placing candles, flower, coasters for drinks, books, or simply the remote control on so you'll always know where to find it! LOL!
There you have it – an easy DIY tutorial on creating your own stained wooden ottoman tray using Watco Butcher Block Oil & Stain. This project not only adds a touch of sophistication to your living area but also makes you proud of your hard work. Happy DIY-ing!
Easy Stained Wooden Ottoman Tray (with Watco Butcher Block Oil & Stain)
Equipment
- Painter's tape (optional)
- Protective gloves
- Drop cloth or newspapers
Materials
- One medium-large wooden board approximately 24″ x 16″ x 1″ or reclaimed wood like this cabinet door I grabbed at my local ReStore thrift store
- Watco Butcher Block Oil & Stain choose your desired color between hazelnut or ebony
- Fine-grit sandpaper 180 or 220 and 400
- Two or Four drawer handles or cabinet pulls (optional)
- Cotton pads
Instructions
- Prepare Your Work Space
- Sand and Clean the Wooden Board
- Apply the Watco Butcher Block Oil & Stain
- Sand and Stain for a Second Time
- Let the Stain Dry
- Attach the Handles (Optional)
- Style your Ottoman Tray