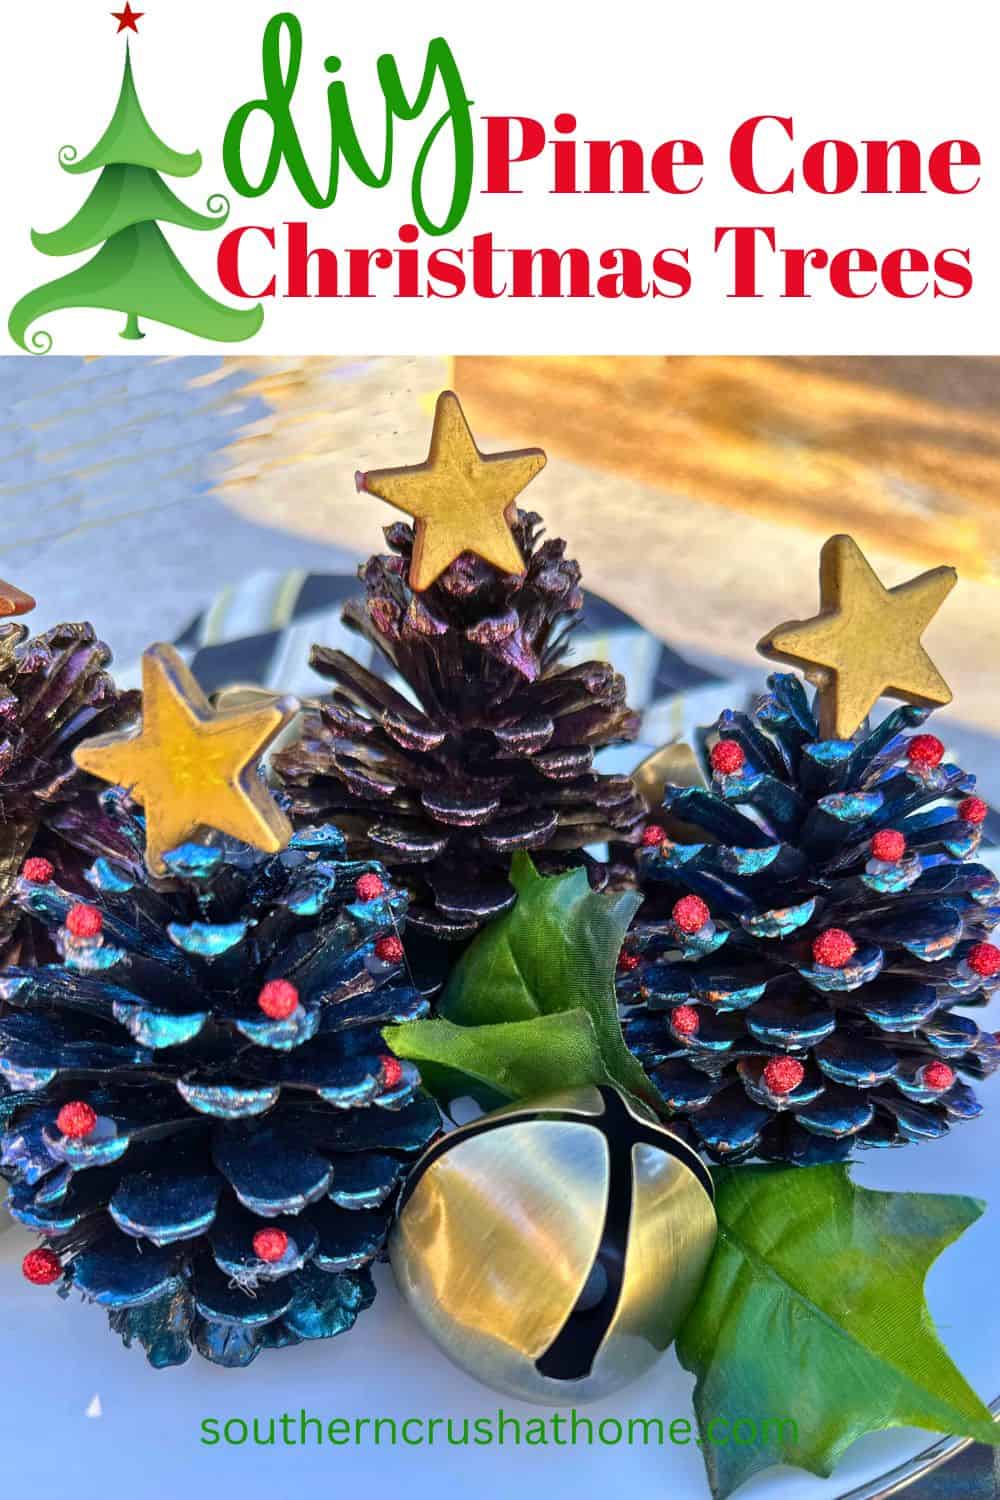
Easy Pine Cone Christmas Tree Craft to Brighten Up Your Holidays
The holiday season will be upon us soon and it’s time to start thinking about Christmas decorations. If you’re looking for a fun and easy project to do with your family or friends, try making a pine cone Christmas tree.
PIN this for later!
It’s an inexpensive way to add a touch of festive cheer to your home, and it’s a great way to get into the holiday spirit. In this blog post, I'll show you how to make a beautiful pine cone Christmas tree that’s perfect for any little spot in your home.
This blog post contains affiliate links. The opinions are wholly my own from my own experience. I may earn a small commission from clicks through to the websites that end in a purchase.
Pine cones are a versatile and beautiful natural element that can be used in a variety of crafts and decorations. Whether you gather them on a nature walk or purchase them from a craft store, pine cones exude a certain rustic charm that is hard to resist.
Their unique shape and texture add an interesting dimension to any project, and they can be easily painted, glittered, or strung together to create a one-of-a-kind piece.
Use them to make a festive wreath for your front door or hot glue them onto a picture frame to give it some character.
Whatever you choose to do with them, pine cones are sure to add a touch of natural beauty to your home décor.
Supplies Needed
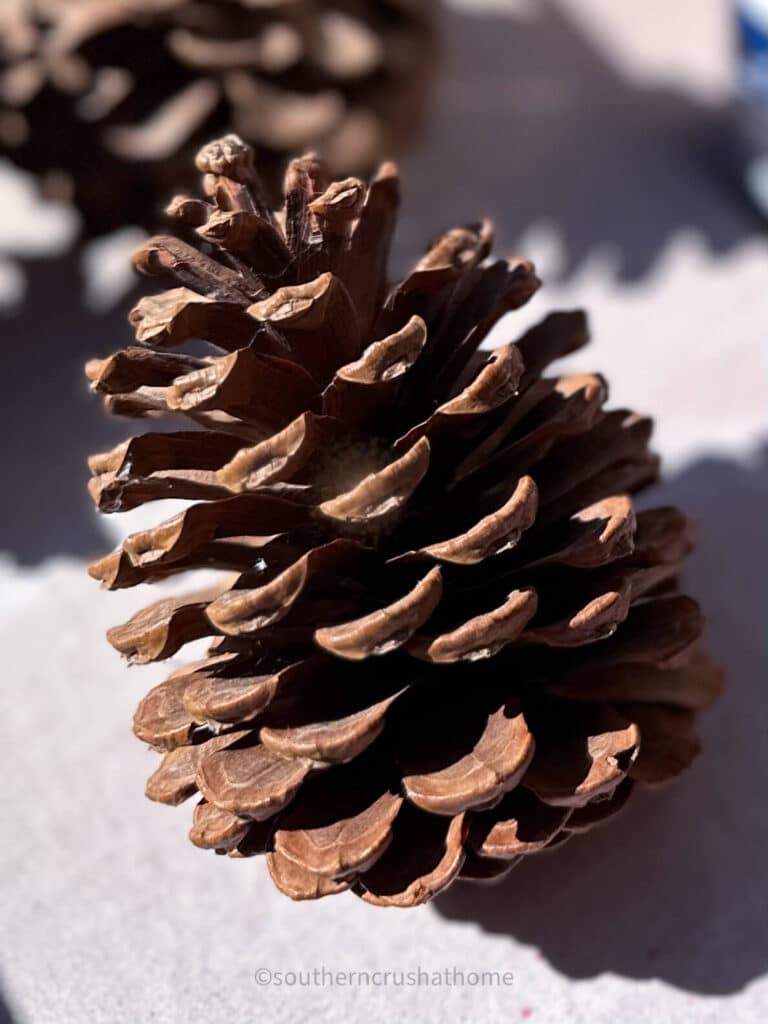
- pine cones in various sizes
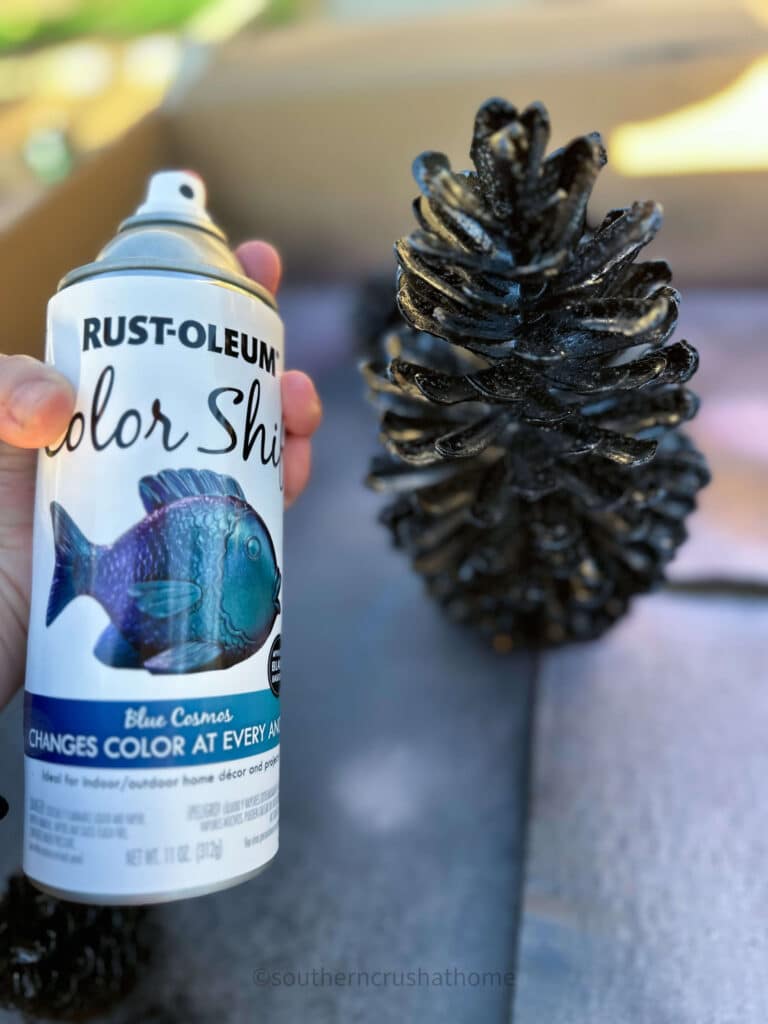
- black base coat spray paint
- Rust-Oleum Color Shift in Champagne Pink and Turquoise Waters
- hot glue
- star
- red berries
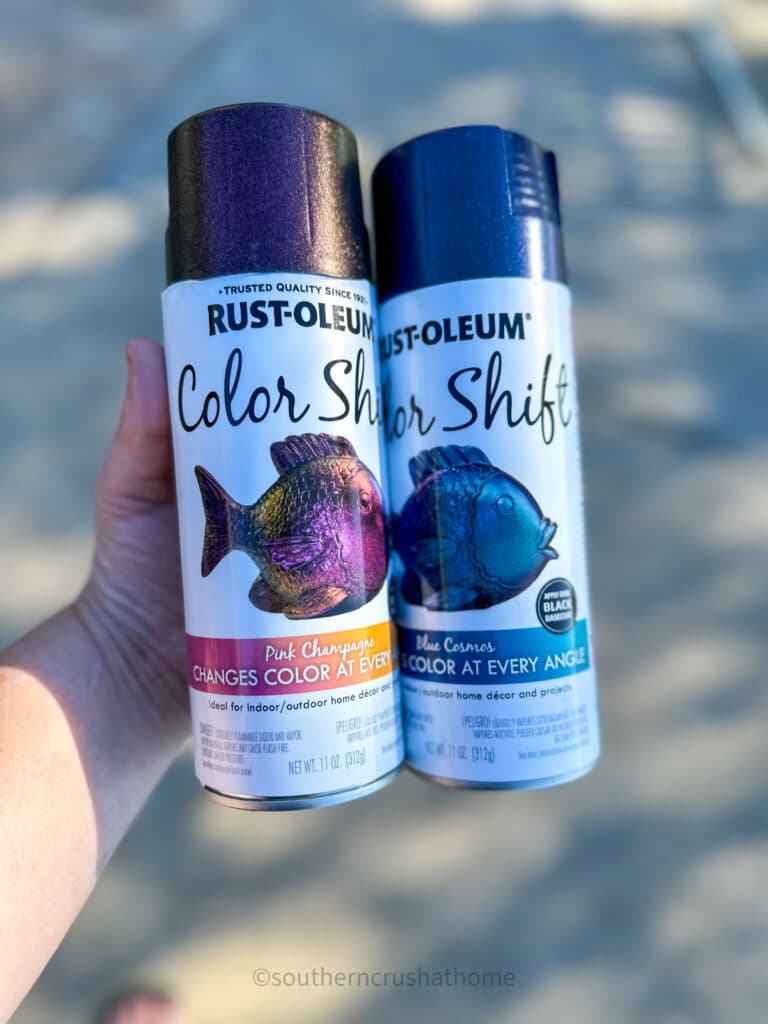
Where to Shop for Rust-Oleum Color Shift Spray Paints
- Joann
- Menards
- Do-It-Best Stores
- Amazon
YouTube Video Tutorial
If you prefer to watch a video tutorial as well, my YouTube video is below with step by step instructions.
How to Make a Pine Cone Christmas Tree
Step 1 – Paint the Base Coat
Start by cutting off the bottom of the pine cones with scissors so they can stand upright. Next, in order for the color shift paint to pop at its best, the pine cone needs a base coat of any black spray paint.
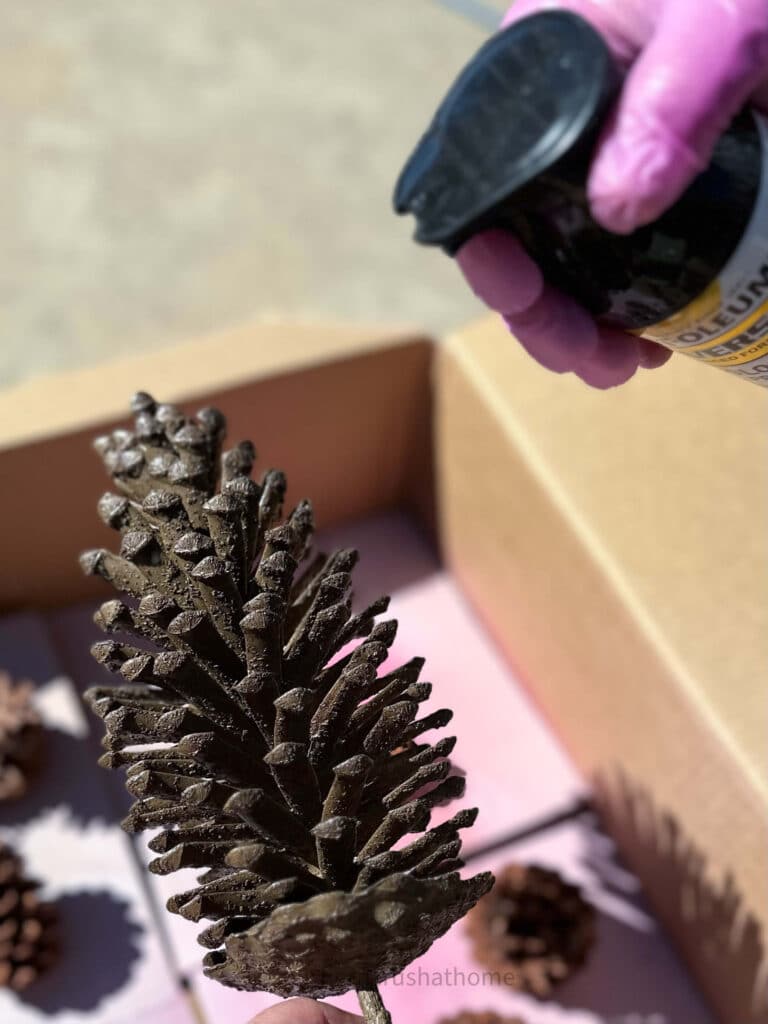
Coat them each well using light even strokes.
Step 2 – Paint the Pine Cones
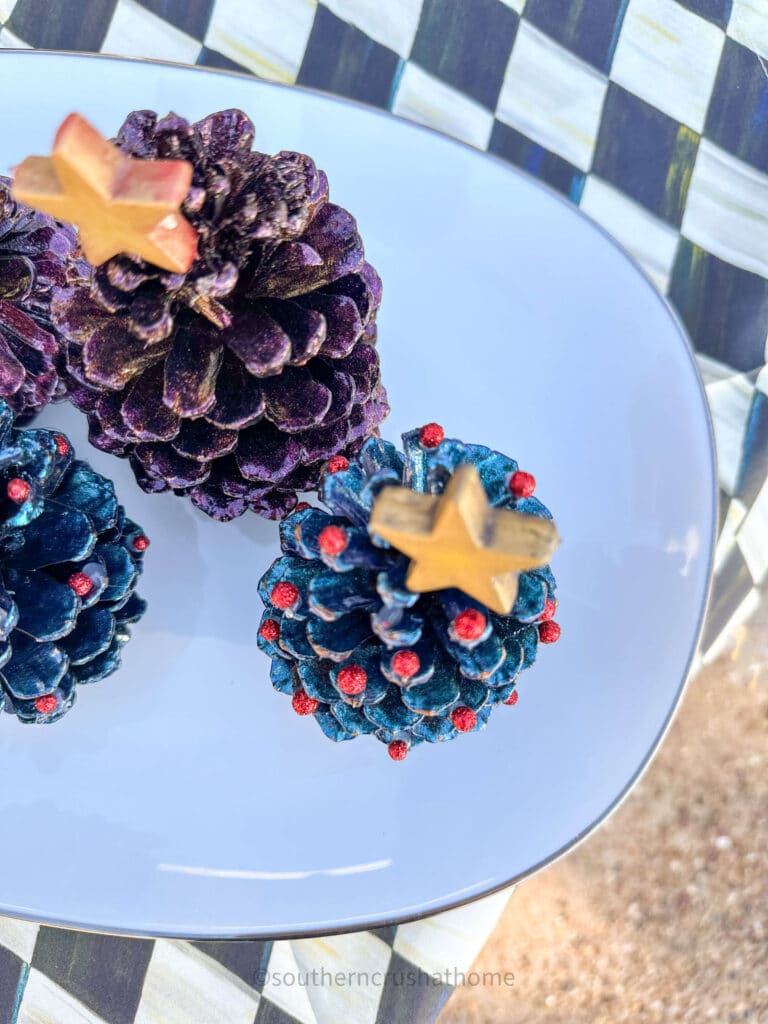
Paint each of the pine cones with the color shift colors. Apply as many coats as needed to achieve your desired look, allowing pine cones to dry between coats.
Step 3 – Decorate with a Star and Red Berries
Once all of the pine cones are completely dry, you can add some decorations. This is a chance to really get creative!
You can use small ornaments, lights, or even a star on top. You can also add some glitter, fake snow, or ribbons to make it more festive.
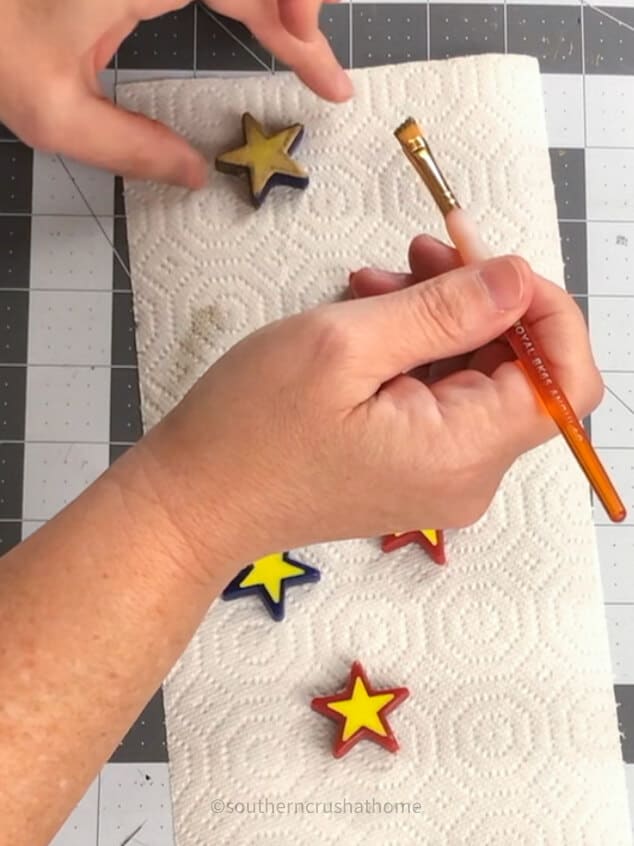
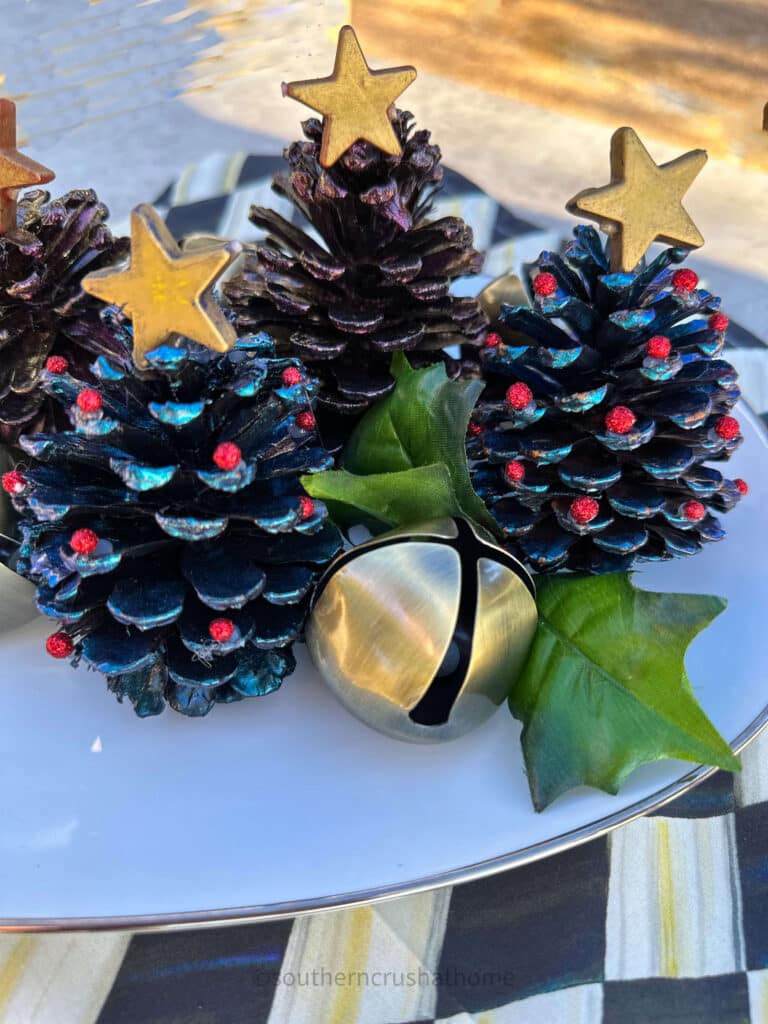
I added some stars that were candles and used a gold wax coating to make them pop.
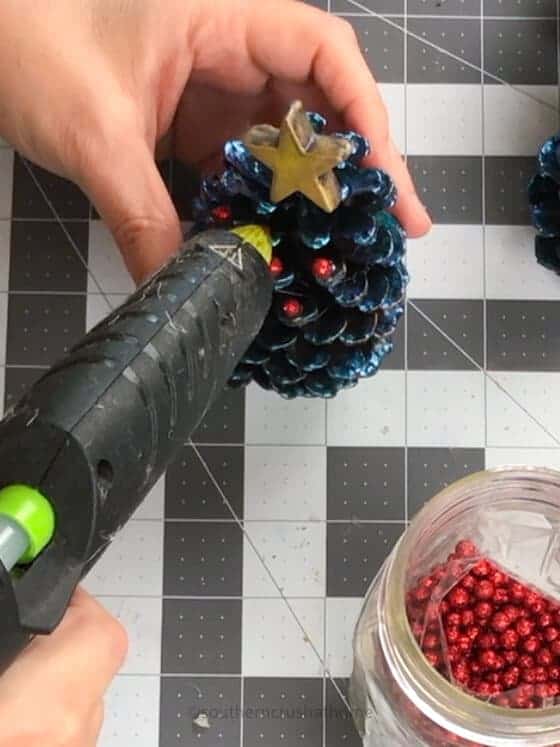
I attached the stars with hot glue to the top of the pine cones.
Finally, I added some sparkly red berries to a few of the pine cone “branches” to make my pine cone Christmas tree look like a decorated Christmas tree.
Step 4 – Display Your Pine Cones
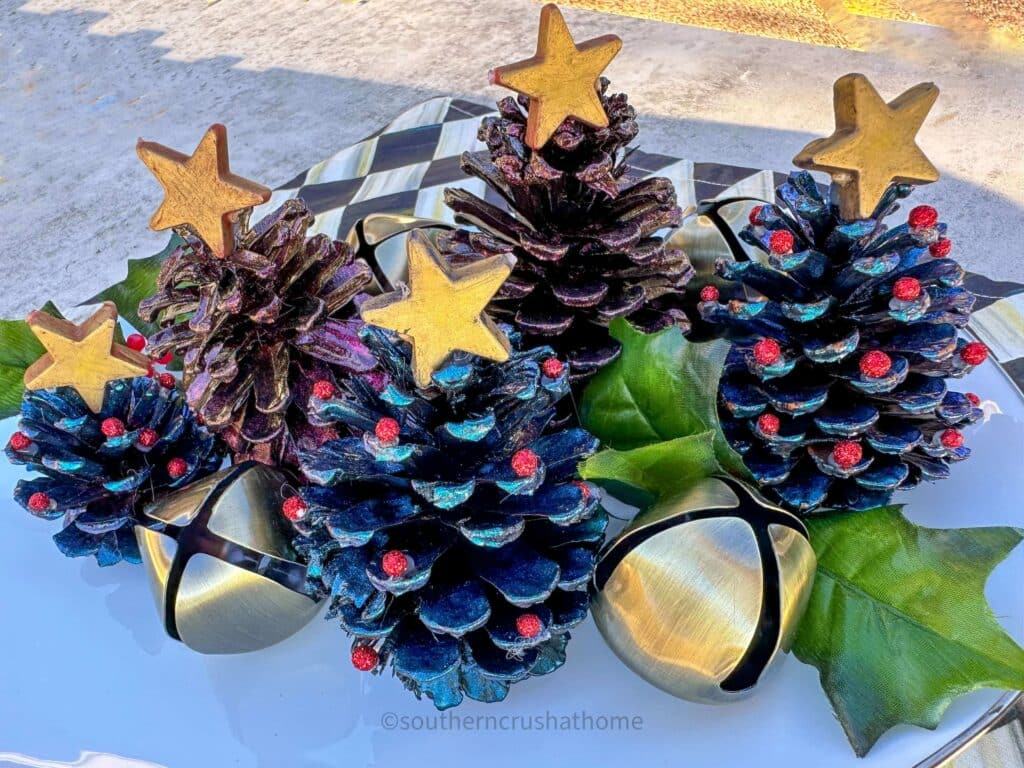
Your pine cone Christmas tree is now complete!
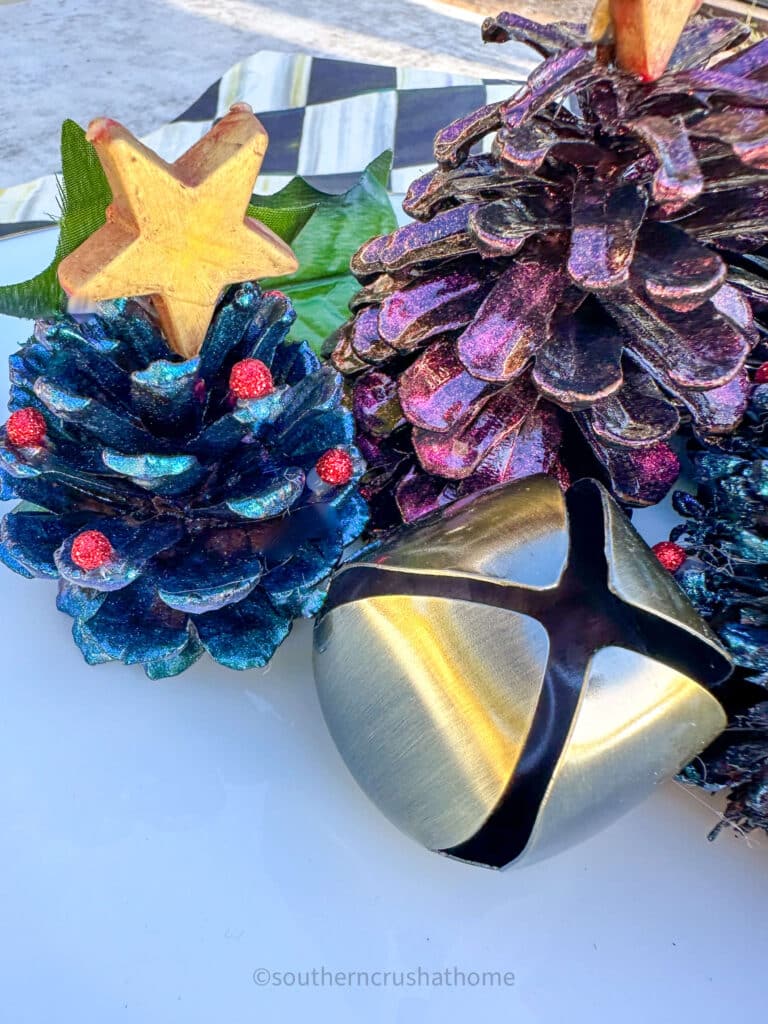
Place it on a table, mantel, tray, coffee bar, dough bowl, or any other fun spot for everyone to admire.
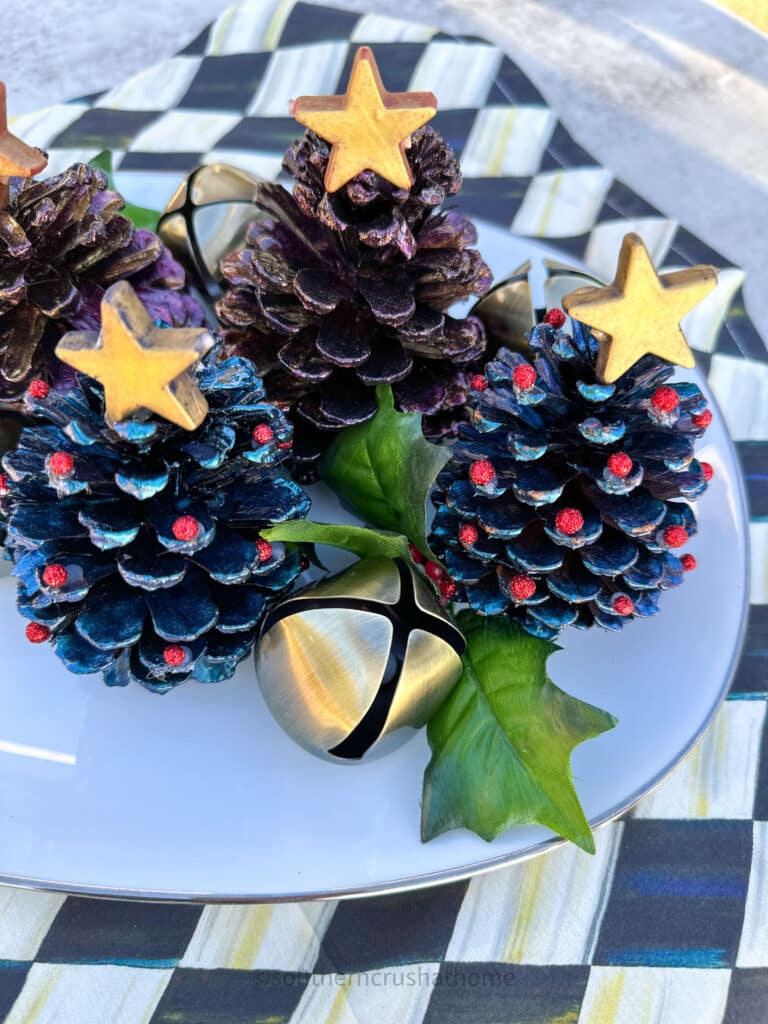
You can even use a few of them grouped together as a centerpiece for your Christmas tablescape.
As you can see, making a pine cone Christmas tree is a fun and easy craft that anyone can do. You can also add your own personal touches to make it unique. It’s a great activity to do with family and friends to get into the holiday spirit. So, why not give it a try this Christmas season and enjoy the festive cheer it brings to your home? Happy crafting!
Pine cones are one of nature's hidden gems. These little cones have so much potential, it's no wonder they’re used in so many crafts! Whether you’re using them for holiday décor or creating a rustic centerpiece, these pine cones are an excellent choice. Once you start exploring, you’ll quickly find that there’s so much you can do with them. Get creative and try different techniques, such as painting, glittering, or even using them as fire starters. With pine cones, the possibilities are endless!
As autumn approaches, our thoughts turn to the beauty and bounty of nature's harvest. For the avid crafter or decorator, one of the most versatile and timeless elements of the season is the humble pine cone. From rustic wreaths to elegant centerpieces, these natural wonders offer endless inspiration for creating a warm and inviting atmosphere in your home. But pine cones aren't just for decorations – they're also a valuable source of seeds for birds and other wildlife, making them a vital part of the ecosystem. So whether you're the DIY type or simply appreciate the beauty of nature, let pine cones be your guide to the wonders of fall.

Easy Pine Cone Christmas Tree Craft to Brighten Up Your Holidays
Materials
- pine cones in various sizes
- black base coat spray paint
- Rust-Oleum Color Shift in Turquoise Waters
- Rust-Oleum Color Shift in Champagne
- hot glue
- star
- red berries
Instructions
Step 1 – Paint the Base Coat
- Start by cutting off the bottom of the pine cones with scissors so they can stand upright. Next, in order for the color shift paint to pop at its best, the pine cone needs a base coat of any black spray paint.
- Coat them each well using light even strokes.
Step 2 – Paint the Pine Cones
- Paint each of the pine cones with the color shift colors. Apply as many coats as needed to achieve your desired look, allowing pine cones to dry between coats.
Step 3 – Decorate with a Star and Red Berries
- Once all of the pine cones are completely dry, you can add some decorations. This is a chance to really get creative!
- You can use small ornaments, lights, or even a star on top. You can also add some glitter, fake snow, or ribbons to make it more festive.
- I added some stars that were candles and used a gold wax coating to make them pop.
- I attached the stars with hot glue to the top of the pine cones.
- Finally, I added some sparkly red berries to a few of the pine cone “branches” to make my pine cone Christmas tree look like a decorated Christmas tree.
Step 4 – Display Your Pine Cones
- Your pine cone Christmas tree is now complete!
- Place it on a table, mantel, tray, coffee bar, dough bowl, or any other fun spot for everyone to admire.