How to Make a DIY Farmhouse Beverage Cart
Learn how to make this amazing DIY Farmhouse Beverage Cart that will come in so handy at your next get together. It has room for storage, it has wheels so you can easily move it around, and it looks pretty too!

I’m super excited to share this fun DIY farmhouse beverage cart with you. I plan to use this handy rolling cart in my kitchen. It will make it so much easier to grab and go your favorite drinks, especially when entertaining.
Of course I had to make it my own with a cool farmhouse touch. So, let me show you how this handy dandy cart came together!
Be Sure to PIN this for Later!
WHAT YOU’LL NEED TO MAKE a DIY Farmhouse Beverage Cart
- White Rolling Storage Cart
- Cricut Design Space – for svg Cricut cut file
- Ceramic Paint – black if sold out, check here:
- Ceramic Paint – black
- Small Paint Brush
HOW TO MAKE A DIY Farmhouse Beverage Cart
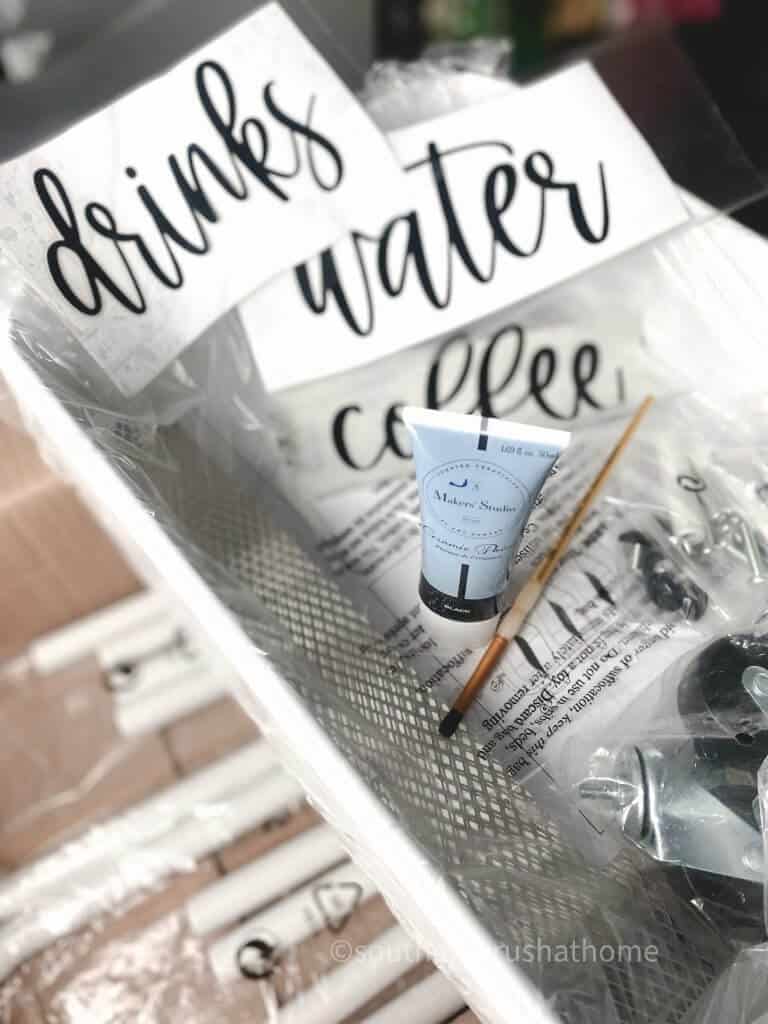
There are three shelves that come with the cart. When I saw the width of the shelves, I immediately thought of adding words to label each shelf. So, before I put it together, I added a few details.

I pre-cut the words I wanted ahead of time with my Cricut right on Design Space. The font is called October and has a classic farmhouse style to it. Once you have the vinyl cut, place it where you want it on the shelf. Use a scraper, or even a credit card to burnish it to the shelf. Repeat for all three shelves with the words of your choice. I went with drinks, water and coffee. Isn’t that fun?
NEXT…
Now that you have the words on the shelves, it’s time to add a little extra detailing to this cart to make it my own. If you love farmhouse, you probably have seen all of the beautiful enamel pieces at all the home and craft stores. I thought it would be super cute to give this little cart an enamel look using black ceramic paint.

You probably could use a thick sharpie too, but I decided to go with this ceramic paint that I love. You will definitely need two coats to give it that enamel effect. Simply go around the edges with a small paint brush. Continue to add this detailing to each shelf. You definitely don’t want a perfect finish, which is great for us, right?!
This is a simple step, but it really takes this cart to the next level. I’ve also seen the enamel pieces in white with red trim. Wouldn’t that look great on this cart also?
that’s it!
Wasn’t that so easy? Now that you have the pretty decorative detailing added, let the paint dry overnight.
DIY Farmhouse Beverage Cart
Now that the paint is dry, it’s time to put this cart together. It comes with everything that you need and only takes a few simple steps.
You basically put the handles on with the included screws and Allen wrench.

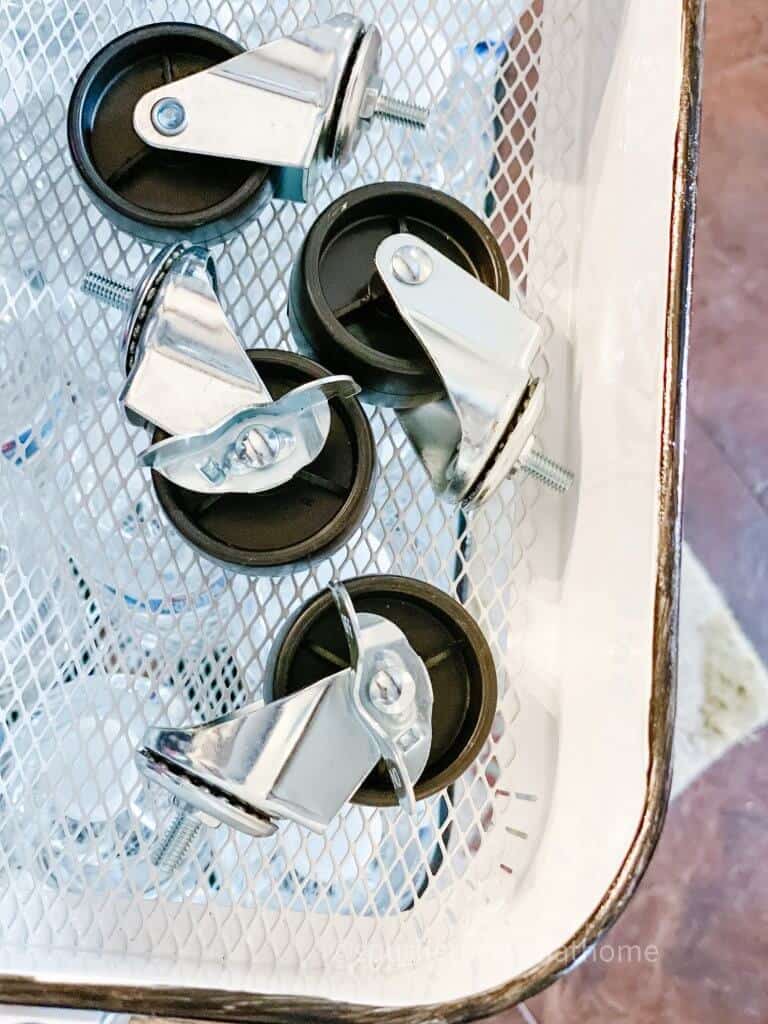
Then you can optionally add the casters to the bottom and you are good to go!
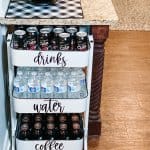
Of course I have to share some shots of it all filled up with some of our favorite drinks. This is a great way to get things off your counter. If you have kids in sports, you could leave this by the back door and have it filled with sports drinks and juice boxes. How about adding snacks like granola bars to one of the shelves. Let the kids choose their snacks at night. What a fun idea!
Here it is with our cola on the top shelf labeled drinks:

We filled the second shelf with water bottles and I added my favorite Starbuck’s cold brew drinks to the bottom shelf. I have a great idea for how to repurpose Starbucks drink bottles that you can see here.

This little cart fits perfectly (without the wheels) under the desk countertop in my kitchen, which made me so happy! I faced the cart to the side so you can see the labels. Using the wheels would make it so easy to move around and reload, so be sure to measure your space!

So, what do you think? How would you use this storage cart? Leave me a comment and let me know your ideas.

IF YOU PREFER TO WATCH THE LIVE STEP BY STEP INSTRUCTIONAL VIDEO, YOU CAN WATCH IT HERE.
BE SURE TO CHECK OUT THESE OTHER FARMHOUSE DIY ideas!
DIY Farmhouse Beverage Cart
Equipment
- Allen Wrench & Screws (included with cart)
Materials
- Storage Cart
- White Rolling Storage Cart
- Cricut Design Space - for svg Cricut cut file
- Ceramic Paint - black if sold out, check here:
- Ceramic Paint
- Small Paint Brush
Instructions
- Cut out the words of your choice using your cutting machine.
- Add the vinyl svg cut to each of the 3 shelves.
- Use a scraper to burnish it to the shelf.
- Paint a couple of coats of black ceramic paint around the edges of each of the 3 shelves. Let dry.
- Follow the instructions to put the cart together.
- Add your favorite drinks and enjoy!