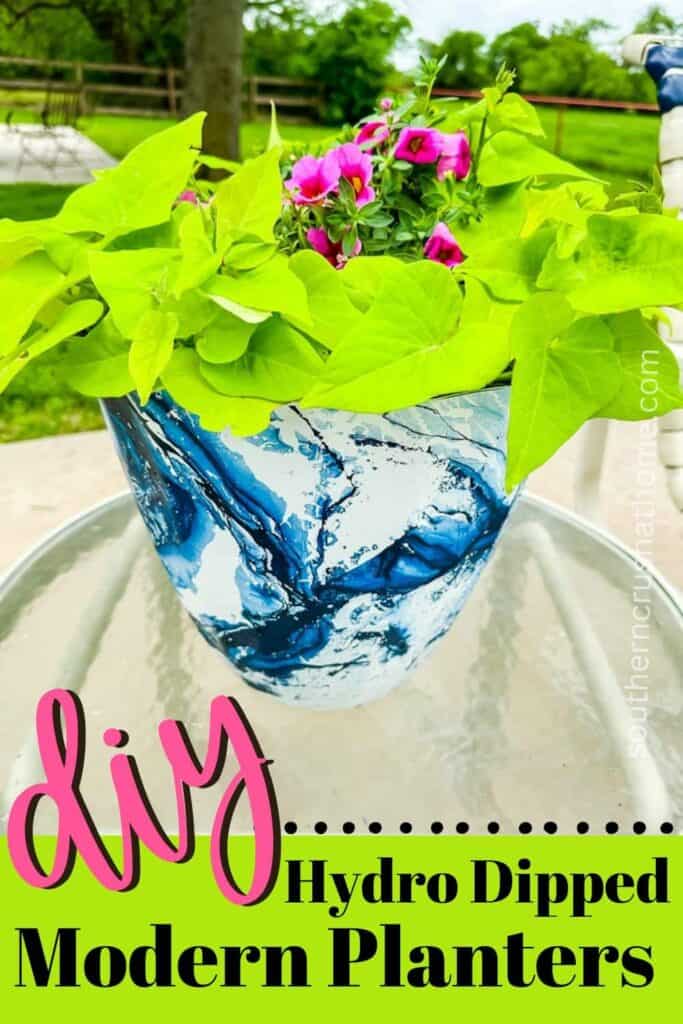
Easy Modern Planters: Hydro Dipping using Rust-Oleum Spray Paint
Today we're all about jazzing up basic white Dollar Tree planters with an easy DIY project called hydro dipping – with the help of Rust-Oleum spray paint.
So what is the process of hydro dipping, you ask?
It's basically “dipping” an object (in our case, a planter) into a container of water mixed with spray paint(s). This paint film wraps around your planter, transferring the hydro-dipped design onto its surface. It's so much fun and super satisfying to create!
PIN this for later!
This blog post contains affiliate links. The opinions are wholly my own from my own experience. I may earn a small commission from clicks through to the websites that end in a purchase.
Supplies Needed for Hydro Dipping
One of the great things about this easy craft project is it is budget-friendly to create with just a few simple supplies.
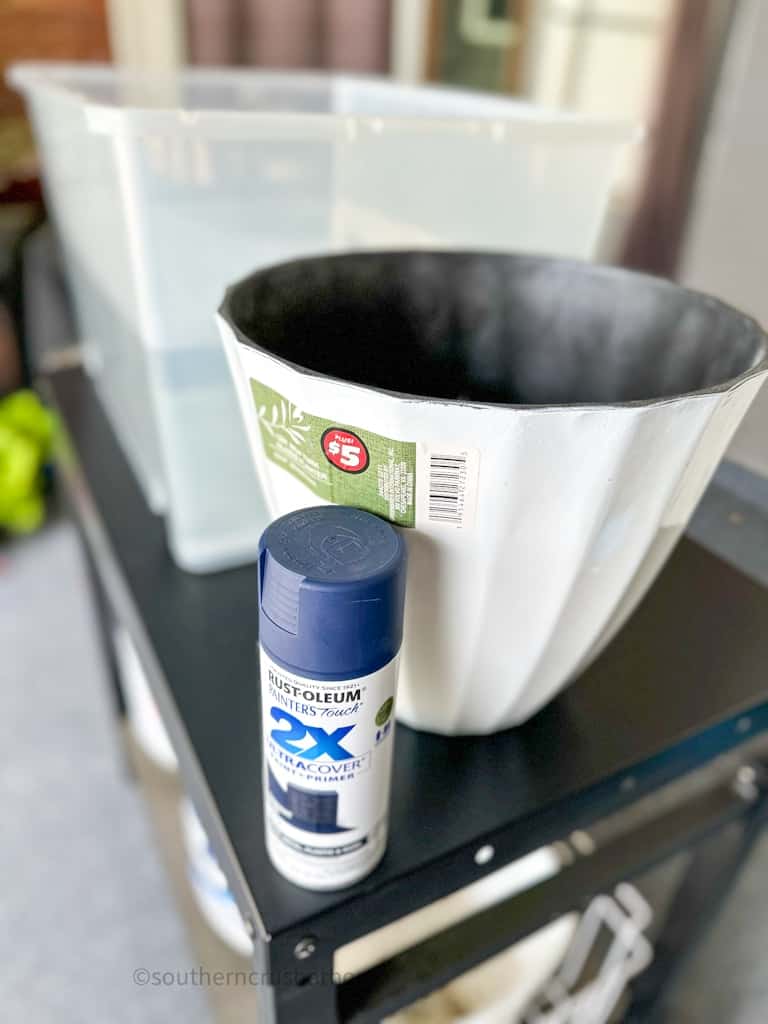
- planters
- a container slightly larger than your planter
- water
- Rust-Oleum spray paint (some tutorials use acrylic paint, but I found this paint to be the easiest to work with)
- paint sticks or toothpicks
Where to purchase Rust-Oleum spray paints:
- Home Depot
- Menards
- Blains Farm & Fleet
- Ace Hardware
- True Value
- Amazon
Step-by-Step Instructions on Hydro Dipping
So, do you want to try hydro dipping some planters with Rust-Oleum spray paint? Let's Go! Here's how you can do it:
Choosing the right planters
Now, before you get started, let’s talk about choosing the right planter. If you want a clean dip, either purchase new planters or make sure your old ones are clean and free of any debris or dirt. Also, check that the planter is compatible with spray paint – we don’t want any surprises!
If you want your hydro dipped project to turn out fabulous, you'll want to choose planters that are made of materials that can withstand the dipping process. For this reason, ceramic or plastic planters work best. These can be purchased at a garden center near you or online.
Prepare the hydro dipping container
Next, it’s time to prep your workspace. You’ll need to protect your work surface with a disposable plastic material so you don’t get any paint on your furniture or flooring. Make sure you have good ventilation too!
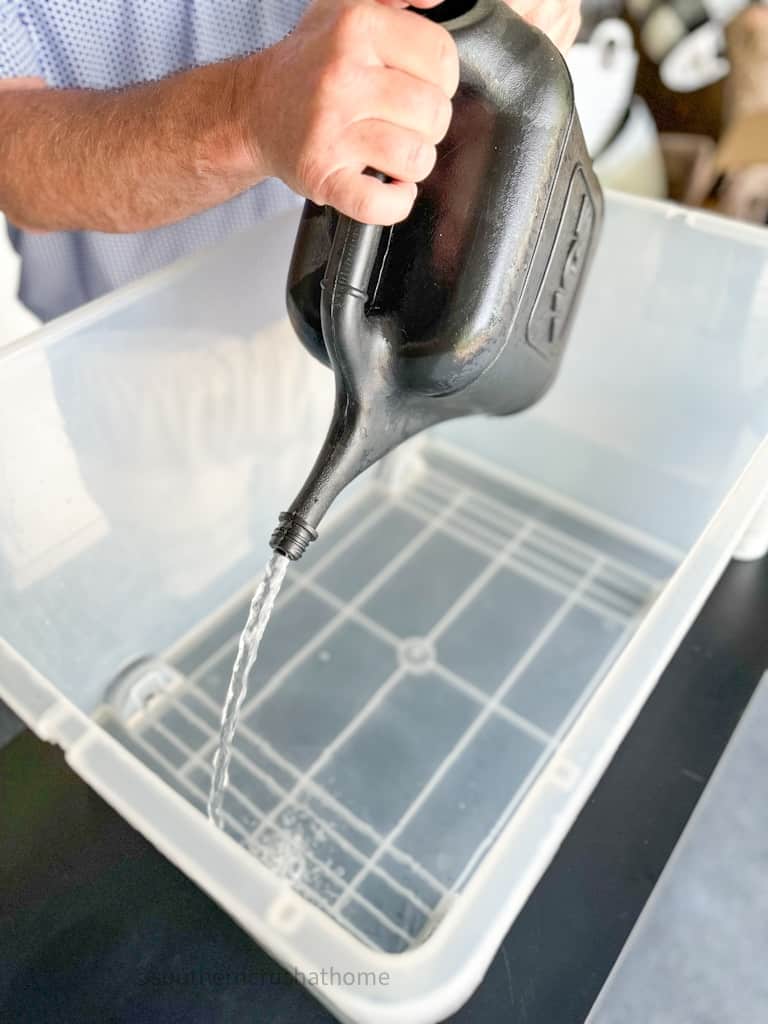
To hydro dip your planter, you'll need to fill a container (a bucket, tub, or storage bin) slightly larger than your object to be dipped with lukewarm water instead of cold water.
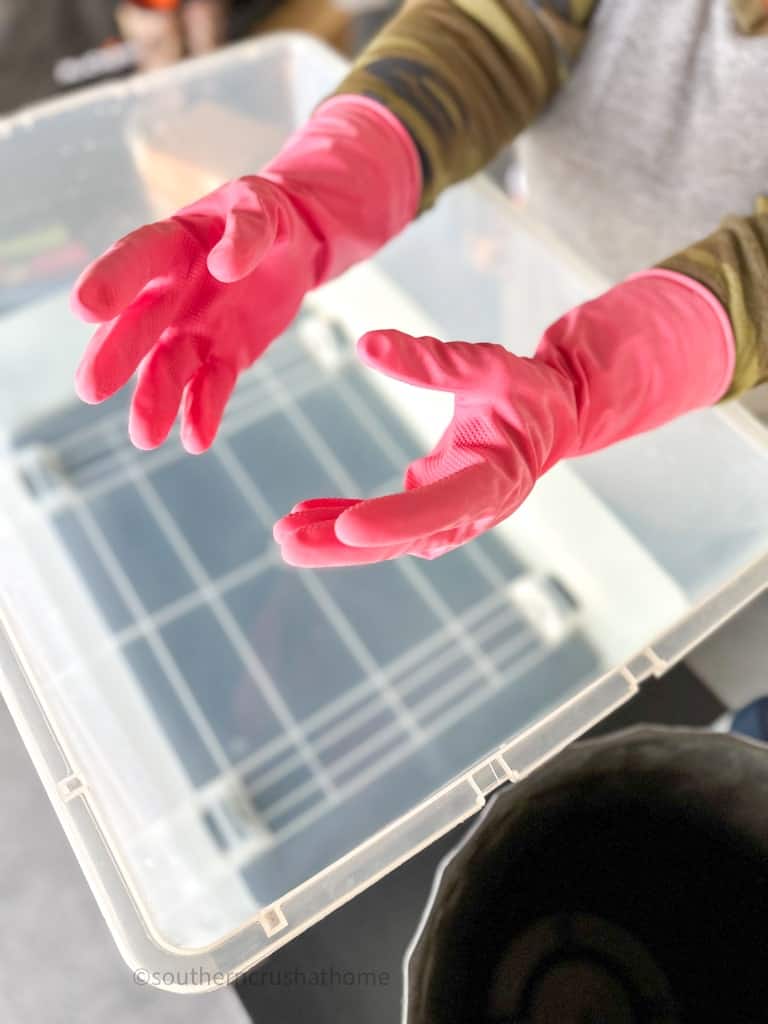
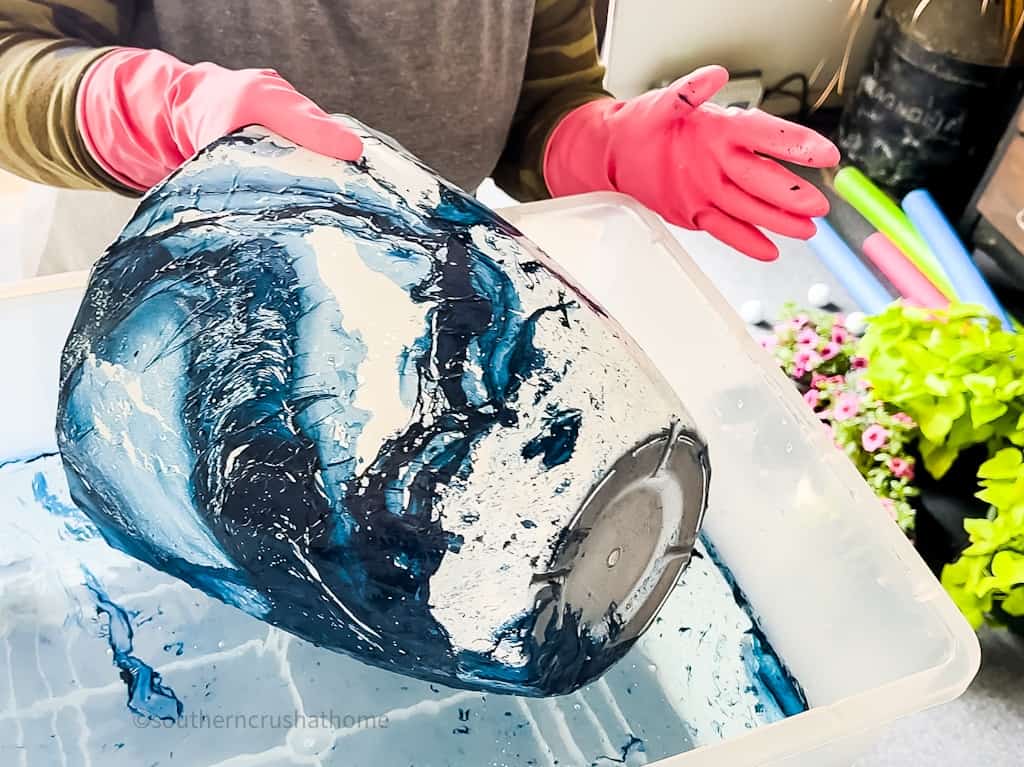
You're also going to want to put on those protective gloves as well! They paint will definitely get all over your hands if you don't.
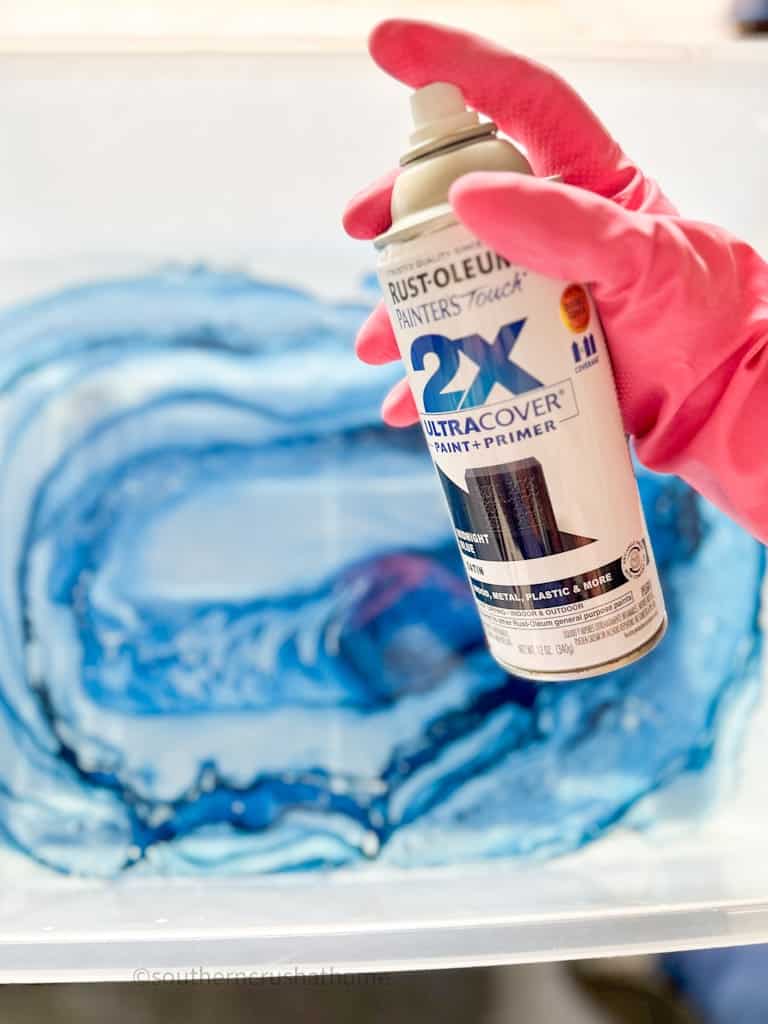
Now let’s dive into the fun part! Start shaking your Rust-Oleum spray paint can for about a minute, then hold it 8-10 inches away from the water and spray a pattern of your choice onto the top of the water. You may want to apply multiple spray paint colors to achieve your desired hydro dipped look.
Using a paint stick or toothpick, swirl the paint around in the water to create a unique design.
Dipping the planters
To hydro dip your planter, gently and slowly “dip” the planter into the water.
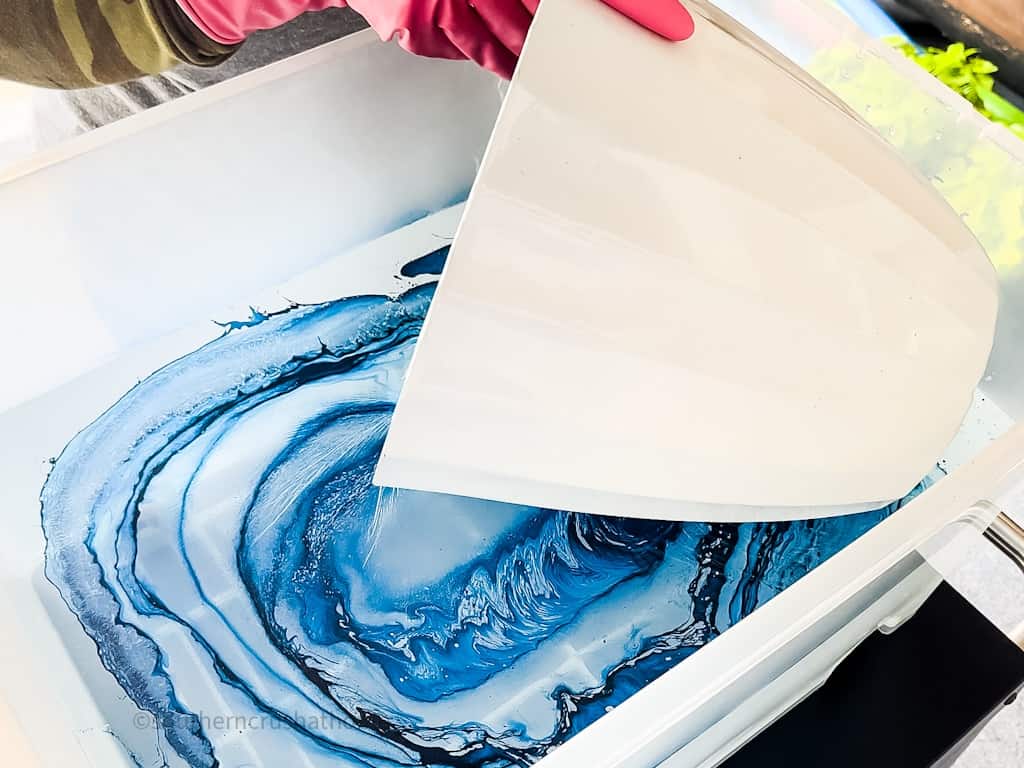
Continue tilting it to cover every inch of the surface making sure it's fully submerged wherever you want the paint to show up.
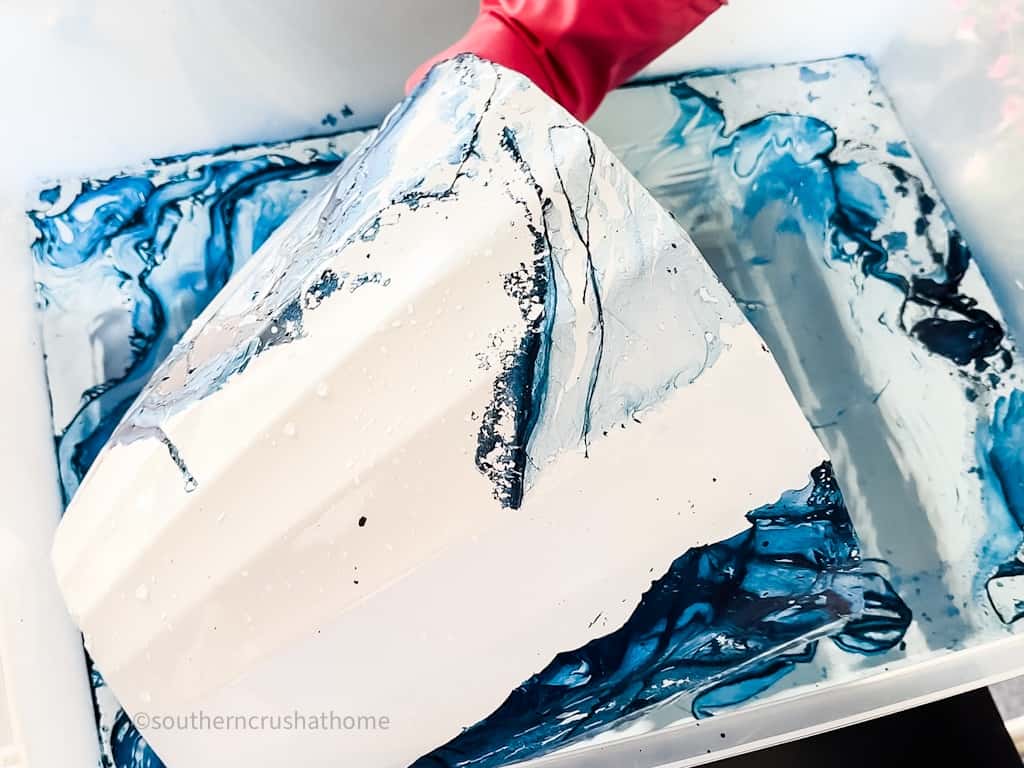
Depending on the design you want, you can experiment by “rolling” the planter into the water vs. simply “dunking” it into the water.
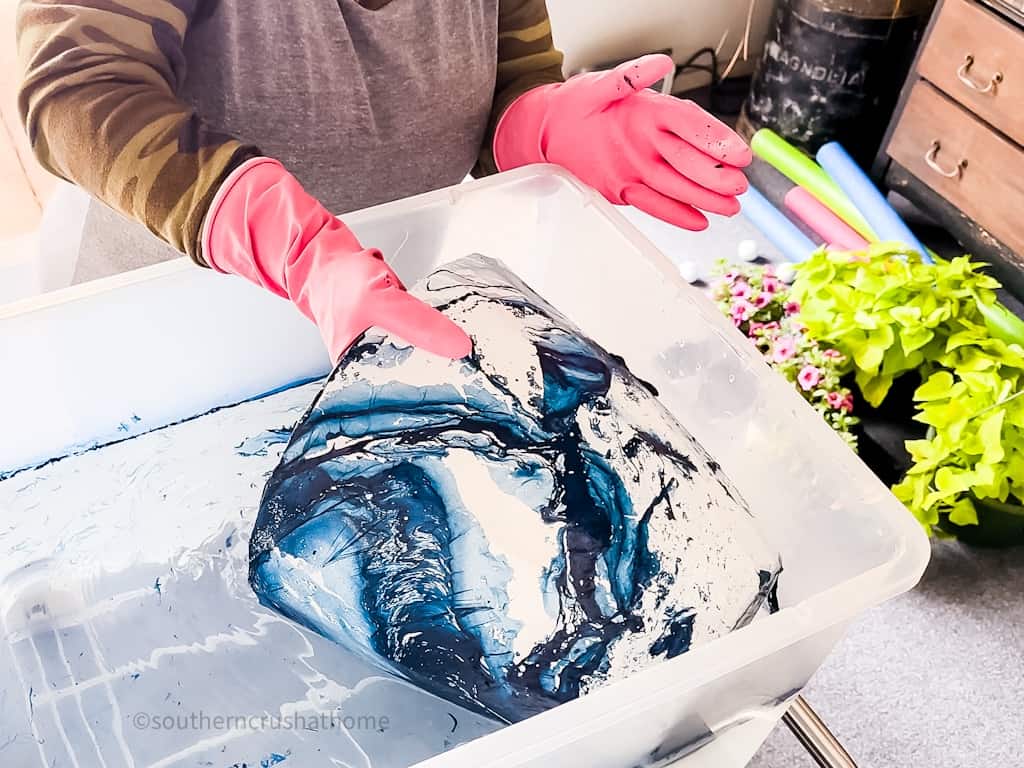
Slowly raise it up out of the water to reveal your unique, one-of-a-kind design.
Drying the planters
After dipping, let any excess water to drip off the planters for a few seconds. Then, set the planters aside to dry completely. Once the paint is dry, your planters will be ready to use!
Allow your planter to completely dry – this usually takes about 30 minutes. You can optionally add a clear coat to seal your design if you desire.
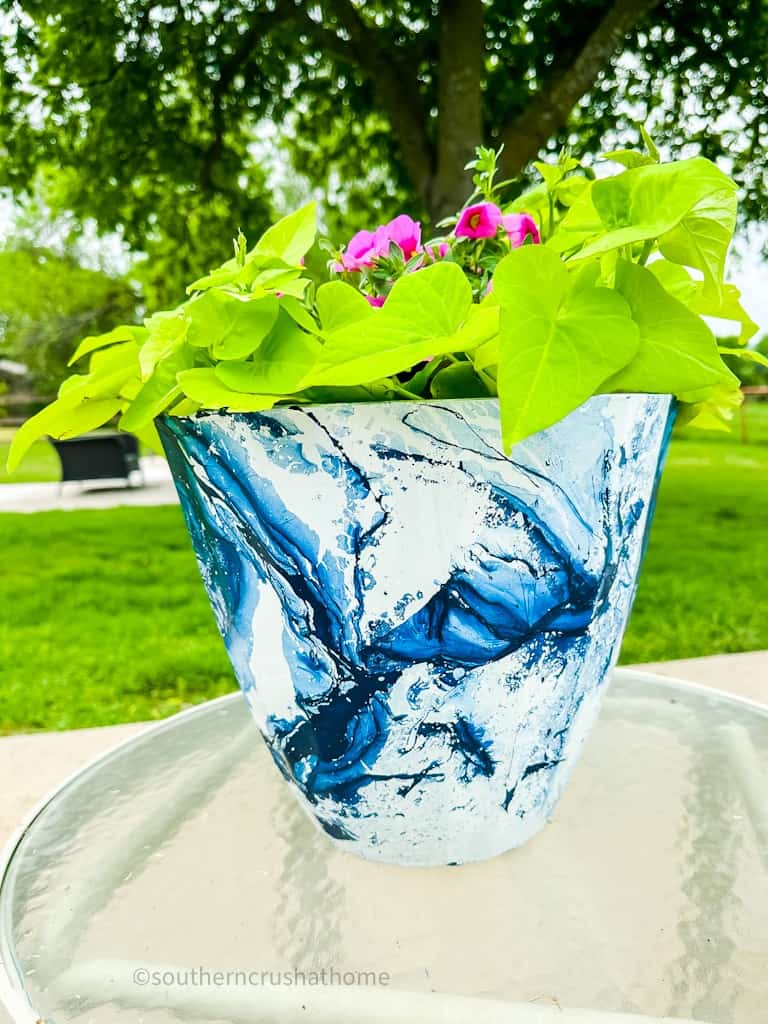
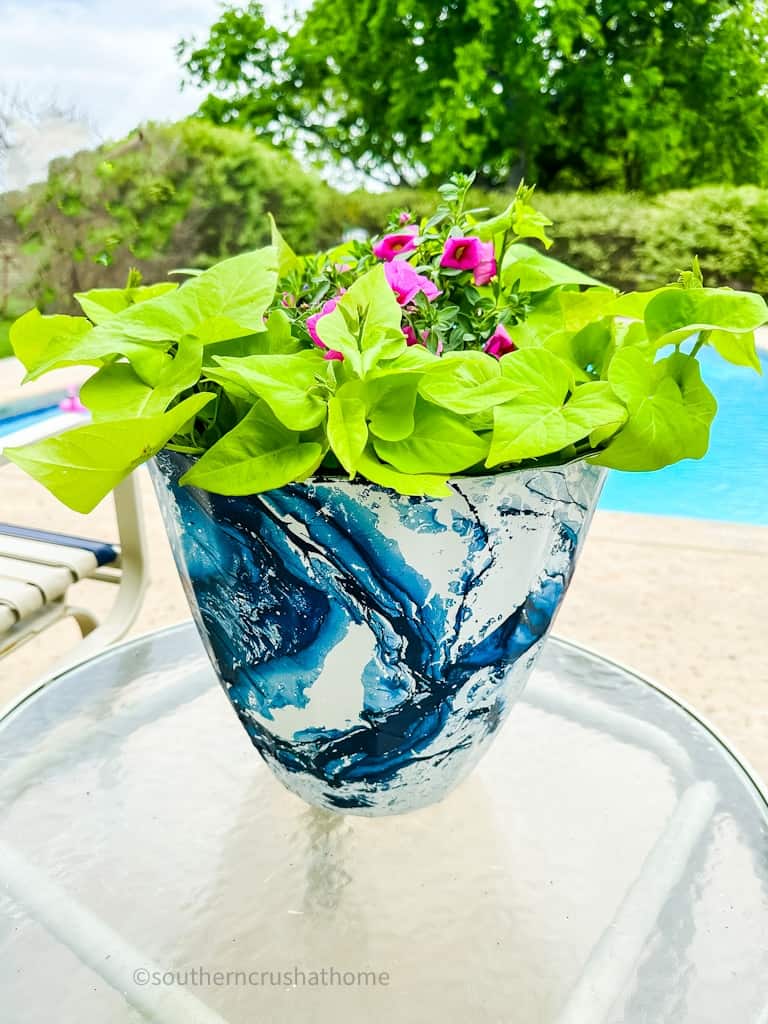
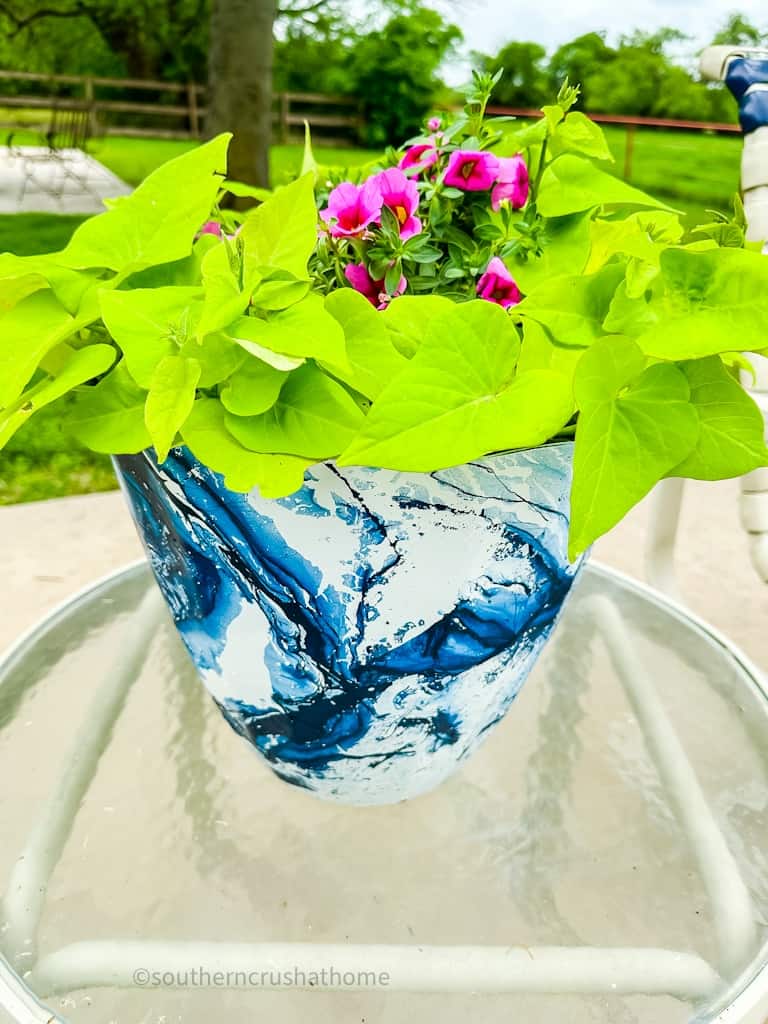
Once your planters are dry, you can customize them with a little extra pizzazz! Dollar Tree has some great options for faux greenery or floral accents or you can plant them with live plants like I did and enjoy them all summer long!
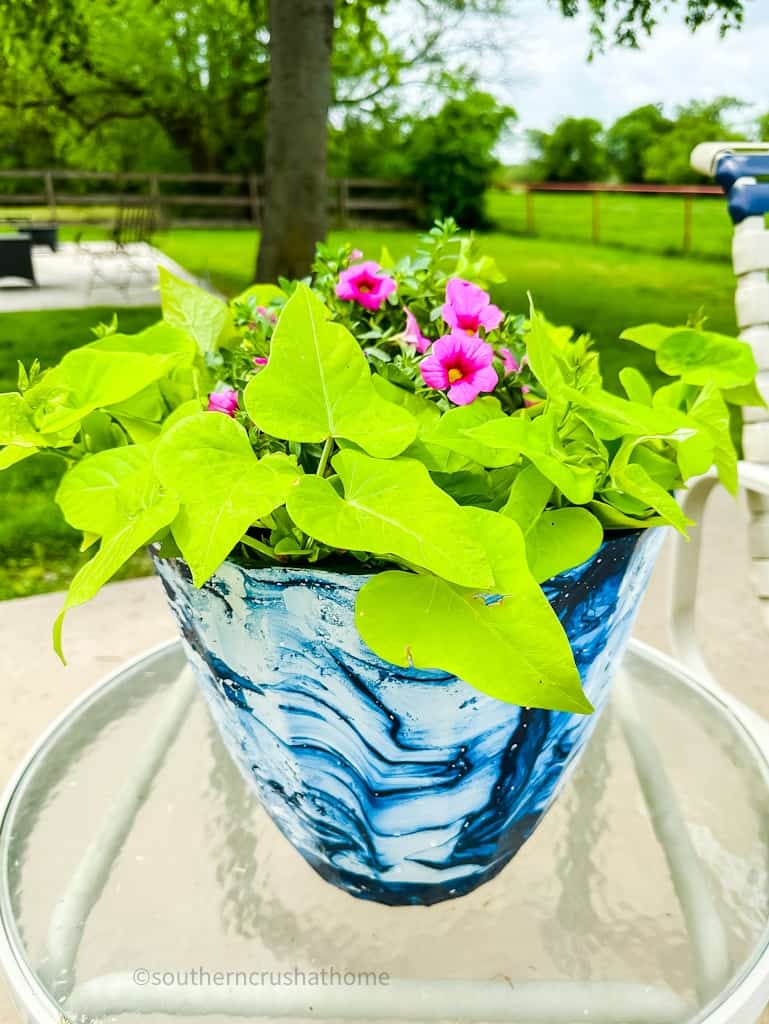
And voila! You have a unique, eye-catching hydro dipped planter that will add personality to your garden or poolside. So what are you waiting for?
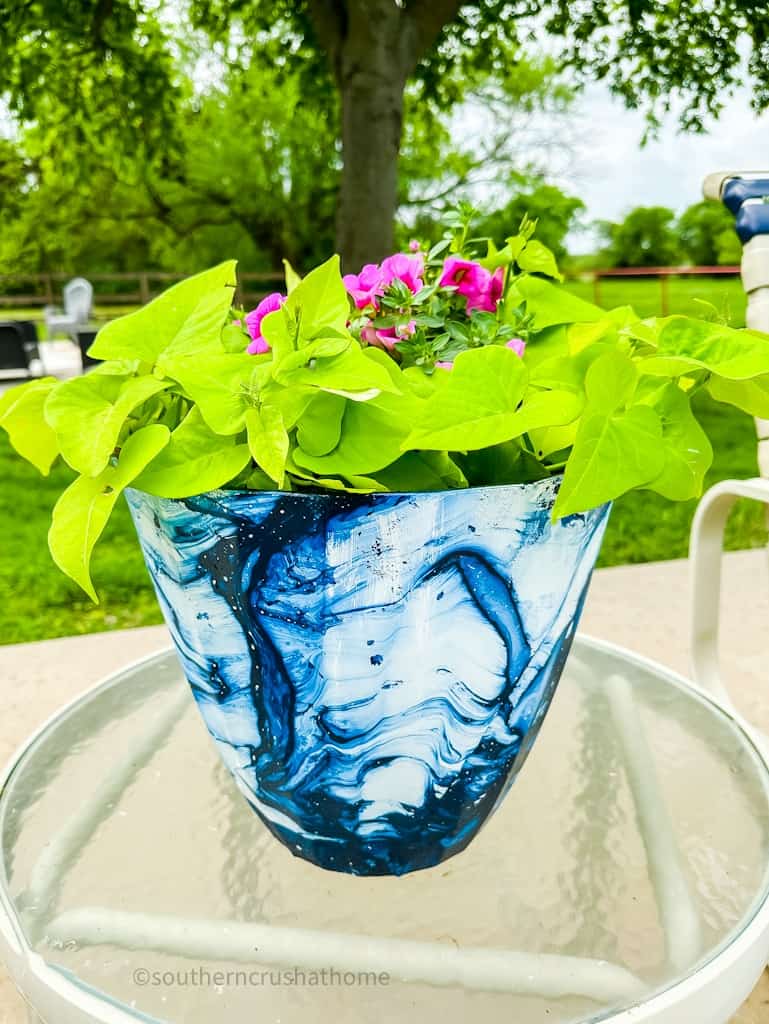
Dive into hydro dipping with Rust-Oleum and create your modern planter today.
Does hydro dipping wash off?
No, when you hydro dip an object, it is as permanent as the spray paint would be if you painted it directly onto the object.
Another fun method is called water transfer printing which is the process of a hydrographic dipping of three-dimensional objects into water with a hydrographic printing.
Tips and Tricks for Hydro Dipping
- Use a high-quality paint: For the best results, use a paint that is specifically designed for use on plastic or other materials. This will ensure that the paint adheres properly to the surface of your object. Rust-Oleum works best!
- Work in a well-ventilated area: Spray paint can be harmful if inhaled, so it's important to work in a well-ventilated area. Open windows and doors, or work outside if possible.
- Use lukewarm water: Warm water can help the spray paint spread more evenly over the surface of your object, resulting in a more uniform finish.
- Hold the can at an angle: When spraying the paint onto the surface of the water, hold the can at a 45-degree angle. This will help the paint spread out more evenly and prevent clumping.
- Don't overdo it: It's easy to get carried away when hydro dipping with spray paint, but remember that less is often more. Start with a few light layers of paint and practice your dip on a piece that you don't mind messing up first.
- Experiment with different patterns: There are many different complex patterns and designs you can create with hydro dipping, so don't be afraid to experiment. Try swirling the water with a toothpick or creating a marbled effect with multiple colors for your dip.
- Keep a clean surface: It's important to keep your workspace clean and free of debris. Any stray bits of paint or debris can ruin your finished product.
- Use gloves: Wear gloves when handling the object you're hydro dipping to prevent getting paint on your hands. Latex gloves work well for this purpose. I used these.
By following these tips and tricks, you can create beautiful and unique hydro dipped objects using spray paint. Happy dipping!
That's it, folks! With these steps, you can hydro dip your planters easily and give them a personalized touch. Have fun with your new modern planters!
Get creative and have fun!
#dollartree #hydrodipping #dollartreediy #summervibes #hydrodip #easycraft #rustoleum #rustoleumstopsrust @rustoleum, @rustoleumstopsrust, #planters, #outdoorplanters, #sponsored
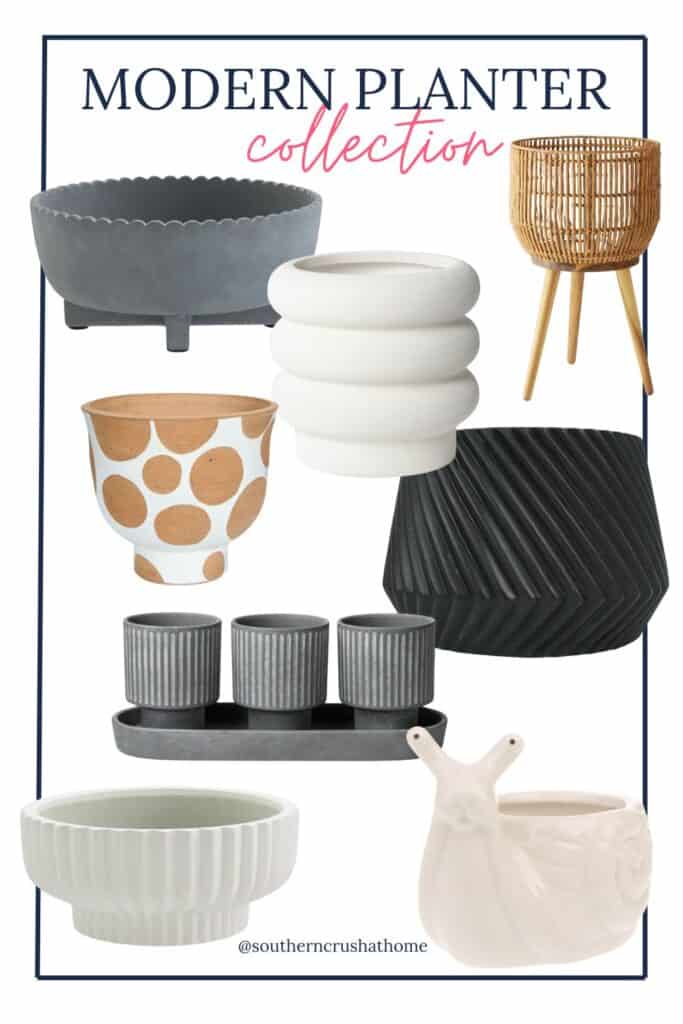
Shop Modern Planters

Modern Planters: Hydro Dipping using Spray Paint
Materials
- planters
- a container slightly larger than your planter
- water
- Rust-Oleum spray paint
Instructions
- If you want your hydro dipping project to turn out fabulous, you'll want to choose planters that are made of materials that can withstand the dipping process. For this reason, ceramic or plastic planters work best. These can be purchased at a garden center near you or online.
- Next, it’s time to prep your workspace. You’ll need to cover your work surface with a disposable plastic material so you don’t get any paint on your furniture or flooring. Make sure you have good ventilation too!
- To hydro-dip your planter, you'll need to fill a container slightly larger than your object to be dipped with water.
- Now let’s dive into the fun part! Start shaking your Rust-Oleum spray paint can for about a minute, then hold it 8-10 inches away from the water and spray a pattern of your choice onto the top of the water. You may want to apply multiple colors of spray paint to achieve your desired look.
- Using a paint stick or toothpick, stir the paint around in the water to create a design.
- To hydro dip your planter, slowly and gently “dip” the planter into the water. Continue tilting it to cover every inch of the surface making sure it's fully submerged wherever you want the paint to show up.
- Depending on the design you want, you can experiment by “rolling” the planter into the water vs. simply “dunking” it into the water.
- Slowly raise it up out of the water to reveal your unique, one-of-a-kind design.
- After dipping, let any excess paint drip off the planters for a few seconds. Then, set the planters aside to dry completely. Once the paint is dry, your planters will be ready to use!
- Allow your planter to dry fully – this usually takes about 30 minutes.