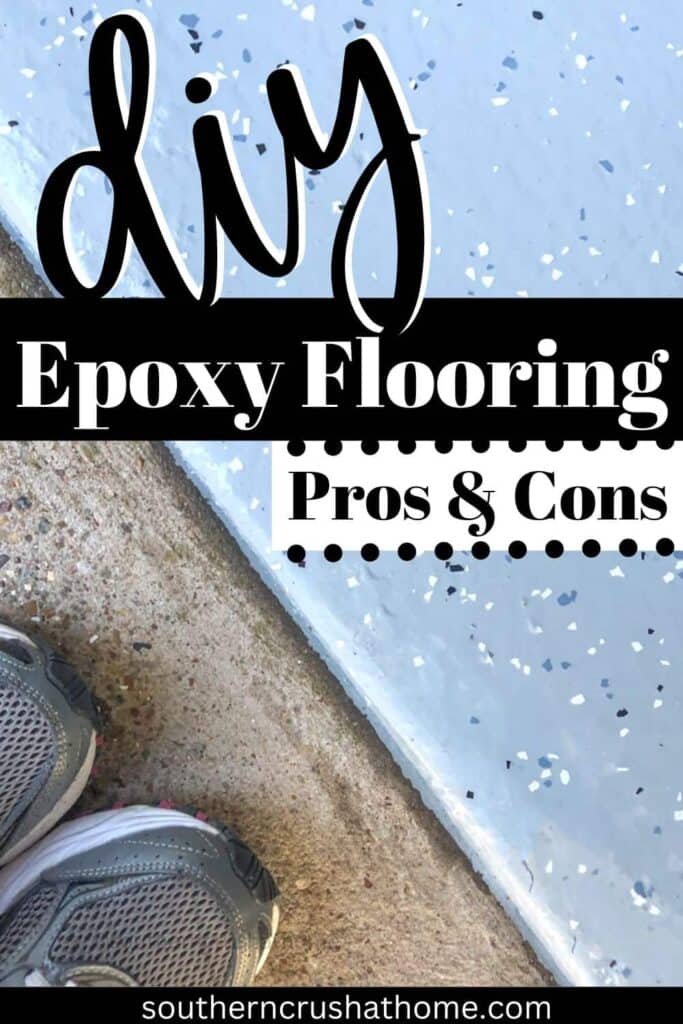
DIY Epoxy Flooring for Your Garage: A Step-by-Step Guide
If you're like me, I put off this epoxy flooring DIY project for a long time. Mostly because having it done for me was an expensive option and doing it myself seemed super difficult. However, now that we have tackled this DIY epoxy flooring project I couldn't be more pleased with the results! Let me share with you a step-by-step guide with pros and cons. Get ready to learn everything there is to know about this amazing do-it-yourself project!
Be sure to PIN this for later!
This blog post contains affiliate links. The opinions are wholly my own from my own experience. I may earn a small commission from clicks through to the websites that end in a purchase.
The DIY Guide to Epoxy Flooring for Your Garage
Are you looking for a durable and stylish flooring solution for your garage, try out these easy epoxy floors! DIY epoxy flooring can be a great option to cover up garage floor imperfections and provide long-lasting benefits at the same time.
With their superior durability, lasting beauty, and unique treatments available in a myriad of colors, it's no wonder DIY epoxy flooring has become so popular. Don't get me wrong, it's not just a matter of tossing some paint on the floor, there are definitely steps to be followed from prepping to finishing the topcoat with resin. In this blog post, we'll take an in-depth look at how to go about doing them yourself versus hiring a professional.
Step-by-Step Guide to Epoxy Floors
A clean and well-maintained garage floor makes all the difference in the world. It not only helps prevent accidents, but it also adds a touch of style to your workspace or recreational area or in my case, your crafting space. One of the best ways to spruce up your garage is with epoxy flooring. It's durable, easy to maintain, and can be applied in as little as a weekend!
Read on for a step-by-step guide on how to apply epoxy flooring to your garage along with some pros and cons of using this type of flooring material.
Step One: Prepping Your Garage Floor
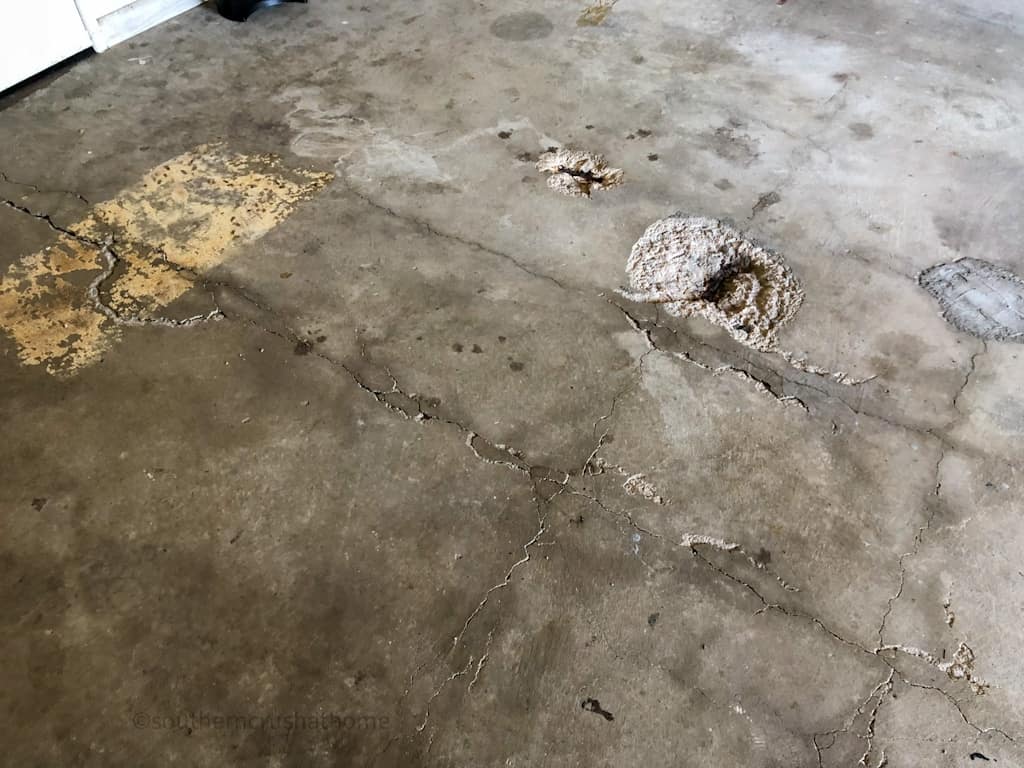
If you're considering epoxy coating your garage floor, the first step should be to assess its condition. Thoroughly examine the surface and look for any signs of damage, including cracks, chips, or pitting.
If the floor is in poor shape, (like mine in the photo below) or if there are large areas of broken or crumbling concrete and cracks, then it may need to be floated with a layer of concrete first. Our home is 65 years old, so this was definitely something we had to do first.
Once you've determined that your garage floor is suitable for an epoxy coating, gather all the necessary tools and materials.
Supplies Needed for Prepping Epoxy Flooring
- a shop vacuum or a power washer
- TSP Cleaner and degreaser
- scrub brush
- concrete etching solution (this is an all-in-one option so a separate degreaser is not needed)
- concrete patching material
- sandpaper
- broom
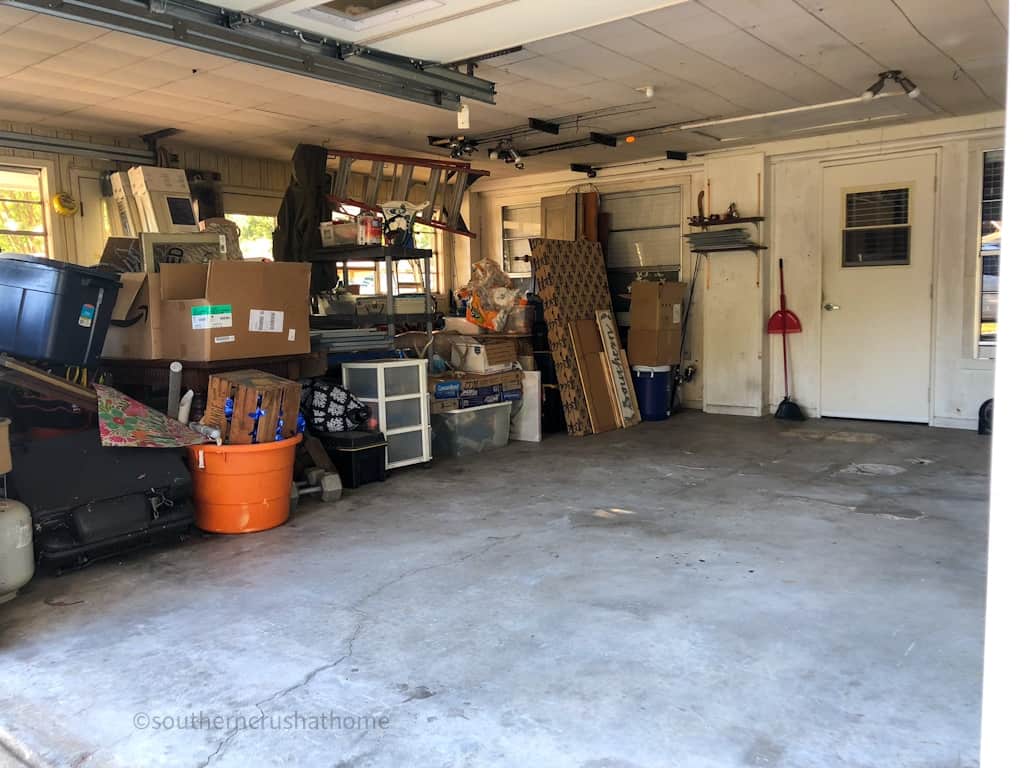
Now clear out the entire area so that you can start preparing the surface. If you're like us, you may have quite a bit of “stuff” in your garage. We decided to move everything to one side of the garage and do one side of the garage flooring at a time. This worked out great!
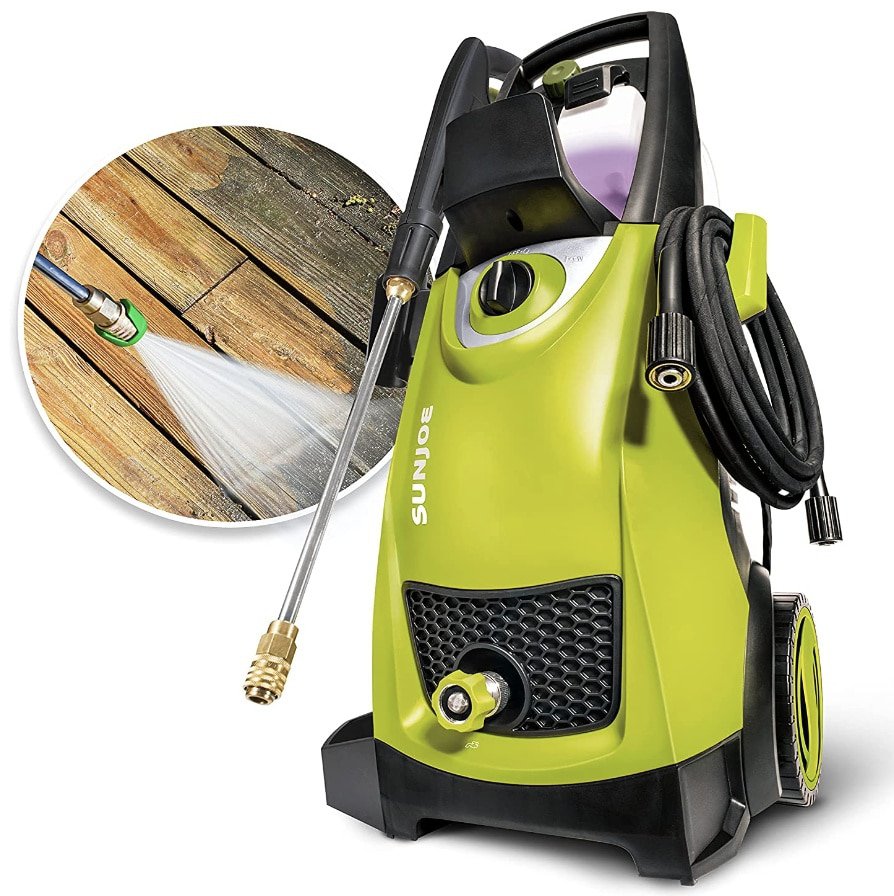
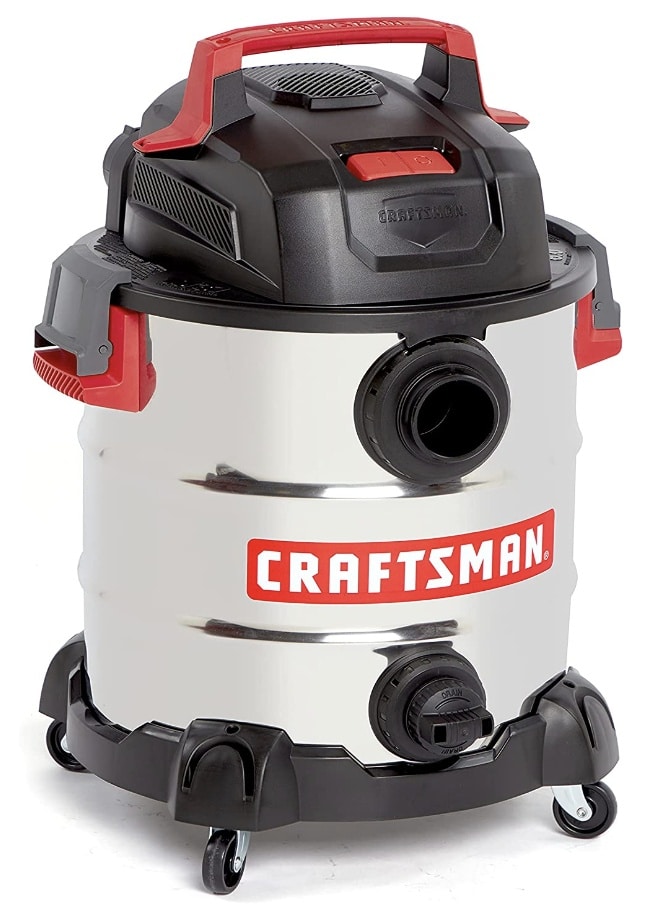
Begin by cleaning up dirt and debris from the floor with either a power washer or a shop vacuum.

I like this highly recommended power washer on Amazon.
I also like this shop vacuum which can be used well beyond this single DIY project!
Then use warm water mixed with a degreaser to clean off oil and grease stains from cars. Use a scrub brush to get into any hard-to-reach spots and make sure you rinse off all residue afterward with clean water. We don't park cars in our garage so we skipped this step!
After this has been done, apply an acidic etching solution to the entire surface which will open up tiny pores in the concrete so that it can better absorb paint or coatings. Once this step is complete, allow it to dry fully before applying your epoxy coating of choice.
Best Epoxy Floor Kit
I found that using a ready-made epoxy floor kit was the best way to go for this DIY project. The best one I found based on reviews and my personal knowledge of the brand was Rust-Oleum Rocksolid Garage Floor Coating Kit in Gray.
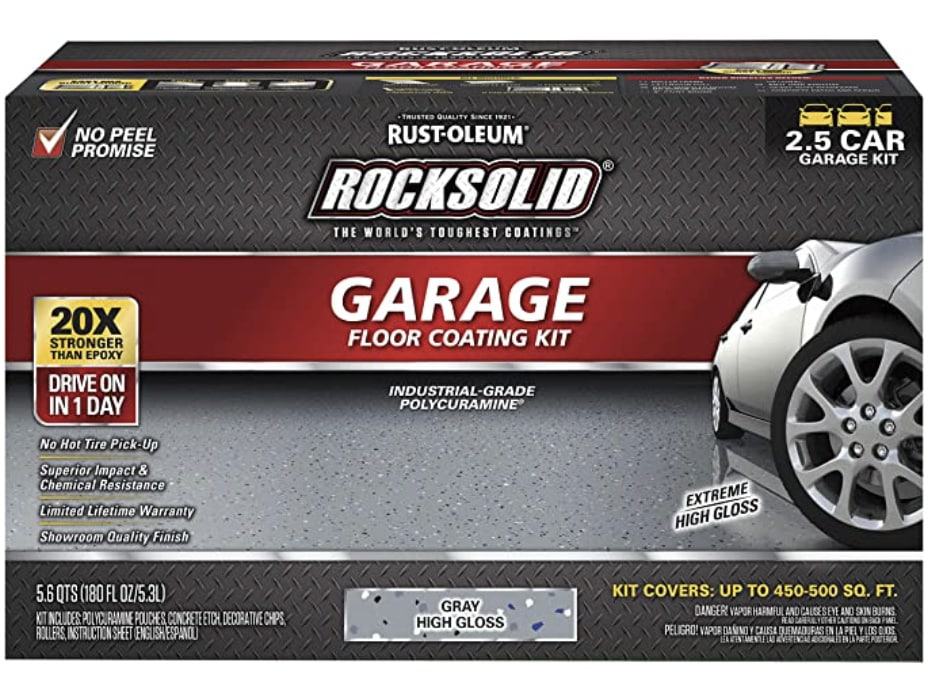
Here is more information on this garage floor paint Rust-Oleum product:
- Durable, polycuramine concrete coating works on interior concrete surfaces including garage floors, workshops, basements, family rooms, and more.
- Self-leveling, buildable formula is 20X stronger than epoxy, comes in a unique eco-friendly burst pouch, and is virtually VOC and odor free.
- Complete projects quickly; the coating is walk-on ready in 8-10 hours and vehicle ready within 24 hours.
- Each kit covers up to 500 sq.ft. Depending upon surface porosity.
Step Two: Mixing and Applying Epoxy
Once you've prepared the surface, it's time to prime. Using a roller brush apply the epoxy primer in a thin even layer over the entire surface working your way out of the space. Allow to dry.
Now mix together your epoxy materials. Depending on what brand of epoxy you're using, the instructions may vary slightly so be sure to read them carefully before mixing the two components together. Generally speaking, you'll need to mix together equal parts of each component until they form an even consistency. Once mixed together, let it sit for several minutes before beginning the application.
Quick Tip:
If you are concerned about the new flooring being slippery, consider adding an aluminum oxide-based anti-skid additive to your epoxy first, like the one below.
Now comes perhaps the most labor-intensive part of this project: applying the epoxy itself! Using a roller brush, start from one corner and make long strokes outward until you've covered the entire surface evenly with multiple thin layers of epoxy coating.
Allow each layer at least 8 hours of drying time before applying additional coats if desired—the more coats applied, the longer lasting and more durable your finished product will be!
Step Three: Add Decorative Chips or Flakes
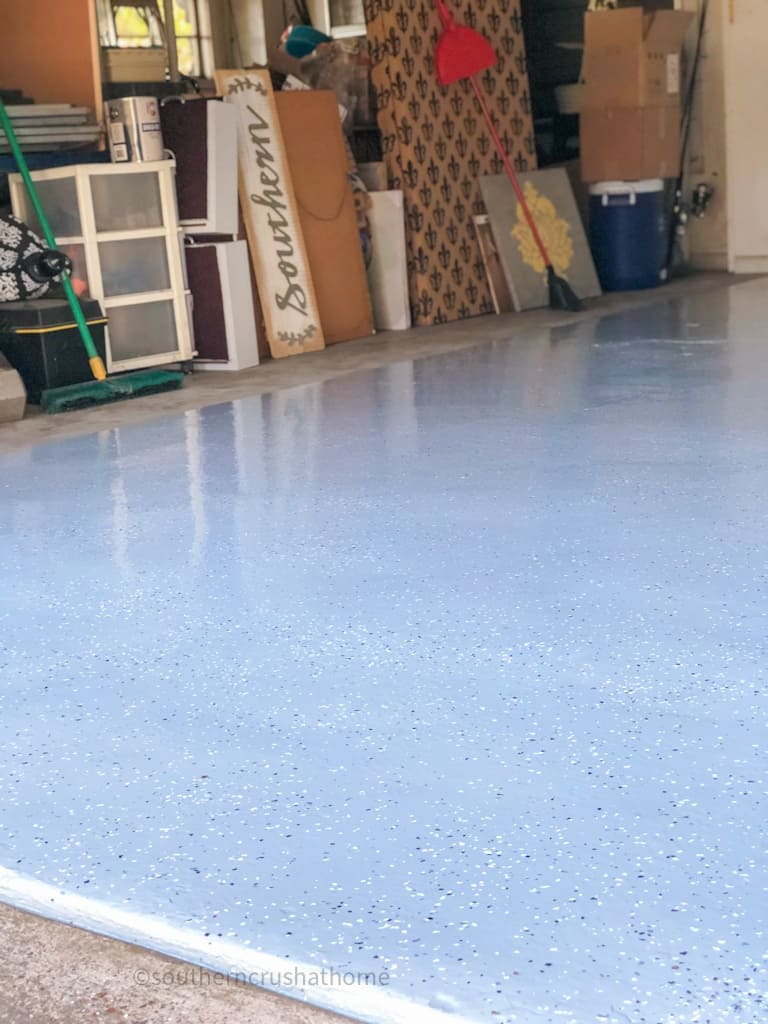
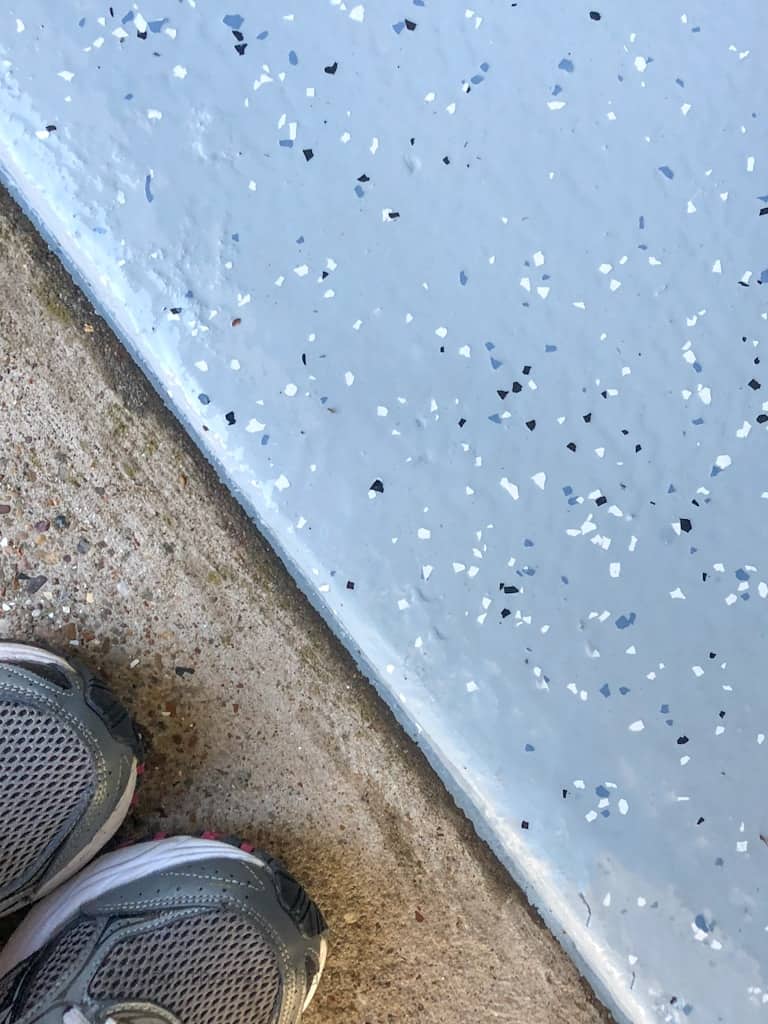
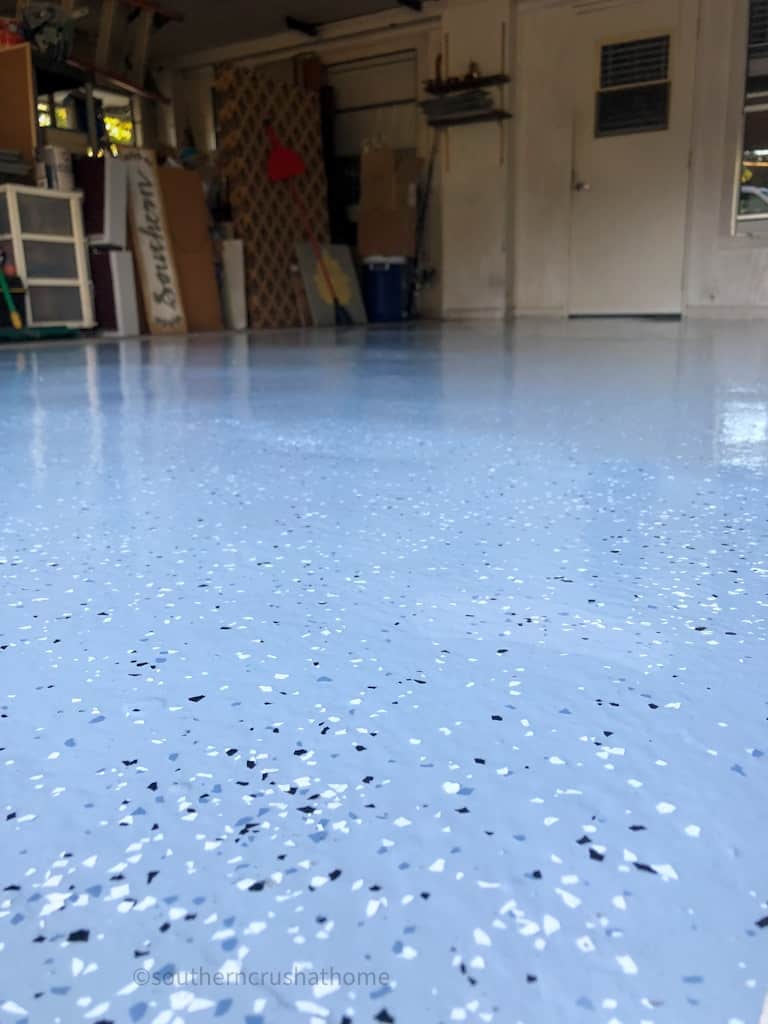
This step is optional; however, most people opt to add decorative chips or flakes to their epoxy floors. We went with a grey epoxy floor color and the black, gray, and white flakes blended in perfectly to create an amazing overall look.
Step Four: Final Touches
Depending on the epoxy product you decide to use, you may still need to apply a clear coat of resin to seal the surface and add durability. Once all coats have been applied, allow the epoxy to fully cure for several days prior to using your newly sealed garage floor. Sweep up any loose chips or flakes in necessary.
I'm super pleased with how our garage floors turned out after tackling this DIY project! What do you think, will you try this one? Let me know in the comments below please!
Quick Tips
- Read and follow the manufacturer's instructions carefully.
- Don't rush the process – allow each coat to dry fully before moving on.
- Use a respirator and work in a well-ventilated area.
- Consider adding non-slip additives to the epoxy for safety.
FAQ's for Epoxy Floors
Is it necessary to etch the concrete before applying epoxy coating?
When it comes to a job well done, the simple answer is yes. Etching helps the epoxy coating to stick better, adhesion becomes stronger, and it provides a more reliable end result. It may take a tad extra time to prepare your floors first, but by doing this step you can make sure that your hard work will last and pay off in the long run.
Can epoxy flooring be applied to a garage floor that has existing coatings?
Yes, epoxy flooring can be applied to a garage floor that already has existing coatings! The key is to prepare the existing surface properly before applying the new epoxy so that it will properly bond and last longer.
How long does it take for epoxy flooring to dry and cure?
This depends on the product you decide to use. The average dry time and cure time is between 8 hours and 3 days. Be sure to read your manufacturer's instructions carefully to avoid any disappointment.
Can I apply epoxy coating to a damaged or cracked garage floor?
Yes! This is exactly what we did. Just be sure to follow the proper steps above to ensure you create a smooth surface for applying your epoxy.
Will epoxy flooring make my garage floor slippery?
Epoxy flooring most certainly can make your garage floor slippery; especially when it gets wet. You may want to mix in some of the anti-skid additive I mentioned above if you are worried about the floor being too slippery.
Can I install epoxy flooring in cold temperatures?
Epoxy flooring can be installed in cooler temperatures, but it's best if the space is kept around 70 degrees Fahrenheit or above and humidity levels are stable. Installing epoxy flooring when temperatures dip too low could render the finish inadequate and lead to chipping and bubbling, so plan carefully before starting any project. We did ours in the spring!
How much does it cost to install epoxy flooring in a garage?
The cost of installing epoxy flooring in a garage varies, as factors such as the size of the space (1 car,2 car,or 3 car garage) and materials used for the job play a part. You can plan to spend anywhere from a couple of hundred dollars (just the kit) if you have a small space and most of the tools on hand, up to $500-700 if you need to invest in a shop vac or power washer to get the job done.
If you decide to use a contractor you can count on it being at least double.
How do I maintain my epoxy flooring once it's installed?
Maintaining your epoxy flooring is a breeze! After the epoxy layer has been installed, sweeping and mopping regularly with a mild detergent will help keep the surface clean. We simply “hose” ours off every once in a while.
Pros and Cons of Epoxy Flooring
Epoxy flooring has some definite advantages over other types of garage flooring such as tile or carpet: it is highly durable and stain resistant making it ideal for garages that see heavy foot traffic or frequent spills; it is also relatively inexpensive compared to other types of garage floors; finally, it adds an attractive glossy finish that can give any space a modern feel while still being easy to maintain over time.
On the downside though, DIY installation can take quite some time depending on how many coats you choose to apply as well as how experienced you are with applying coatings like these; Additionally, if not done correctly epoxies can chip off easily leaving behind unsightly patches which will require repair work later on down the line.
| Pros | Cons |
|---|---|
| Cost-effective compared to hiring a professional | Requires a lot of prep work |
| Customizable design options | Can be time-consuming |
| Can be done on your own time | May require multiple coats |
| Can be a fun DIY project | Can be difficult to apply smoothly |
| No need to schedule around a professional's availability | |
| Sense of accomplishment from completing the project yourself | |
| Flexibility to make changes or adjustments as you go |
Epoxy flooring is an excellent choice when considering what type of material works best for your garage space—it’s affordable yet sturdy enough for everyday use and offers a glossy finish that’s sure to make you smile every time you see it!
With just a few simple steps (and perhaps some help from a good friend to cheer you on) anyone can transform their garage into something special with DIY epoxy flooring! However, remember that proper preparation is key when tackling this kind of project so be sure not to skimp out on prep work if wanting long-lasting results! Good luck ~ You Got This my friend!