

4 Easy DIY Dollar Tree Coaster Ideas That Make Beautiful Handmade Gifts
If you’re looking for a quick, inexpensive craft that is both beautiful and practical, you’re going to love today’s projects!
We’re making four different DIY coaster ideas using affordable Dollar Tree supplies—including placemats, chopping mats, cork sheets, and even a fun paint pour technique. These projects are beginner-friendly, budget-friendly, and make wonderful handmade gifts.
Let’s dive into these creative coaster ideas!
This blog post contains affiliate links. The opinions are wholly my own from my own experience. I may earn a small commission from clicks through to the websites that end in a purchase.
YouTube Tutorial
1. Dollar Tree Placemat Coasters
Who knew a Dollar Tree placemat could become such a pretty set of coasters?
For this project, simply trace a circle using something you already have around the house, like a ribbon spool or small bowl, then cut out matching circles from coordinating placemats.
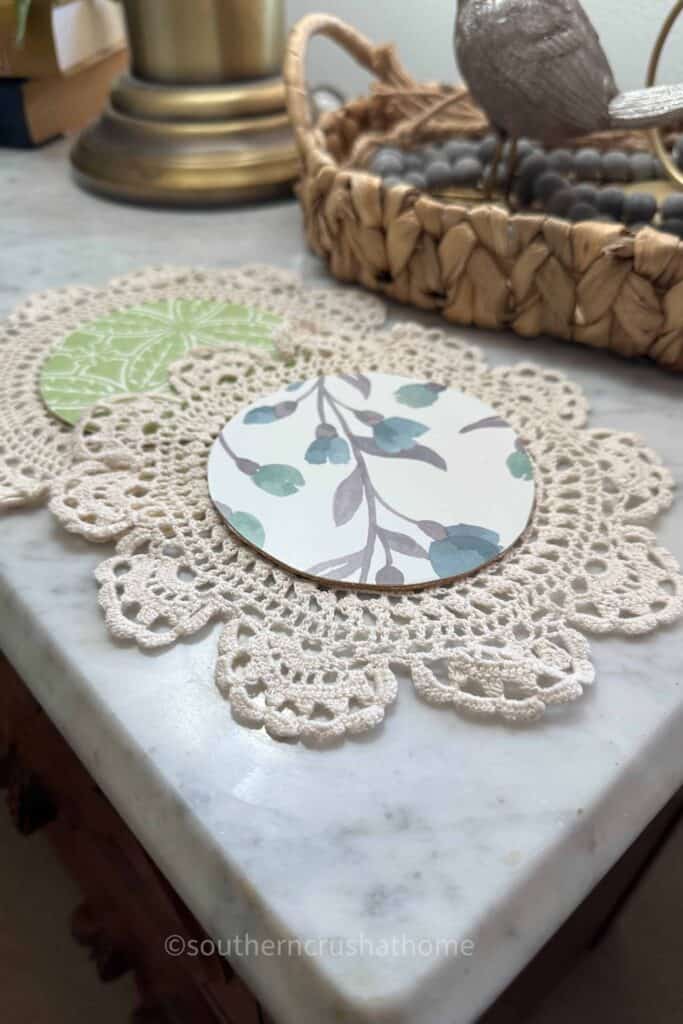
To give the coasters stability and protect your furniture, cut matching circles from Dollar Tree cork sheets and attach them to the back.
They’re beautiful just like that—but I couldn’t stop there!
I added decorative paper doilies to the bottom using double-sided fabric tape. The doily peeks out from underneath the coaster and adds such a sweet vintage-inspired touch.
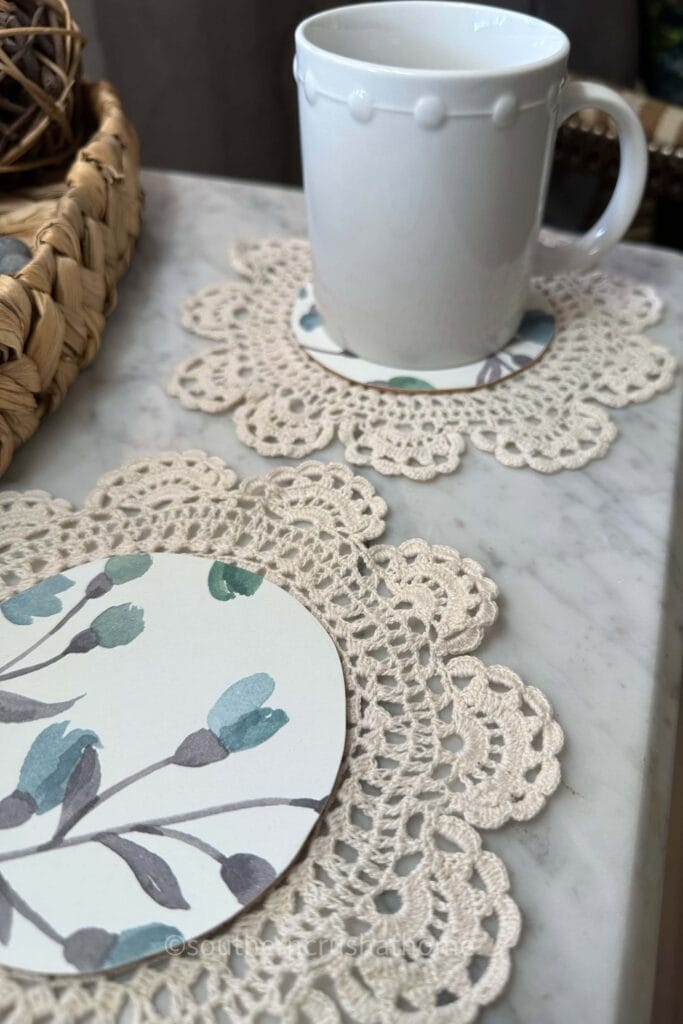
These would make adorable hostess gifts, housewarming presents, or additions to a gift basket.
2. Magnolia Craft Club Bird Coasters
One of my favorite things about crafting is when someone else gathers all the supplies for me!
The Magnolia Craft Club monthly subscription includes everything needed to complete a beautiful craft project, and this month’s project featured the prettiest bird coasters.
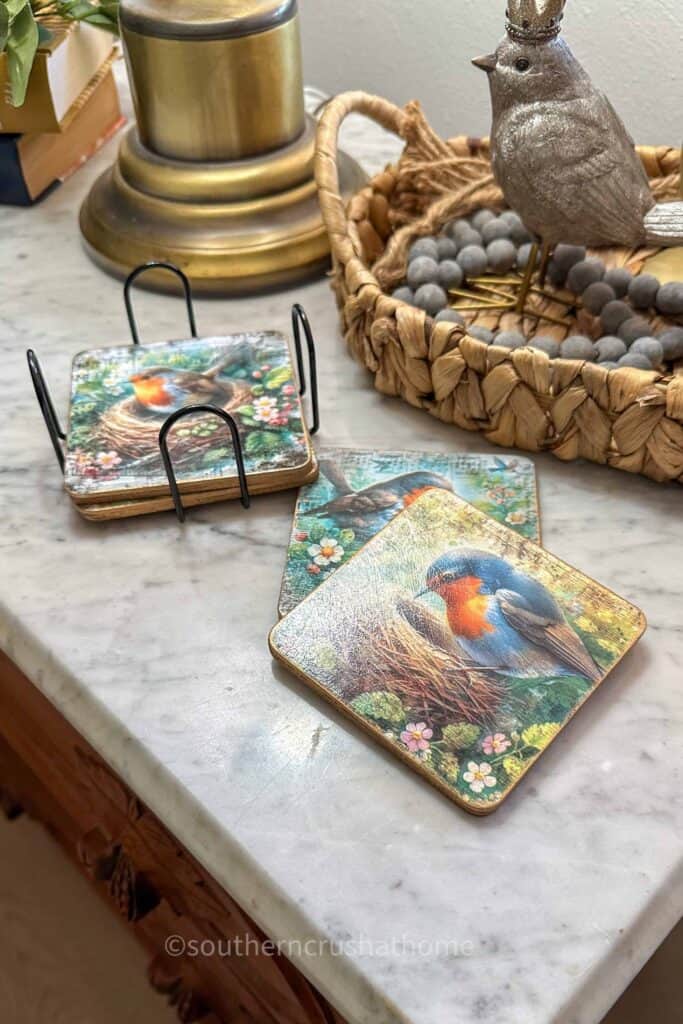
The coaster kit came with:
- Wooden coaster bases
- Cork backing
- Beautiful bird transfers
- Clear protective finish
- Foam brush
- Complete instructions
After applying the transfers, I lightly sanded the edges and added a touch of gold Rub ‘n Buff around each coaster for a little extra elegance.
The clear protective finish sealed everything beautifully and gave the coasters a polished, professional look.
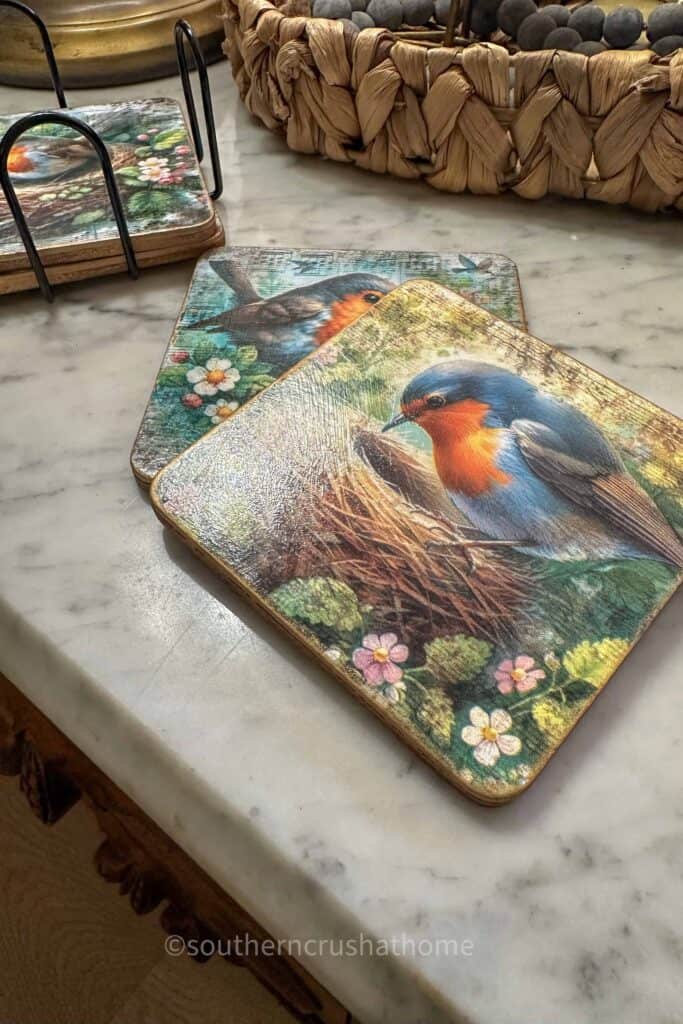
These turned out so gorgeous that I decided to gift them to my mom—she loves birds, and I know she’ll treasure something handmade.
3. Paint Pour Resin Coasters
If you’ve ever wanted to try paint pouring, coasters are the perfect place to start.
Begin with Dollar Tree ceramic coasters and elevate them on small wood tumbling blocks to catch the extra paint underneath.
Apply a thin coat of white paint first, then slowly pour your acrylic paint colors over the surface.
This is where the magic happens!
Tilt the coaster in different directions and watch unique patterns emerge. No two coasters will ever look exactly alike, which is part of the fun.
After allowing the paint to dry overnight, seal everything with a layer of resin for a beautiful glossy finish.
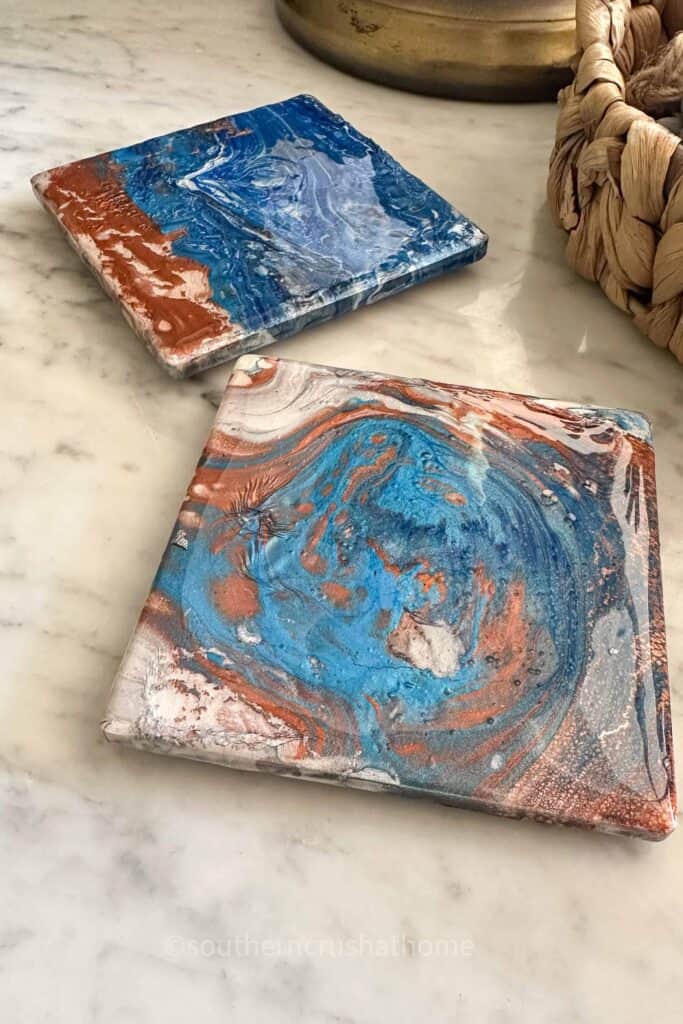
Don’t be intimidated by resin—it simply requires equal parts of resin and hardener mixed together before pouring over your project.
The finished coasters have a gorgeous glass-like shine that makes them look much more expensive than they actually are.
4. Fabric & Chopping Mat Butterfly Coasters
This final project might just be my favorite.
It combines Dollar Tree fabric, chopping mats, cork, and decorative transfers to create one-of-a-kind layered coasters.
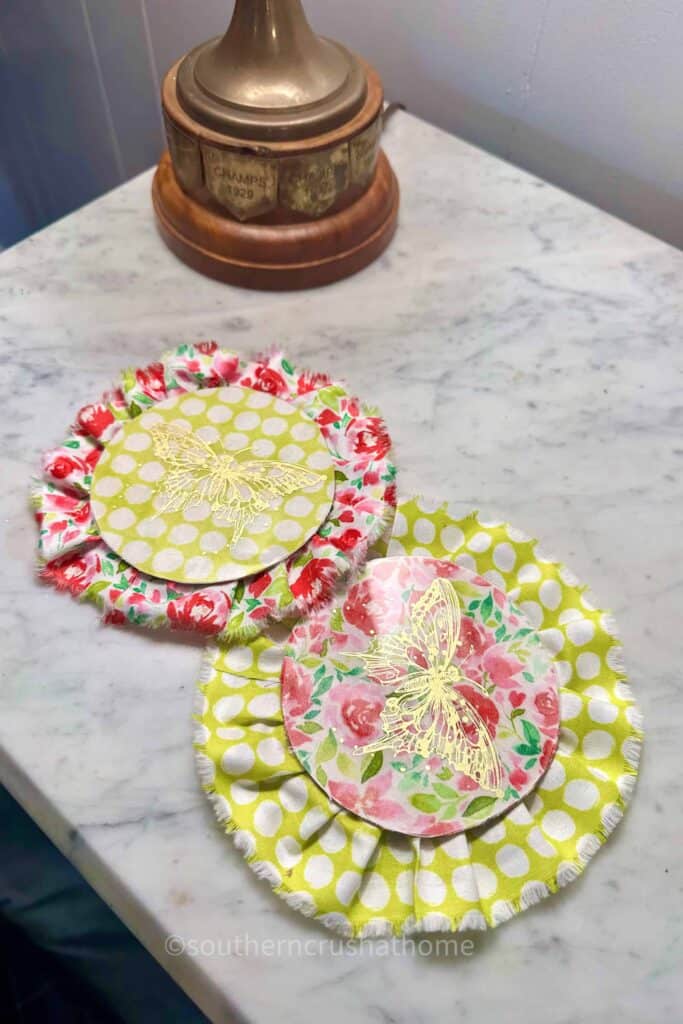
Start by attaching circles of Dollar Tree fabric to cork backing.
Next, cut matching circles from Dollar Tree chopping mats.
Instead of decorating the top surface, apply decorative butterfly transfers to the underside of the chopping mat. This protects the artwork while still allowing it to show through the clear plastic.
The chopping mat acts like a protective cover over the design, making these coasters both beautiful and functional.
But I still wasn’t finished!
Using leftover fabric, I created simple no-sew ruffles around the edges by folding and gluing the fabric all the way around each coaster.
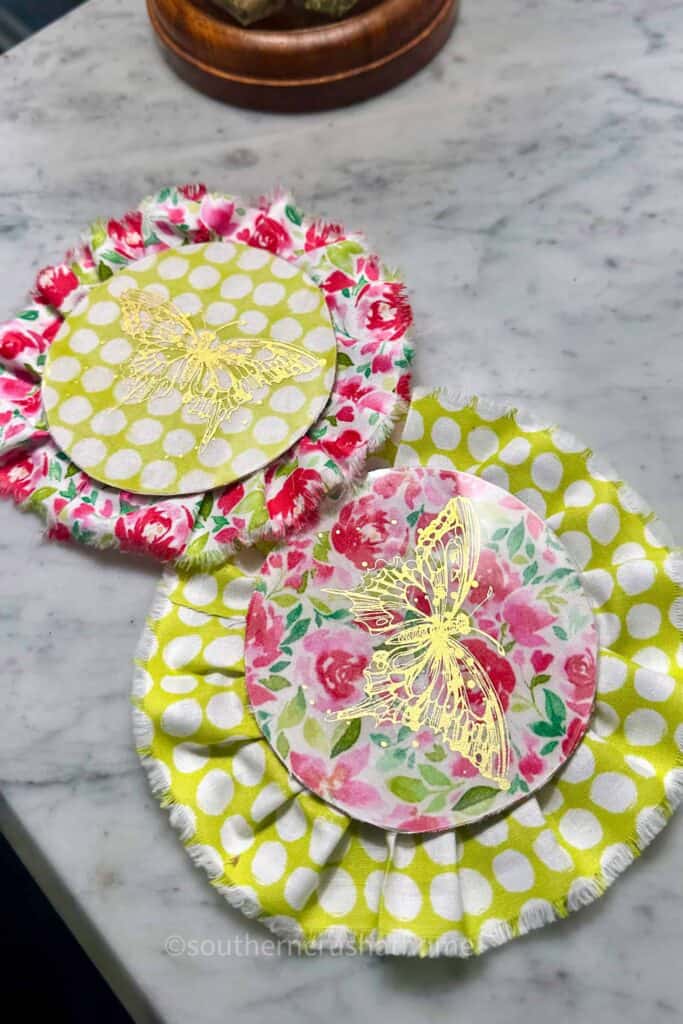
The result is a charming layered coaster that feels whimsical, feminine, and completely unique.
I finished the back with another cork circle for durability and a polished look.
Tips for Making Beautiful DIY Coasters
These simple tricks help every coaster project turn out even better:
- Add cork backing to protect furniture.
- Seal painted surfaces with resin or a protective topcoat.
- Sand rough edges for a professional finish.
- Mix coordinating patterns for a designer-inspired look.
- Use decorative details like doilies, metallic finishes, or fabric ruffles to personalize your projects.
Why Handmade Coasters Make Great Gifts
Coasters are one of my favorite handmade gifts because they’re both beautiful and practical.
They’re perfect for:
- Housewarming gifts
- Mother’s Day
- Christmas gifts
- Hostess gifts
- Birthday presents
- Teacher appreciation
- Bridal showers
Everyone can use a beautiful set of coasters, and handmade versions feel extra thoughtful.
Dollar Tree continues to surprise me with just how many crafting possibilities are hiding in everyday items.
From placemats and chopping mats to cork sheets and ceramic tiles, you can create custom coaster sets that look boutique-quality without spending a fortune.
Whether your style is farmhouse, floral, modern, vintage, or colorful, there’s a coaster design here for everyone.
So tell me—which coaster would you make first? The placemat version, the elegant bird coasters, the paint pour resin set, or the adorable fabric butterfly coasters? I’d love to hear your favorite in the comments!
